
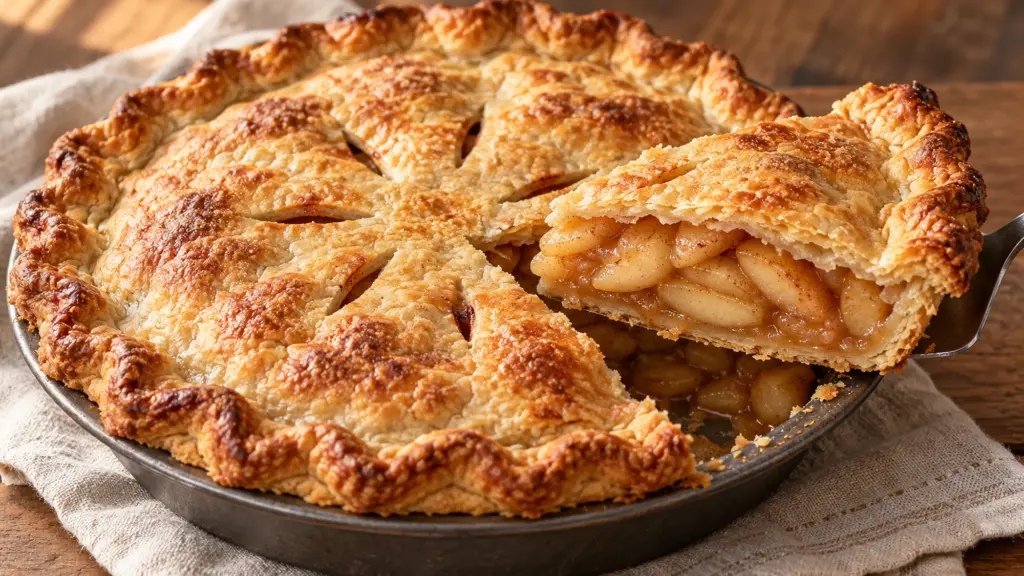
A pie can look ready before the apples inside have caught up. The crust turns golden, the kitchen smells of cinnamon, and the temptation to slice it is considerable. Give the filling its turn, too: bubbling juices and tender apples matter just as much as that beautiful top.
Keep the butter pastry cold, slice the apples evenly, and bake until the crust is deeply golden and the filling bubbles through the vents. Then cool the pie completely before cutting. A little patience gives the juices time to settle into the slices.
This guide to how to make apple pie uses a homemade double crust and an uncooked filling that bakes inside it. There is no separate saucepan of apple filling to cool. I’d choose a plain, vented top here; it lets the browned pastry do the decorating.
Serving Suggestions for Apple Pie
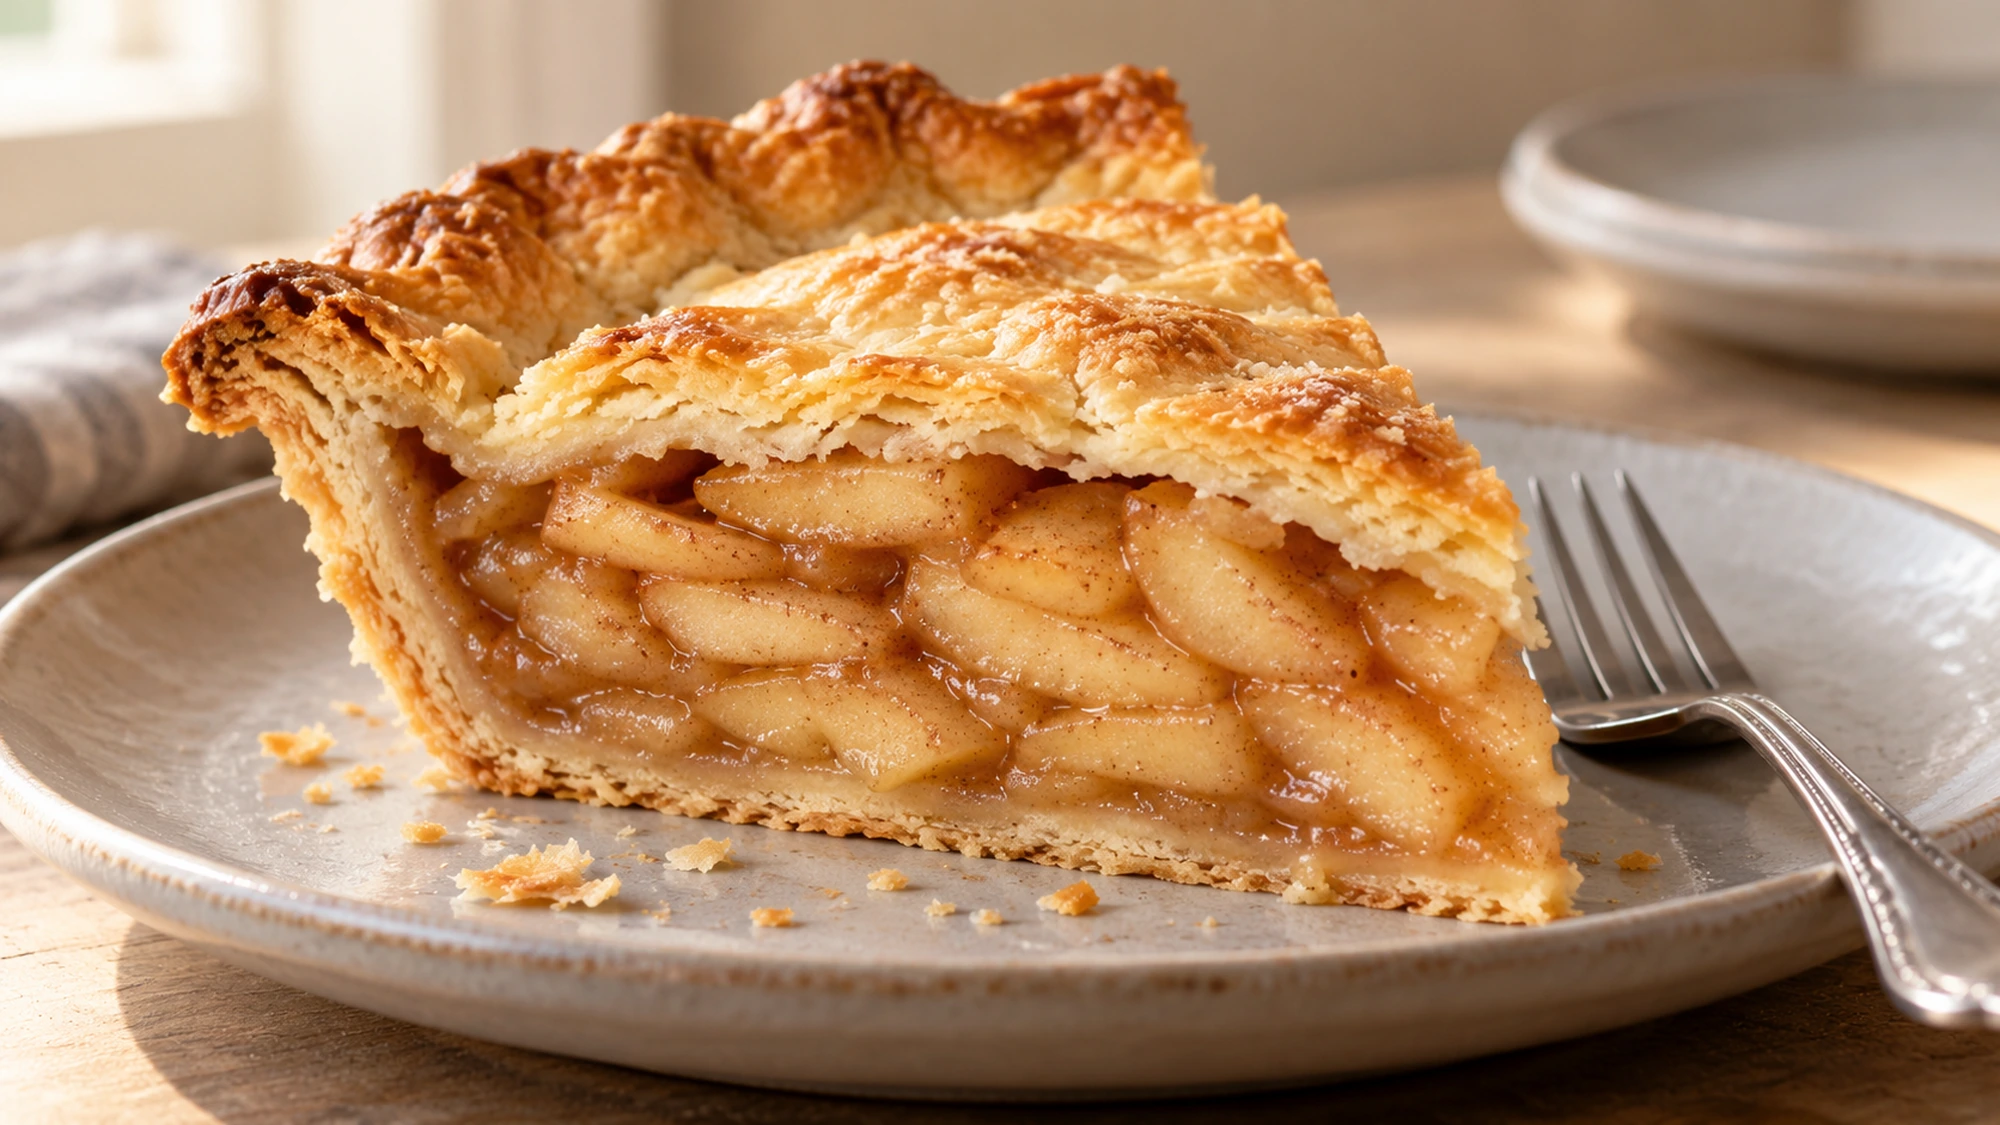
Apple pie is lovely at room temperature, when the cinnamon is fragrant and the filling has settled. Use a sharp knife to cut through the top, then slide a pie server under the bottom crust. Wipe the blade between slices if the juices cling.
For a warm serving, gently reheat a cooled slice rather than cutting the whole pie while it is hot. I prefer a small scoop of vanilla ice cream alongside, so each forkful can have a little contrast. A spoonful of plain whipped cream works, too.
- Offer coffee or unsweetened tea beside the pie.
- Keep ice cream separate until the slice reaches the table.
- Cut eight portions for the stated recipe estimate, or smaller slices after a larger meal.
Let the pie settle first, then choose a cool or gently warmed slice and a simple accompaniment.
How to Make Apple Pie Your Own
Start with firm apples you enjoy eating. A mix of tart Granny Smith and a sweeter baking apple gives more range than one very sweet variety. Peel and core them, then weigh the prepared fruit; apple size is a remarkably unreliable measuring cup.
The pastry should still show small pieces of butter before chilling. Add water gradually and stop when a squeezed handful holds together. A damp, stretchy dough needs more attention than a shaggy one that just comes together.
A full top crust needs vents so steam can escape. If the pastry colors faster than the filling cooks, a loose foil tent can protect it. For more about this balance, see King Arthur’s pie-baking guide.
- Spice gently: replace the small amount of nutmeg with the same amount of cinnamon if you prefer.
- Use equal weights of two firm apple varieties while keeping the total prepared fruit unchanged.
- For an apple dessert without rolled pastry, Spoonvale’s apple crumble recipe offers a crisp oat topping.
Keep the fruit weight steady, handle the pastry lightly, and use color plus bubbling as your baking clues.
Apple Pie, Portions and Storage
Apples contribute some fiber, but the pastry, butter and added sugar make this a dessert. A portion can fit into an ordinary meal without turning pie into a health claim. The card’s ingredient-based nutrition estimate covers the pie itself; ice cream and other accompaniments are extra.
Wash apples under running water before peeling, and begin with clean hands and equipment. Raw pastry contains flour and the glaze contains egg, so keep tasting spoons away until everything is fully baked.
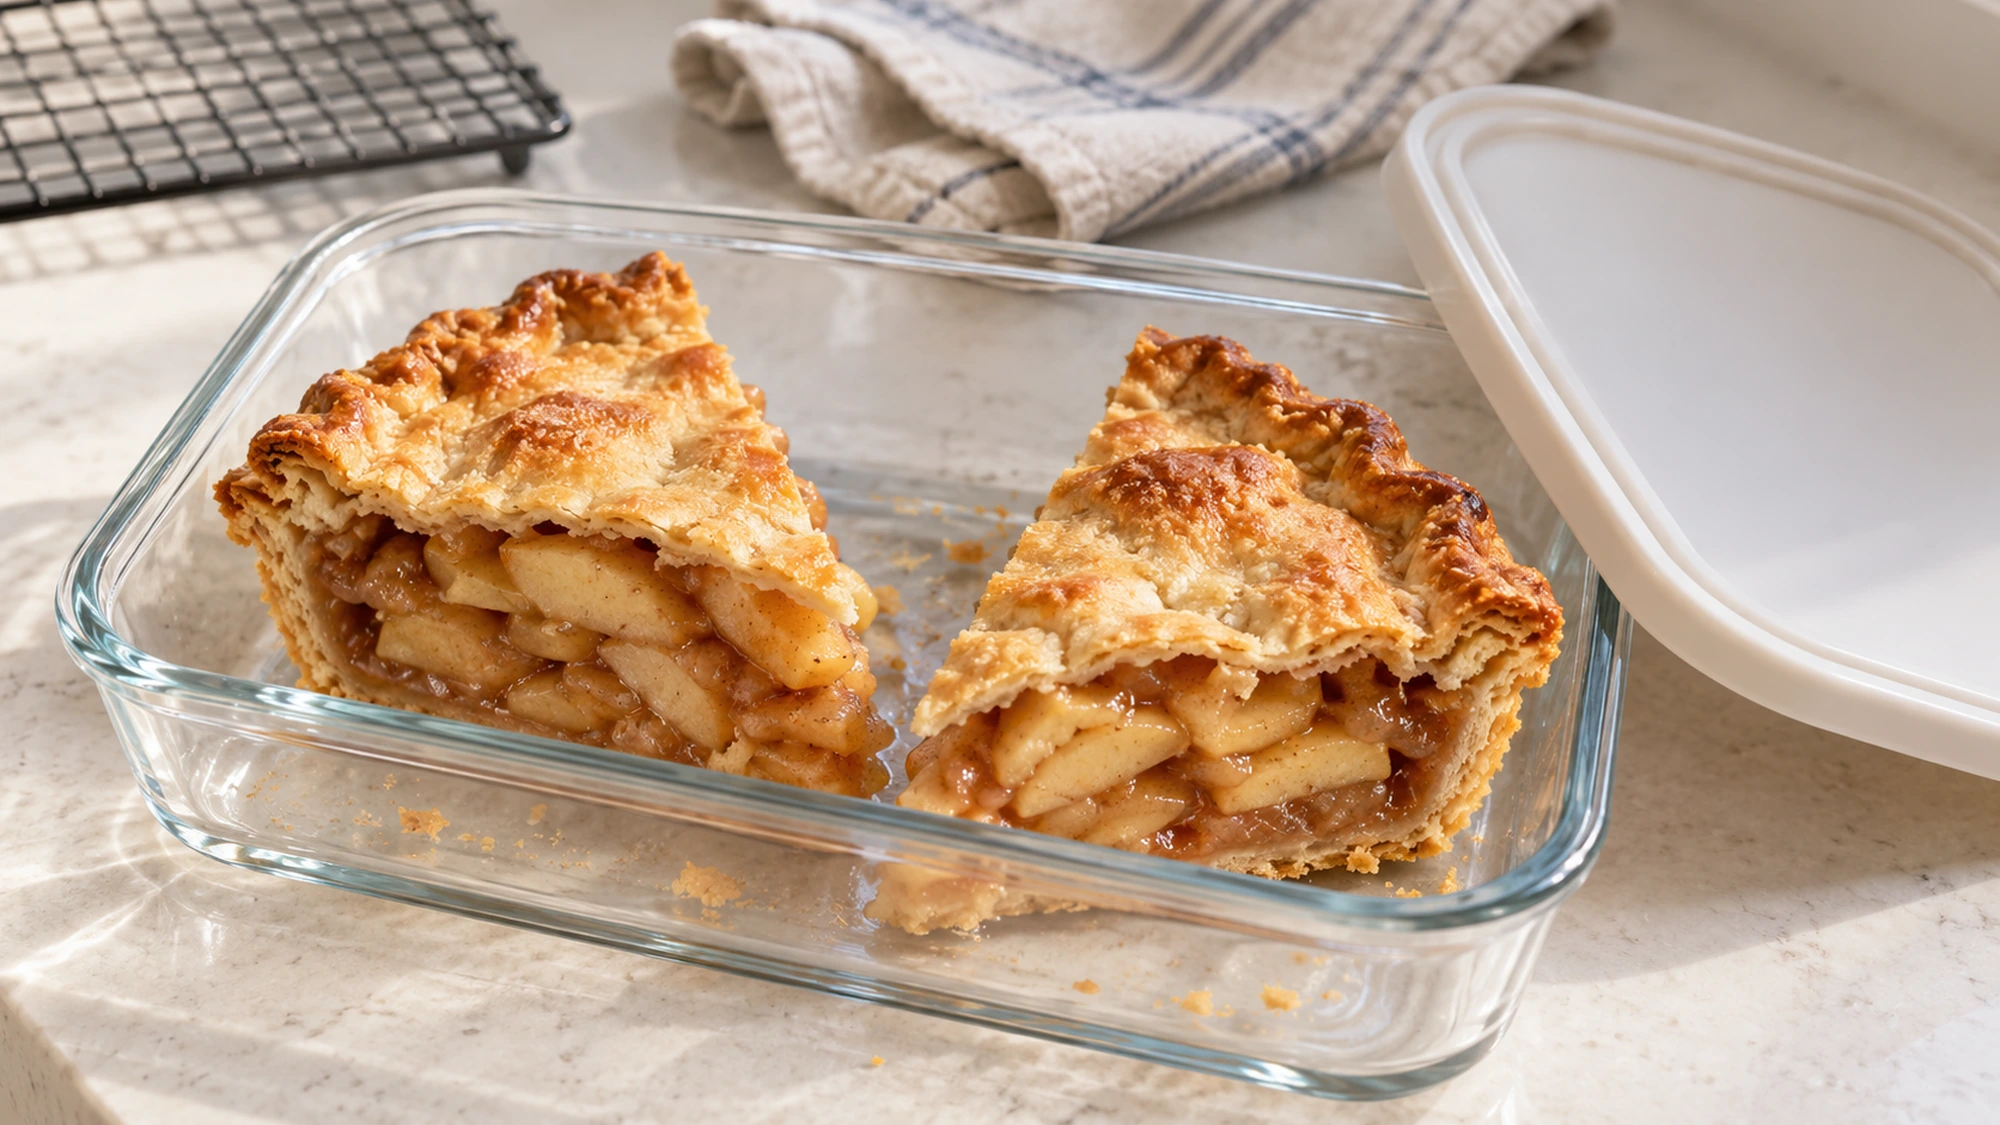
Storage guidance for fruit-and-sugar pies differs from cream or custard pies. For a simple plan, cool this plain apple pie completely, then cover and refrigerate it. Keep dairy toppings separate. The UC Master Food Preservers’ pie-storage guide explains the distinctions.
Choose storage to match when you plan to serve the remaining pie.
| Plan | How to store it | When to use it |
|---|---|---|
| Next few days | Cover after cooling; refrigerate at 40°F or below | Aim to finish within 4 days |
| A later dessert | Freeze the cooled pie or slices, well wrapped | Within 4 months for best quality |
| Serving with dairy | Add cream or ice cream at serving time | Follow its refrigerated storage directions |
Cool the pie, cover it for storage, and keep cream or ice cream separate until serving.
Bottom Line
A golden crust starts the invitation, but a bubbling filling and a full cooling rest finish the job. Keep those cues in mind and a plain double-crust apple pie becomes a manageable sequence of small tasks.
Give yourself an unhurried afternoon, keep the butter cold and let the pie rest before reaching for the knife. The reward is a slice with tender apples, a little cinnamon warmth and pastry worth picking up the last crumbs for.
How to Make Apple Pie Recipe
Ingredients
- 325 g all-purpose flour about 2 2/3 cups, spooned and leveled
- 12 g granulated sugar 1 tablespoon
- 5 g fine salt about 3/4 teaspoon; weigh for accuracy
- 225 g unsalted butter cold, cut into small cubes
- 95–120 ml ice-cold water about 6–8 tablespoons, added gradually
- 20 g all-purpose flour up to this amount for dusting
- 1250 g firm apples, peeled, cored and sliced prepared weight; about 1.6 kg whole apples; cut into even 1/4-inch slices
- 150 g granulated sugar 3/4 cup
- 40 g all-purpose flour about 1/3 cup
- 15 ml lemon juice 1 tablespoon
- 3 g ground cinnamon about 1 teaspoon
- 0.5 g ground nutmeg about 1/4 teaspoon
- 0.5 g fine salt a small pinch
- 14 g unsalted butter 1 tablespoon, cut into small pieces
- 1 large egg about 50 g without the shell
- 15 ml water 1 tablespoon
Equipment
- 1 9-inch metal pie pan, about 2 inches deep
- 1 Rimmed baking sheet
- 1 Large mixing bowl and fork or whisk
- 1 Pastry blender, or clean fingertips
- 1 Rolling Pin
- 1 Kitchen scale and measuring spoons
- 1 Knife, peeler and cutting board
- 1 Pastry brush, foil and wire cooling rack
Instructions
- In a large bowl, whisk 325 g flour, 12 g sugar and 5 g salt. Cut in the 225 g cold butter with a pastry blender or your fingertips until you have coarse crumbs with some pea-size butter pieces. Add 95 ml ice-cold water and toss with a fork. Add more water a teaspoon at a time, only until a squeezed handful holds together; you may not need all 120 ml.
- Bring the dough together without kneading it smooth. Divide into two slightly unequal portions, shape into disks about 1 inch thick, wrap and refrigerate for at least 1 hour. The larger disk is for the bottom crust.
- Set an oven rack in the lower third and heat the oven to 425°F (220°C). Set out a rimmed baking sheet and a 9-inch metal pie pan about 2 inches deep. Wash the apples under running water, then peel, core and cut into even 1/4-inch slices. Weigh out 1,250 g of prepared fruit.
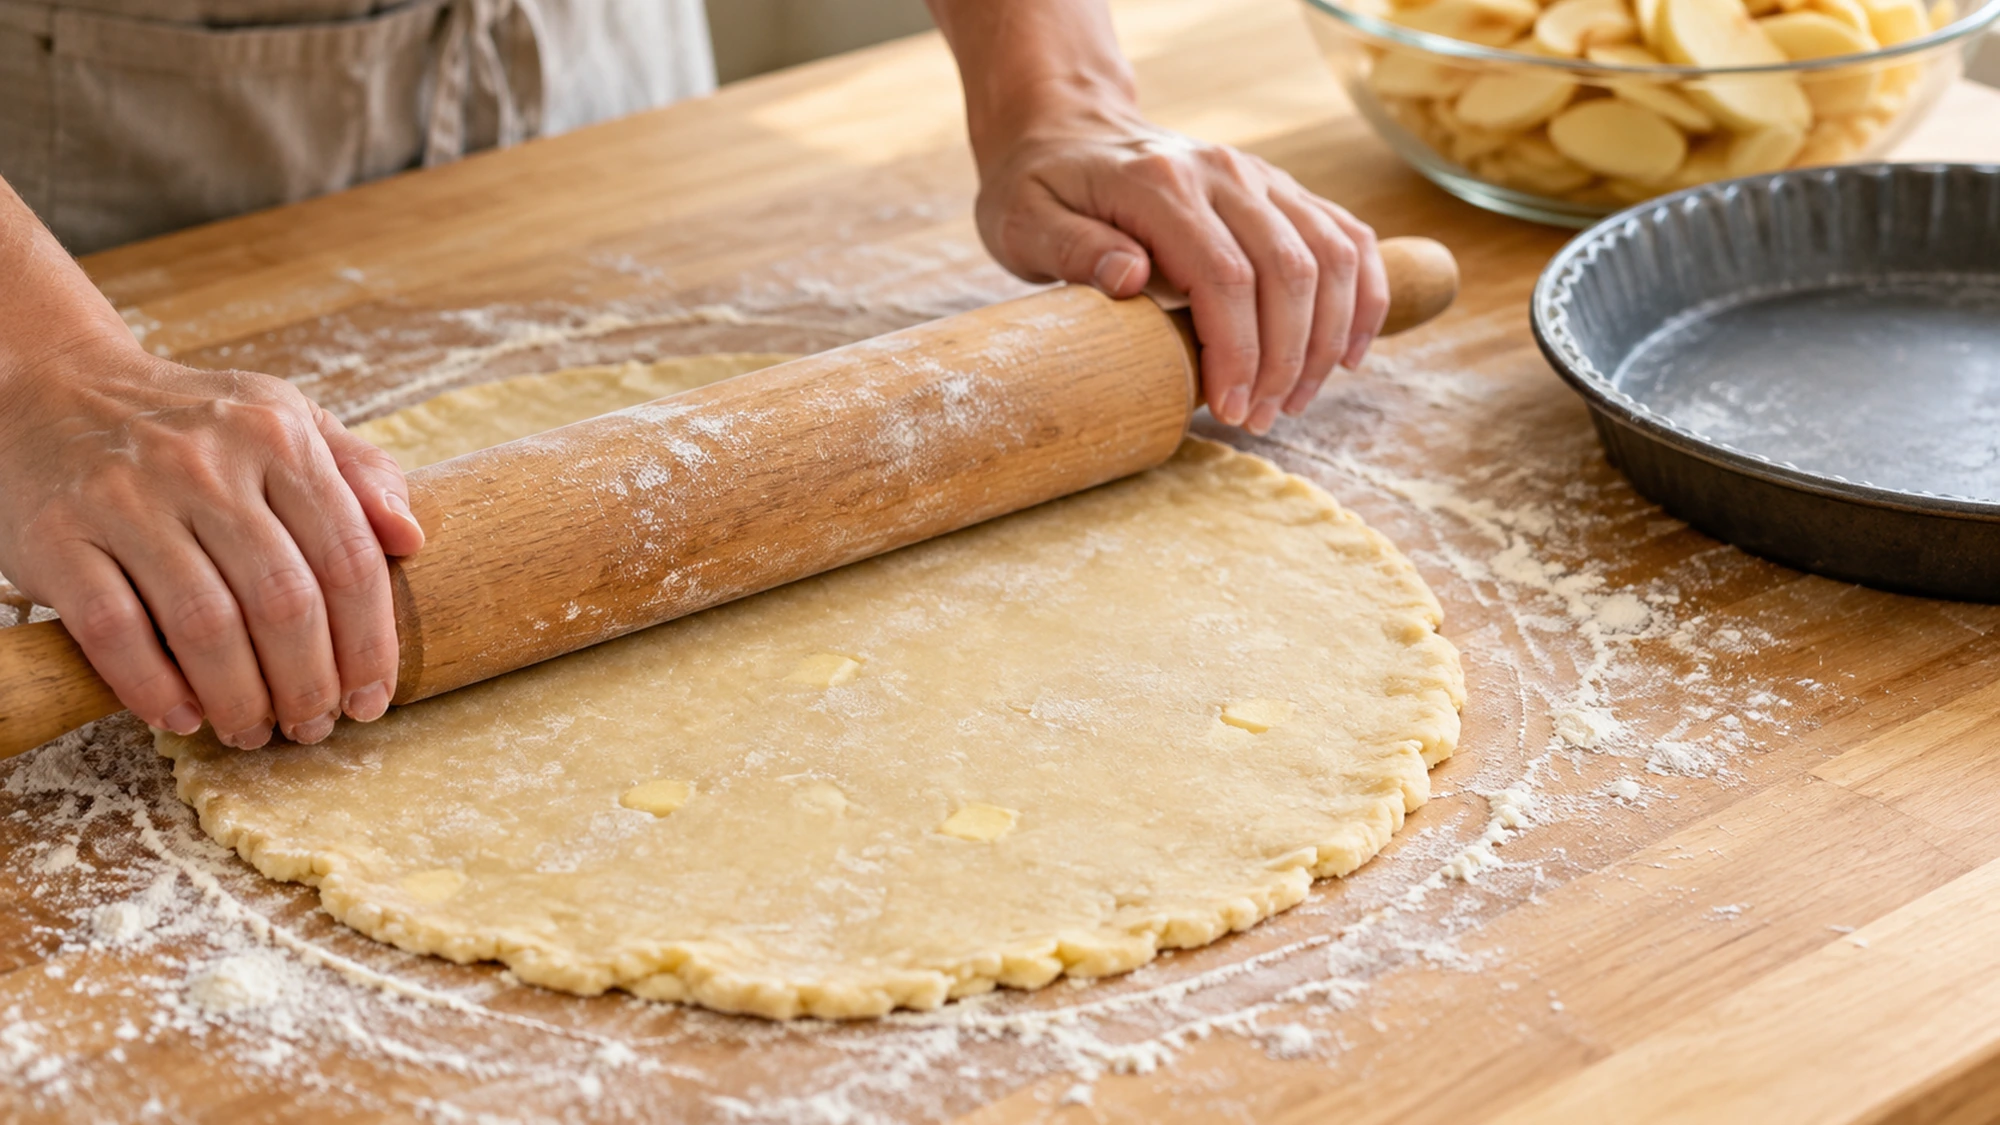
- Use some of the dusting flour to roll the larger disk into a 12-inch circle. Ease it into the pie pan without stretching; leave the overhang. Refrigerate it while you mix the sliced apples with 150 g sugar, 40 g flour, lemon juice, cinnamon, nutmeg and the small pinch of salt. Arrange the apples in the lined pan, fitting the slices close together and mounding slightly in the center. Add all juices from the bowl and dot with the 14 g butter.
- Roll the remaining dough into an 11-inch circle and lay it over the filling. Trim the combined pastry overhang to about 3/4 inch, fold it under and crimp to seal. Cut 4–6 short vents in the top. Refrigerate the assembled pie for 15 minutes.
- Beat the egg with 15 ml water and brush a thin coat over the top crust; discard any unused wash. Set the pie on the rimmed baking sheet. Bake for 20 minutes at 425°F (220°C), then lower the oven to 375°F (190°C). Continue baking about 50–65 minutes, until the pastry is deeply golden, apples feel tender when pierced through a vent, and thick juices bubble through the vents. Let visible bubbling continue for at least 5 minutes. Loosely tent the top or shield the edge with foil if it browns too quickly.
- Transfer the pie pan to a wire rack and cool completely, about 4 hours, before cutting into 8 slices. The cooling time allows the filling to settle. For a warm serving, gently reheat a cooled slice.
- Once fully cooled, cover and refrigerate at 40°F (4°C) or below; plan to eat it within 4 days. For longer storage, freeze well-wrapped pie or slices for up to 4 months for best quality, then thaw in the refrigerator. Keep cream and ice cream separate until serving. Do not taste raw pastry or egg wash.
Nutrition
Video
Notes
Tried this recipe?
Let us know how it turned out!Emily is Spoonvale’s recipe-writing persona, bringing a warm, practical voice to everyday cooking. Her focus is simple: approachable meals, comforting flavors, and clear instructions that help make time in the kitchen more enjoyable.