
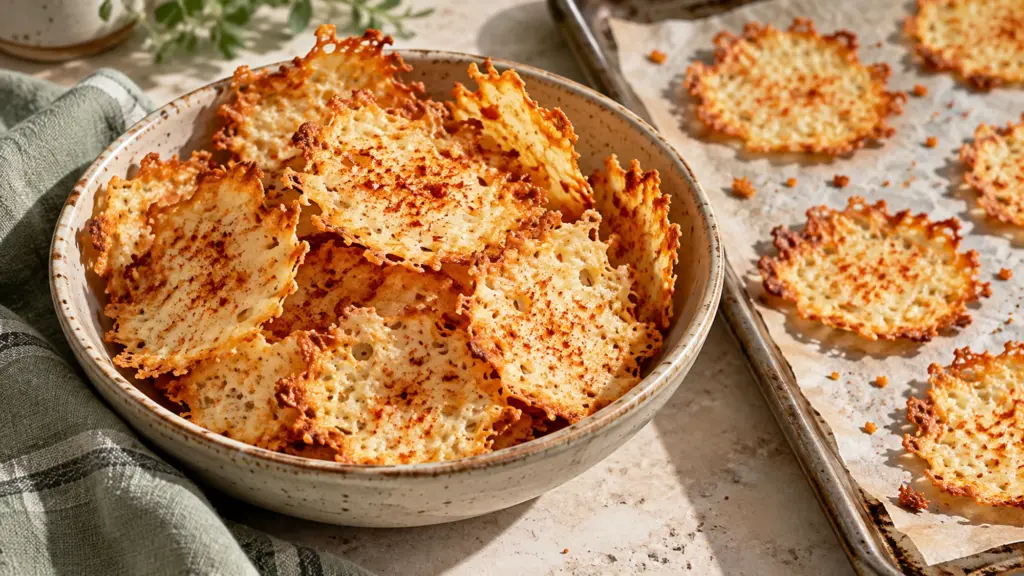
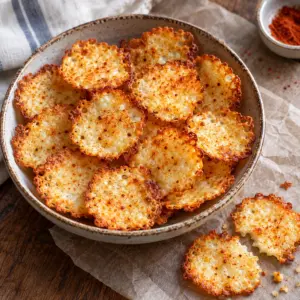
The first tray of cottage cheese chips can look a little strange before it turns golden. Spoonfuls of soft curds spread into thin rounds, then the edges brown and the centers dry as they bake. Cooling is part of the method: a chip lifted straight from the oven can feel softer than it will a few minutes later.

This version uses one cup of plain cottage cheese, smoked paprika, garlic powder and black pepper. Drain off any obvious liquid, flatten level tablespoon portions on parchment, bake at 350°F (177°C) and judge the color rather than relying only on a timer. The recipe makes about sixteen small chips.
I would leave salt out of the mixture at first. Cottage cheese can already taste quite salty, and moisture varies by brand. The thinness of each round matters more to the final snap than an extra shake of seasoning.
Serving Suggestions for Cottage Cheese Chips
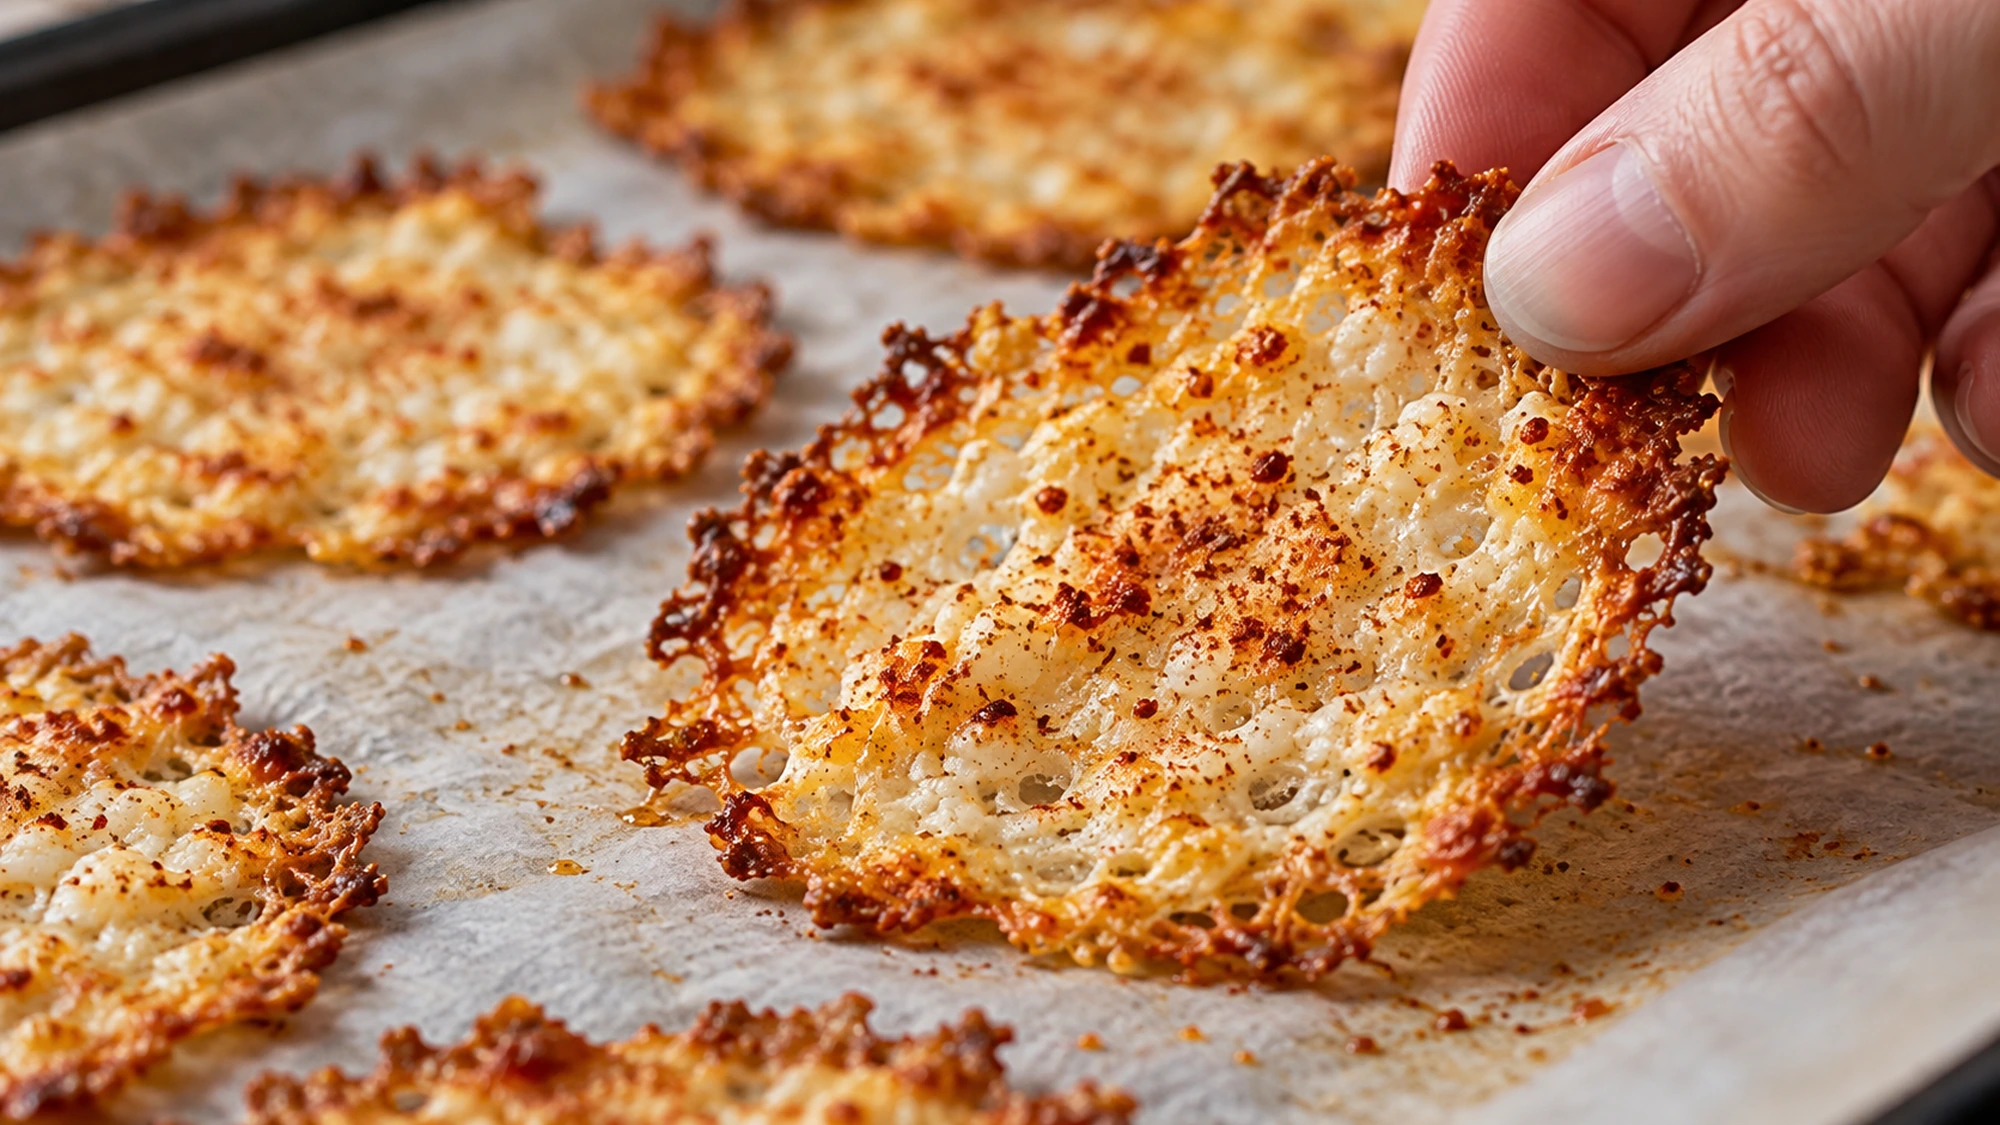
Serve these small chips after they have cooled on the tray or a rack. They are pleasant on their own with the smoky seasoning, or beside a dip that is thick enough not to soak them immediately. A light bowl of salsa or a spoon of Spoonvale’s guacamole makes sense for the flavor, though use a small amount so the fragile edges stay intact.
The batch is sixteen level-tablespoon rounds, or four snack portions of four chips. That is a modest nibble, not a replacement for a full meal. If you want a larger batch, use a second tray rather than crowding the first one.
- Let the chips cool before moving them; warm edges can break.
- Serve dips on the side so each chip is dipped just before eating.
- Scatter over a salad for a salty, crisp accent rather than crushing them into dust.
- Use a small plate for each portion so the lacy edges do not get buried.
The cooled chips are delicate; serve them in small portions with dips on the side.
How to Get Golden Edges Without Burning
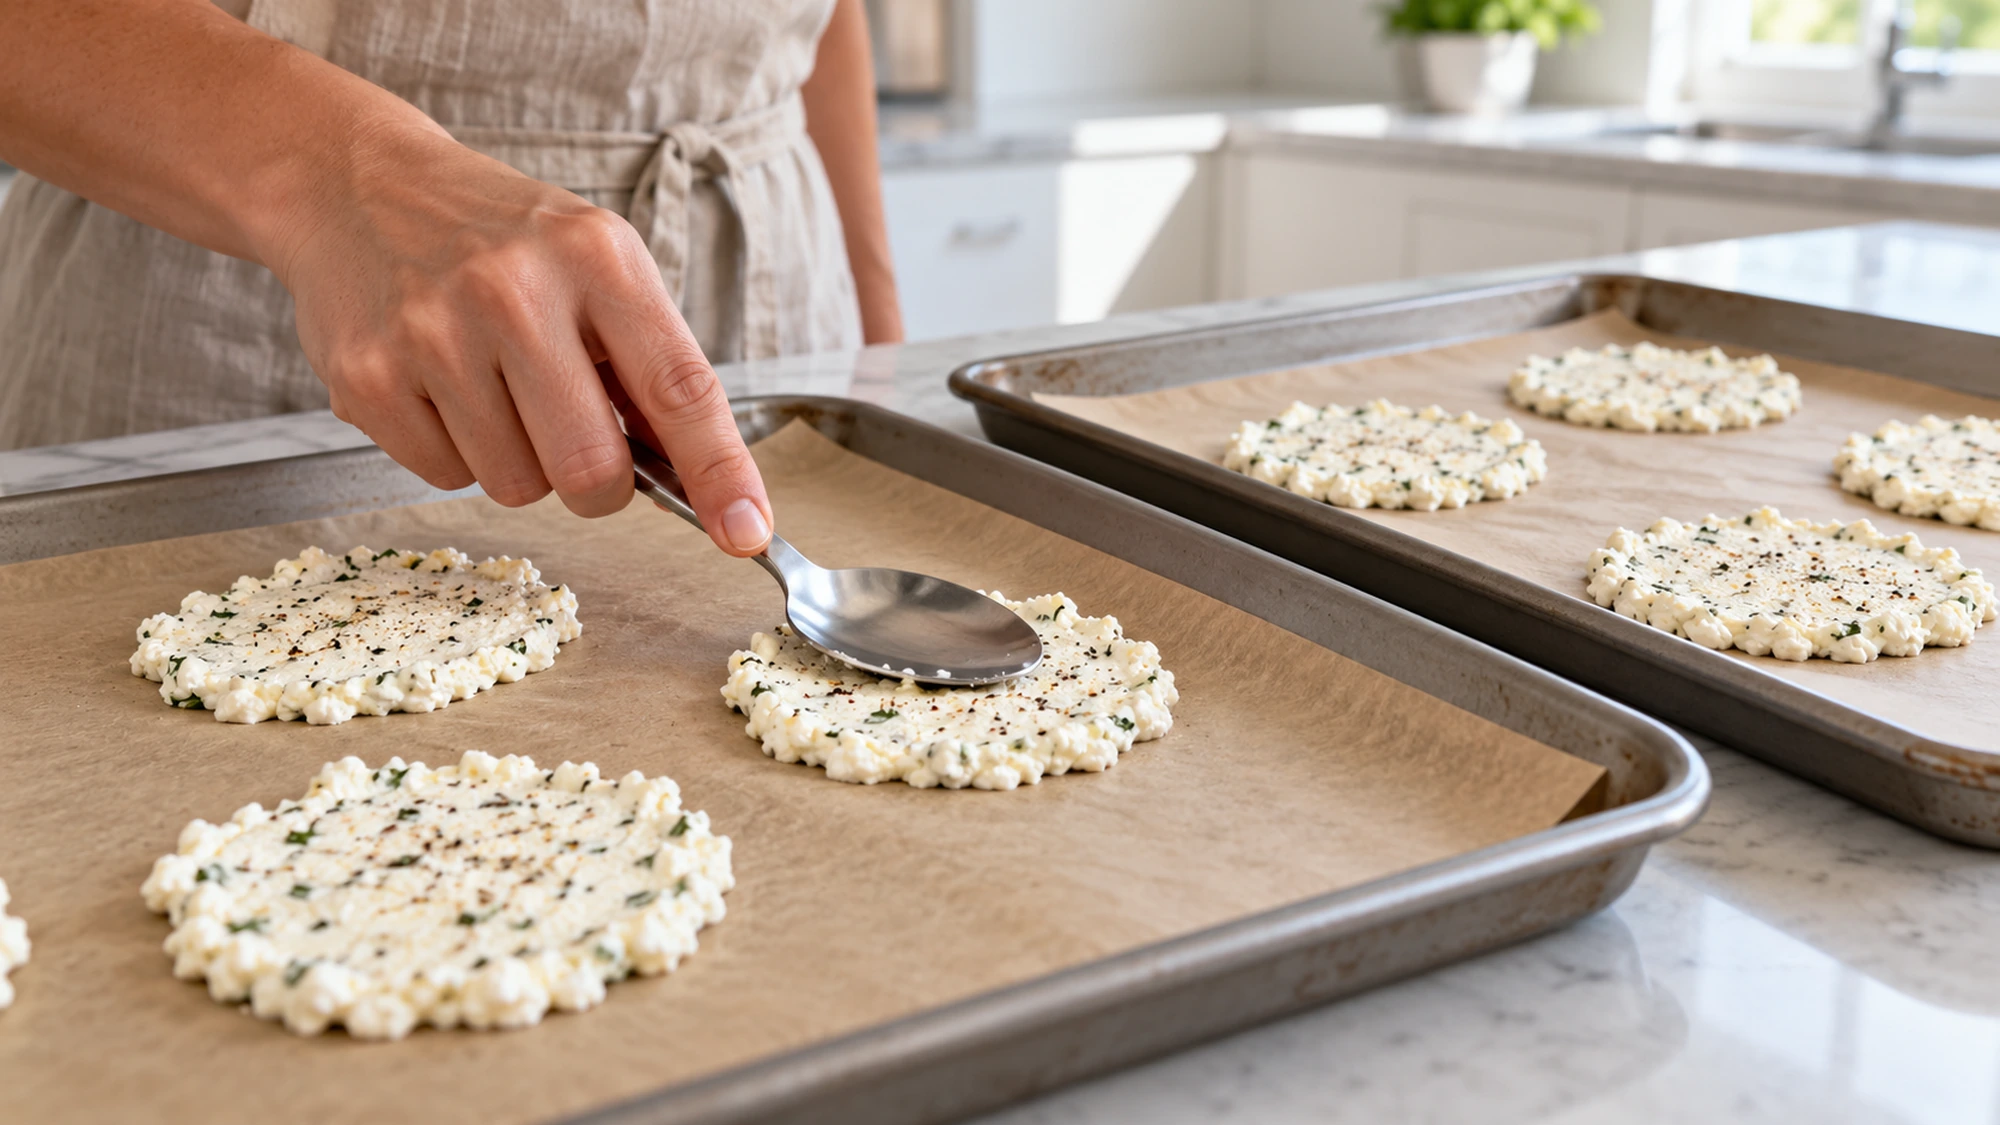
Drain the cottage cheese for about ten minutes if liquid pools in the container. Stir in the seasonings, then place level tablespoon scoops on parchment and flatten each one thinly with the back of the spoon. Leave space between the rounds because they spread. The oven should already be hot before the trays go in.
Bake at 350°F (177°C) for roughly 25 to 35 minutes, rotating the trays halfway through. The target is a well-browned edge and a center that no longer looks wet. A Good Housekeeping method reference also emphasizes oven temperature and rotating pans; moisture and thickness still call for watching your own tray. Do not pull a pale, damp round because the clock says it is done.
| What you see | Likely cause | Next step |
|---|---|---|
| Pale, wet centers | Rounds are thick or need more time | Bake a little longer and watch edges |
| Dark edges, pale middle | Rounds vary in thickness | Flatten the next tray evenly |
| Golden but soft when hot | Cooling is not finished | Wait ten minutes before judging |
| Sticking to parchment | Chip is warm or damp | Cool fully, then ease up gently |
- Use level tablespoons for roughly equal-size chips.
- Flatten each mound to a thin circle without merging it with its neighbor.
- Rotate pans halfway, especially when using two oven racks.
- Stop before the edges blacken; browned is enough.
Spread the cheese thinly, bake until the edges are golden and let the chips cool before testing their crispness.
Moisture, Storage and Dietary Context
Cottage cheese contains water, so the brand and how well it drains influence the result. A wetter batch may need more oven time, while a smaller, thinner chip browns sooner. The seasoning is optional for texture, but paprika and garlic add flavor without extra salt. These chips contain dairy and are not suitable for someone avoiding milk ingredients.
For the best texture, serve the cooled chips the day they are baked. If saving any, put them in a covered container in the refrigerator and expect them to soften. FoodSafety.gov advises refrigerating perishable foods within two hours and keeping the refrigerator at 40°F (4°C) or below. Do not claim a specific nutrient amount from an unknown cottage cheese brand; check the label if protein or sodium matters to you.
- Choose plain cottage cheese so the seasoning remains predictable.
- Check the package for milk allergens and sodium content.
- Refrigerate any leftovers promptly rather than leaving dairy snacks out all afternoon.
- Re-crisp only if the chips were stored safely; warm briefly in the oven and watch carefully.
Texture is best after cooling on baking day, while dairy leftovers belong in the refrigerator.
Bottom Line
Cottage cheese chips depend on draining, thin scoops and patience at the end. Give the rounds room on parchment, bake until the edges are golden and cool them before deciding whether they are crisp. The result is a small, savory snack whose exact color and texture will vary with the cottage cheese you use.
Cottage Cheese Chips Recipe

Ingredients
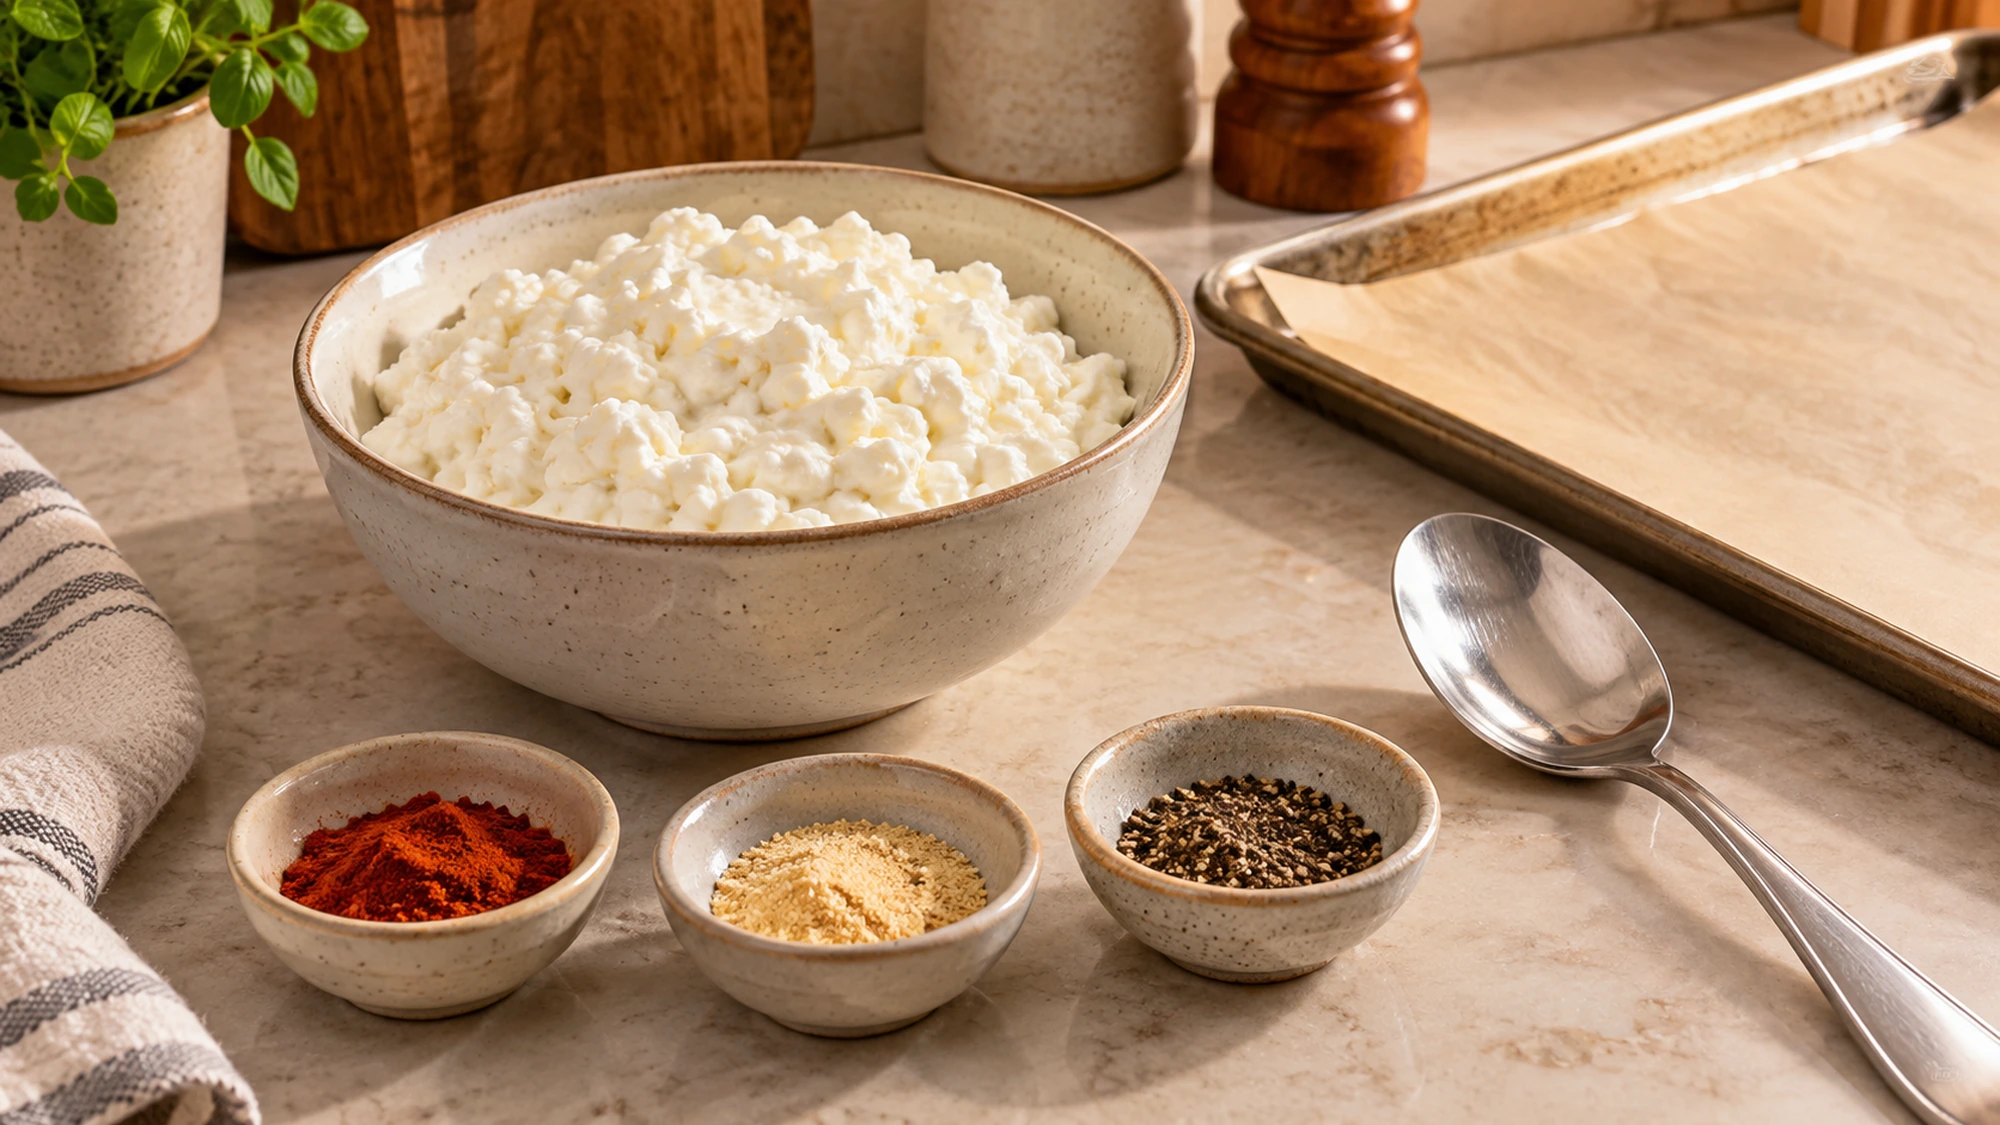
- 1 cup plain whole-milk cottage cheese about 225 g; drain excess liquid
- 0.25 tsp smoked paprika
- 0.25 tsp garlic powder
- 1 pinch ground black pepper
Equipment
- Fine-mesh strainer
- Mixing bowl
- Tablespoon measure
- Two rimmed baking trays
- Parchment paper
- Spoon
- Wire cooling rack
Instructions
- Heat the oven to 350°F (177°C). Line two rimmed baking trays with parchment paper. If liquid has pooled around the cottage cheese, drain it in a fine-mesh strainer for about 10 minutes; do not squeeze it dry.
- Stir the cottage cheese with the smoked paprika, garlic powder and black pepper. Scoop sixteen level tablespoons onto the trays, leaving about 2 inches between portions. Flatten each scoop into a thin circle with the back of a spoon.
- Bake for about 25 to 35 minutes, rotating the trays halfway through, until the edges are golden brown and the centers no longer look wet. Watch closely near the end because thin edges darken quickly.
- Let the chips cool for 10 minutes before gently lifting them from the parchment. Serve after cooling. Refrigerate leftovers promptly in a covered container; they may soften in storage.
Notes
Tried this recipe?
Let us know how it turned out!Emily is Spoonvale’s recipe-writing persona, bringing a warm, practical voice to everyday cooking. Her focus is simple: approachable meals, comforting flavors, and clear instructions that help make time in the kitchen more enjoyable.