
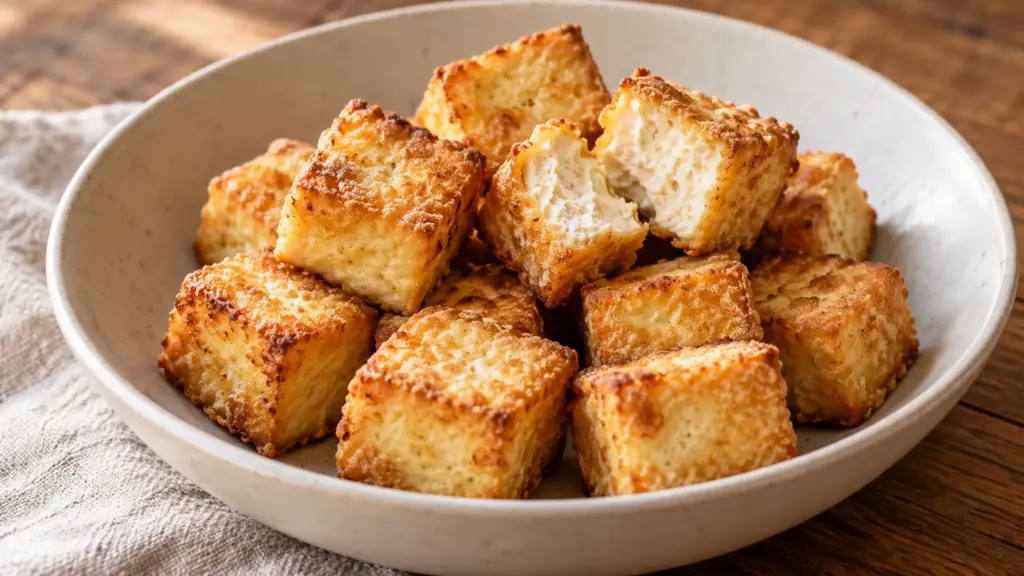
Tofu can look beautifully browned on top yet feel soft underneath. If that is the texture puzzle on your dinner tray, start with the surface: drain it well, keep the coating light and give every cube its own patch of baking sheet. This crispy baked tofu uses familiar pantry ingredients for a savory, golden outside and a tender middle.
For crispy baked tofu, use extra-firm tofu, remove excess moisture and add cornstarch after the oil and soy sauce. Bake the cubes apart, then add any wet sauce at the table.
I prefer a thin coating here because the tofu should still taste like tofu, with a creamy center beneath those toasted corners. Garlic powder adds a gentle savory note without leaving fresh garlic pieces exposed to the hot pan. Choose refrigerated extra-firm tofu rather than silken tofu; they behave differently, even when the package uses similar firmness wording.
Serving Suggestions for Crispy Baked Tofu
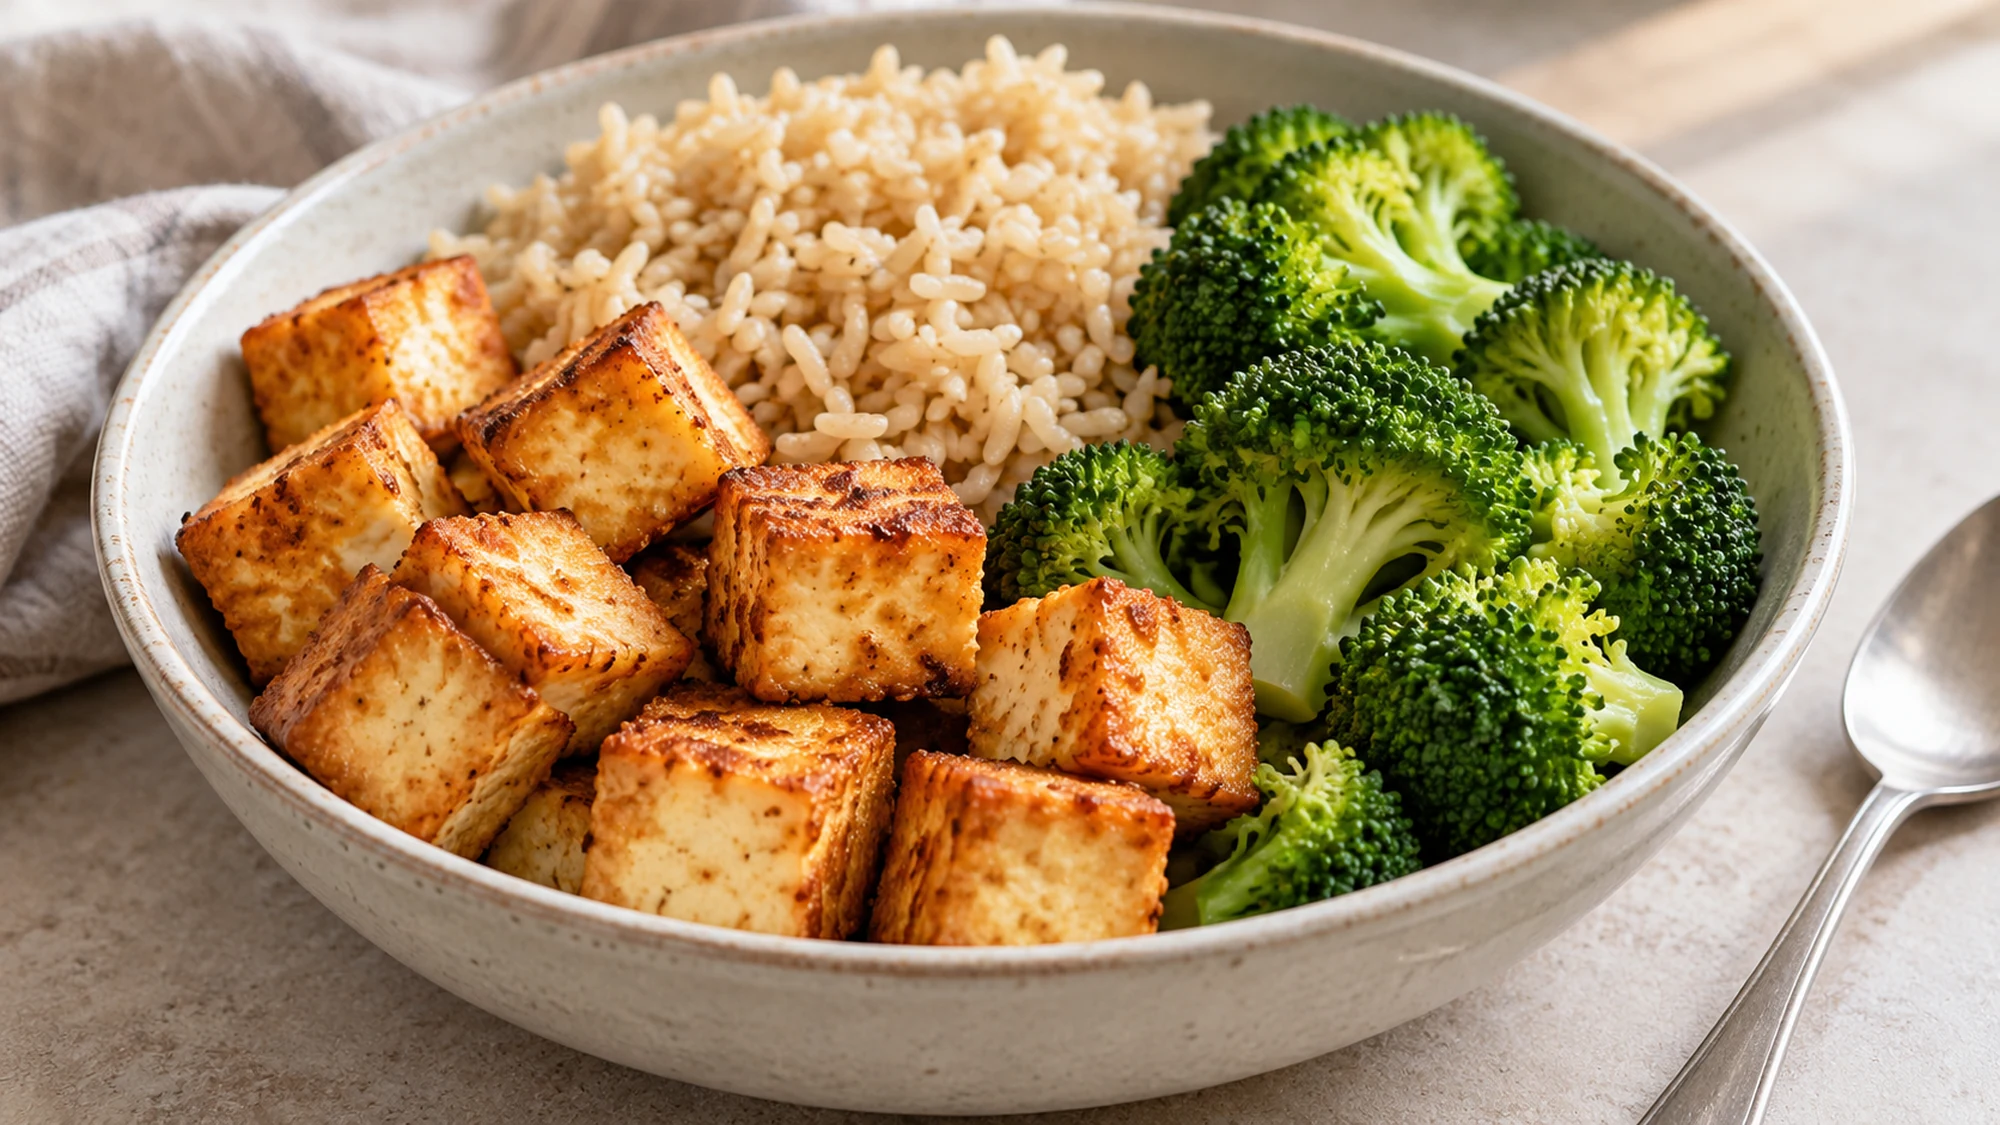
Serve the cubes while their edges are at their best. Rice and steamed broccoli make a straightforward bowl, but crisp tofu also works against cool cucumber, shredded cabbage or soft noodles. Keep dressings and sauces alongside until everyone is ready to eat. A generous pool of sauce may taste good, but it gives the coating a different job.
I’d build the rest of the meal before the tofu leaves the oven. For another substantial base, split a jacket potato with crisp skin and add the cubes with crunchy vegetables. The recipe makes four side servings; accompaniments and toppings are separate from its ingredient and nutrition estimates.
- For a warm bowl: add cooked brown rice, broccoli and a small spoonful of your preferred sauce.
- For a fresh plate: use leafy greens and cucumber, dressing them separately before adding the warm tofu.
- For sharing: put the tofu on a shallow platter with a dipping sauce beside it, rather than underneath.
Finish the other components first and bring the tofu to the table promptly; sauce belongs beside the crisp edges until serving.
Variations That Keep Crispy Baked Tofu Crisp
Change the flavor gently while protecting the dry coating. The extra-firm tofu preparation guide explains pressing and moisture removal. A little water on the surface is easy to overlook, but it can turn the starch into sticky patches. After pressing, blot away visible droplets before adding the measured liquids.
Use the comparison below to choose a direction. Keep the basic coating quantities steady when adding dry spices, and leave sticky finishes until after baking. If the cubes look pale at the stated time, check their undersides before extending the bake; pan color, cube size and oven behavior affect browning.
| Change | What it adds | When to use it |
|---|---|---|
| Smoked paprika | A smoky, earthy note | With the dry coating |
| Chili flakes | Distinct little sparks of heat | After baking |
| Lemon juice | A bright, tangy finish | At the table |
| Wet sauce | A glossy, softer coating | Just before eating |
- Skip crowding: use a second pan when doubling; stacked cubes cannot brown evenly.
- Turn with care: let the first surface set before lifting so the coating stays attached.
- Keep the cut consistent: tiny scraps dry faster than the larger cubes beside them.
Change the seasoning to suit dinner, while keeping the tofu dry, the coating thin and the pan uncrowded.
Health Benefits and a Few Useful Limits
Tofu supplies plant protein, and its calcium content depends partly on how it is made. Check your package rather than assuming all brands have the same nutrition. This recipe uses measured oil for browning and flavor; baking does not make portions irrelevant. Vegetables and a grain or potato make useful partners without turning dinner into a nutrition spreadsheet.
Leftovers will soften in the refrigerator. Follow the leftover storage and reheating guidance: refrigerate promptly in a shallow container and reheat thoroughly. An oven can dry the surface again, though the texture will differ from freshly baked tofu.
- Allergens: tofu contains soy, and many soy sauces also contain wheat.
- Sodium: reduced-sodium soy sauce still contributes salt; taste before adding more.
- Storage: refrigerate within two hours, or one hour above 90°F (32°C); use within three to four days and reheat to 165°F (74°C).
Enjoy tofu as one part of the meal, read ingredient labels and treat safe cooling as carefully as the initial bake.
Bottom Line
Crispy baked tofu comes down to a few useful choices: extra-firm tofu, a dry surface, a light starch coating and room for the oven heat to reach each piece. Keep the seasoning simple enough to suit several meals, then choose the sauce at serving time. Those golden corners are the invitation; the tender center is what makes the cubes feel like a satisfying part of dinner.
Crispy Baked Tofu Recipe

Ingredients
- 1 14-ounce package extra-firm tofu refrigerated, about 397 g; not silken
- 1 tablespoon olive oil 15 ml
- 1 tablespoon reduced-sodium soy sauce 15 ml
- 1 tablespoon cornstarch about 8 g
- 1/2 teaspoon garlic powder about 1.5 g
Equipment
- 2 plates for pressing
- 1 Clean kitchen towel absorbent
- 1 heavy can for pressing
- 1 large rimmed baking sheet about 18 by 13 inches
- Parchment paper oven safe at 400°F
- 1 Cutting board and chef’s knife
- 1 Large mixing bowl
- 1 Silicone spatula
- Measuring spoons
Instructions
- Drain the tofu. Wrap it in a clean kitchen towel, place between two plates and set a heavy can on top. Press for 15 minutes. Meanwhile, heat the oven to 400°F (205°C) and line a large rimmed baking sheet with oven-safe parchment.
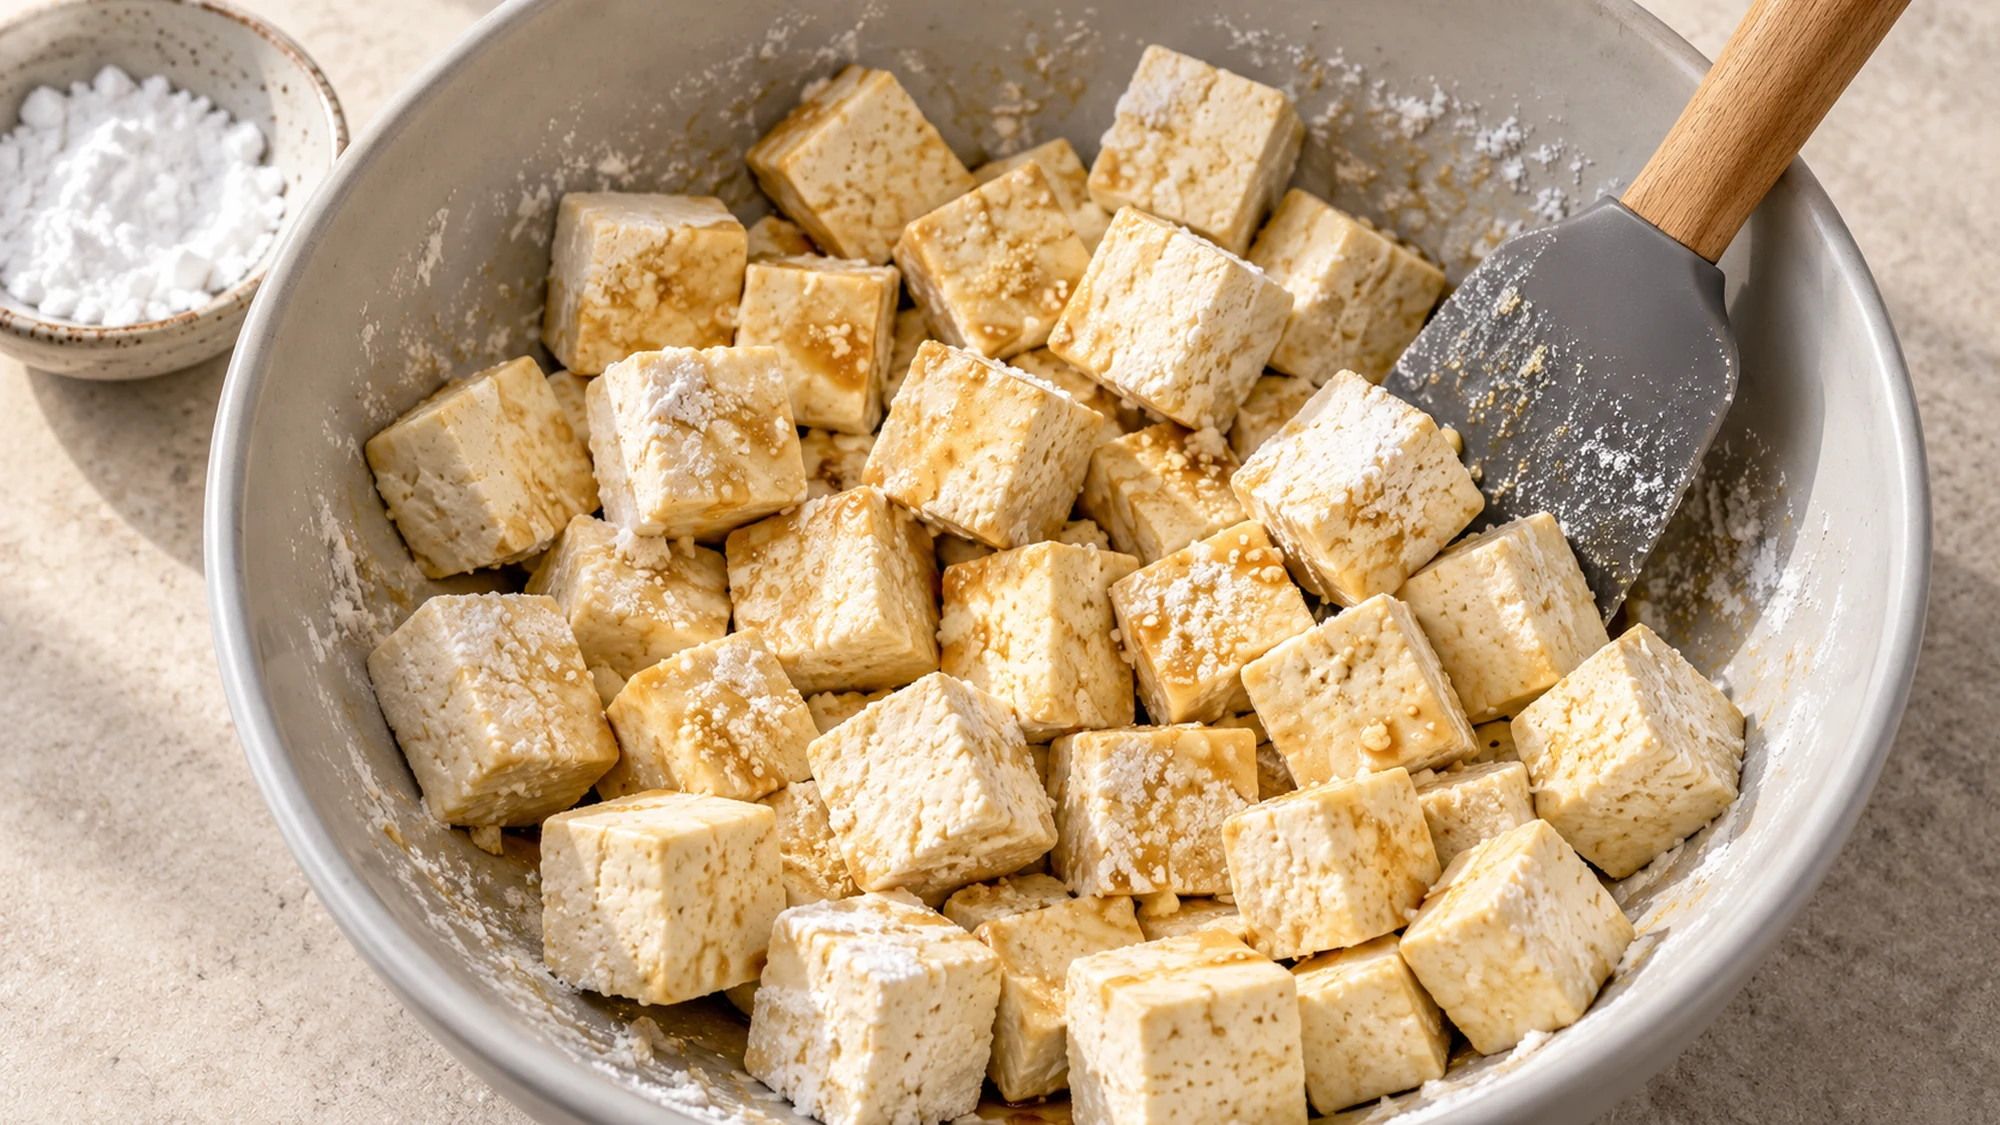
- Unwrap the tofu, blot away surface moisture and cut into roughly 3/4-inch (2 cm) cubes. Put in a large bowl, add the oil and soy sauce, and fold gently until coated.
- Sprinkle the cornstarch and garlic powder evenly over the tofu. Fold gently until no loose powder remains; keep the coating thin.
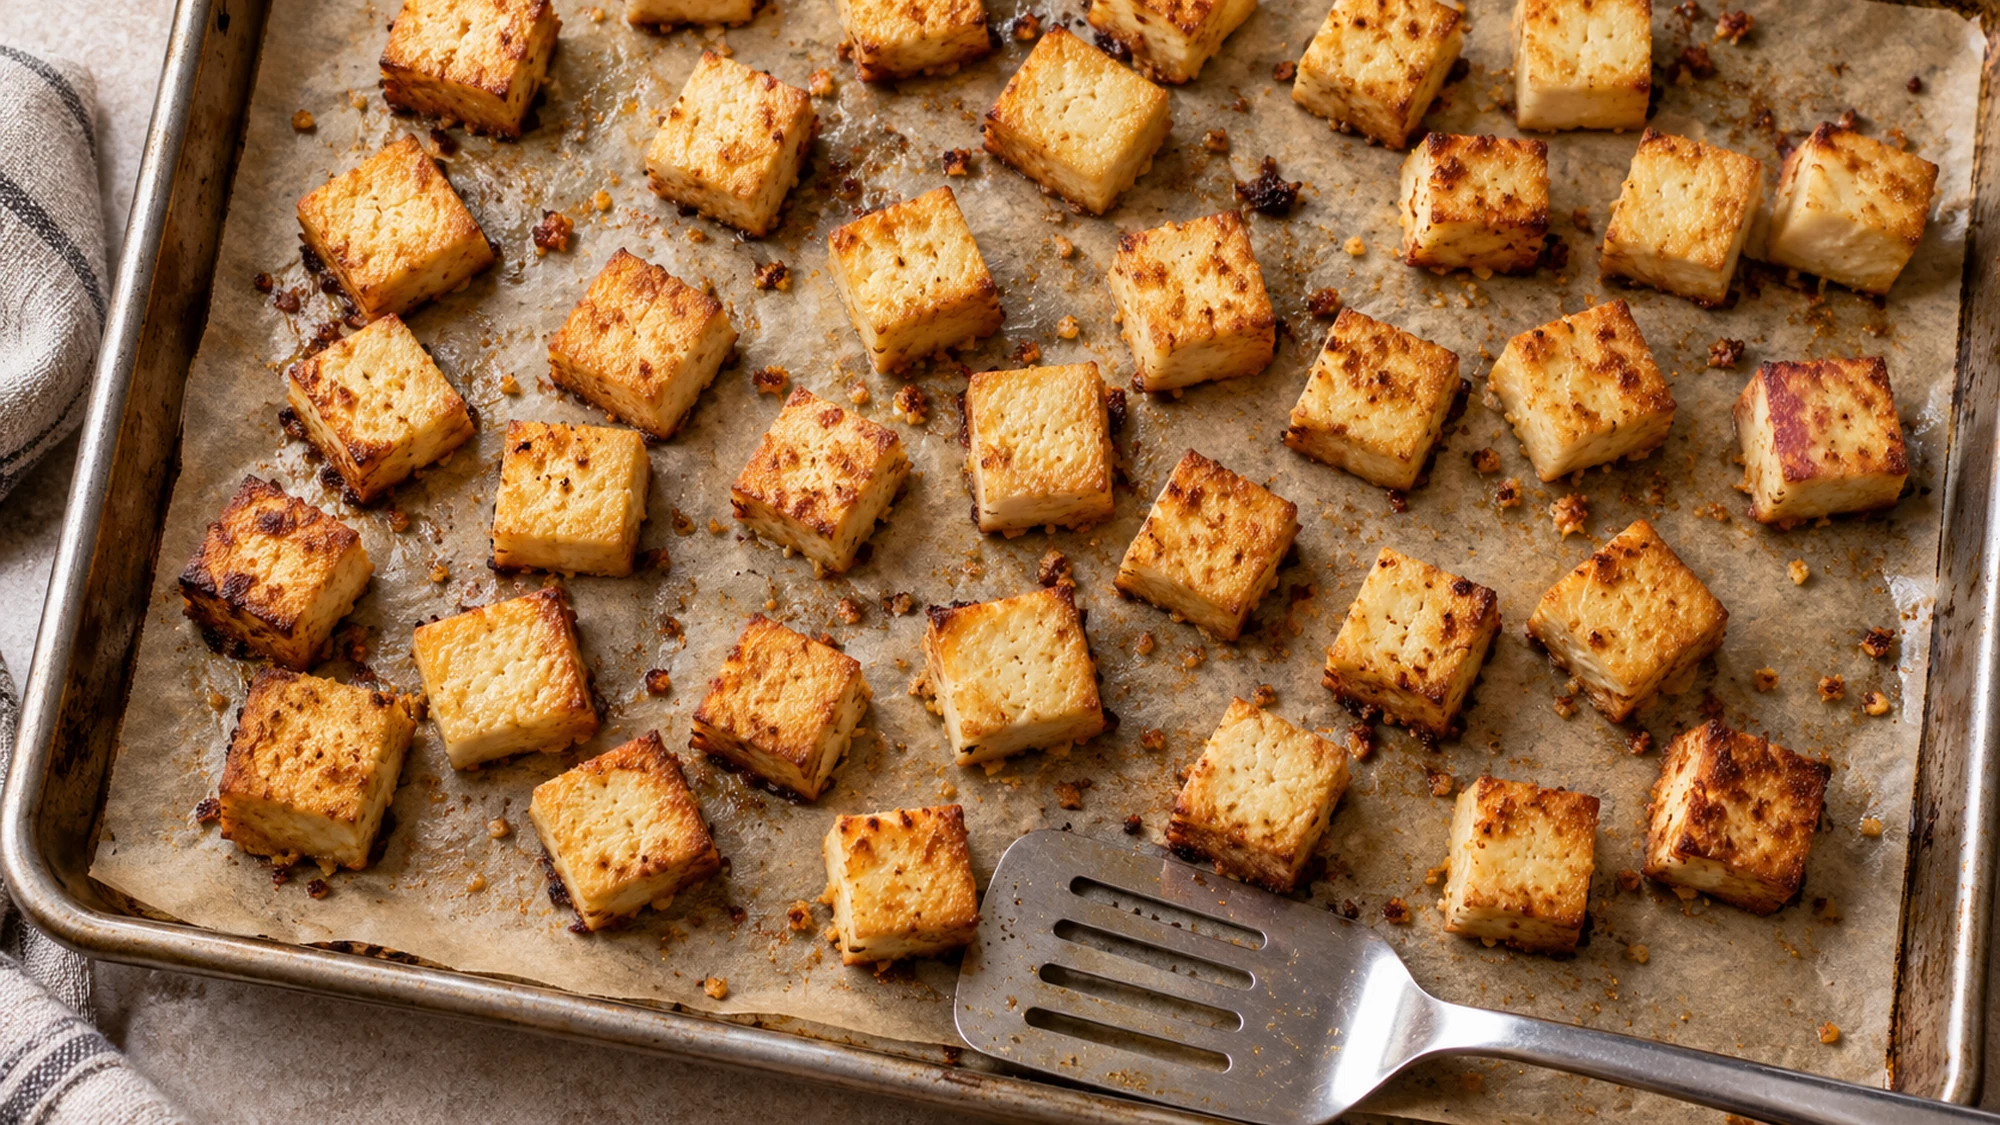
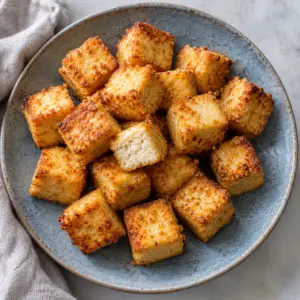
- Spread the cubes in one layer on the prepared baking sheet, leaving space between them. Bake for 30–35 minutes, carefully turning after about 20 minutes, until the surfaces are dry and the edges are golden. Ovens vary; watch the browning.
- Serve promptly with any sauce alongside, adding it only when ready to eat. The recipe makes four side servings; rice, vegetables and sauces are separate accompaniments.
Nutrition
Video
Notes
Tried this recipe?
Let us know how it turned out!Emily is Spoonvale’s recipe-writing persona, bringing a warm, practical voice to everyday cooking. Her focus is simple: approachable meals, comforting flavors, and clear instructions that help make time in the kitchen more enjoyable.