
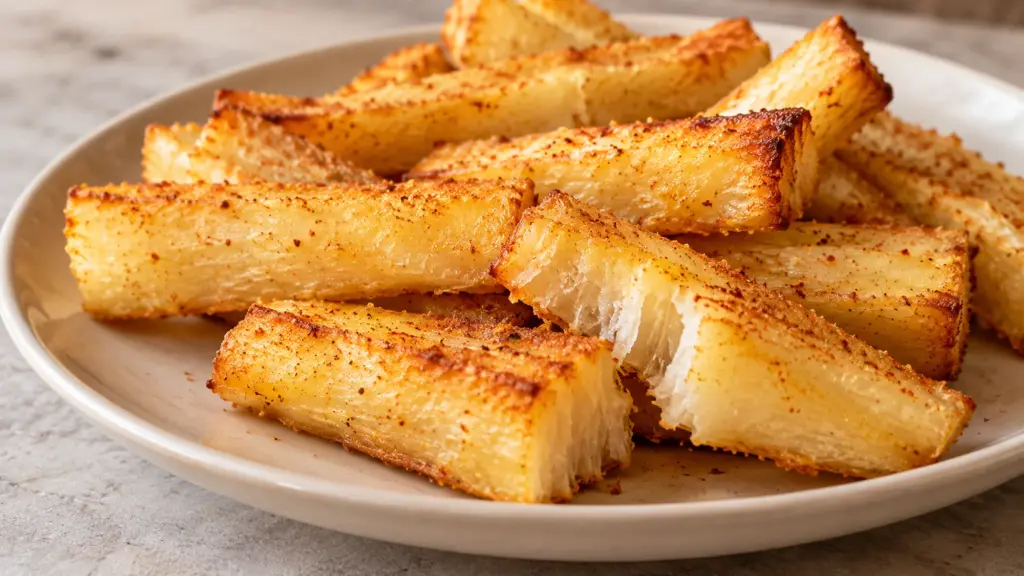
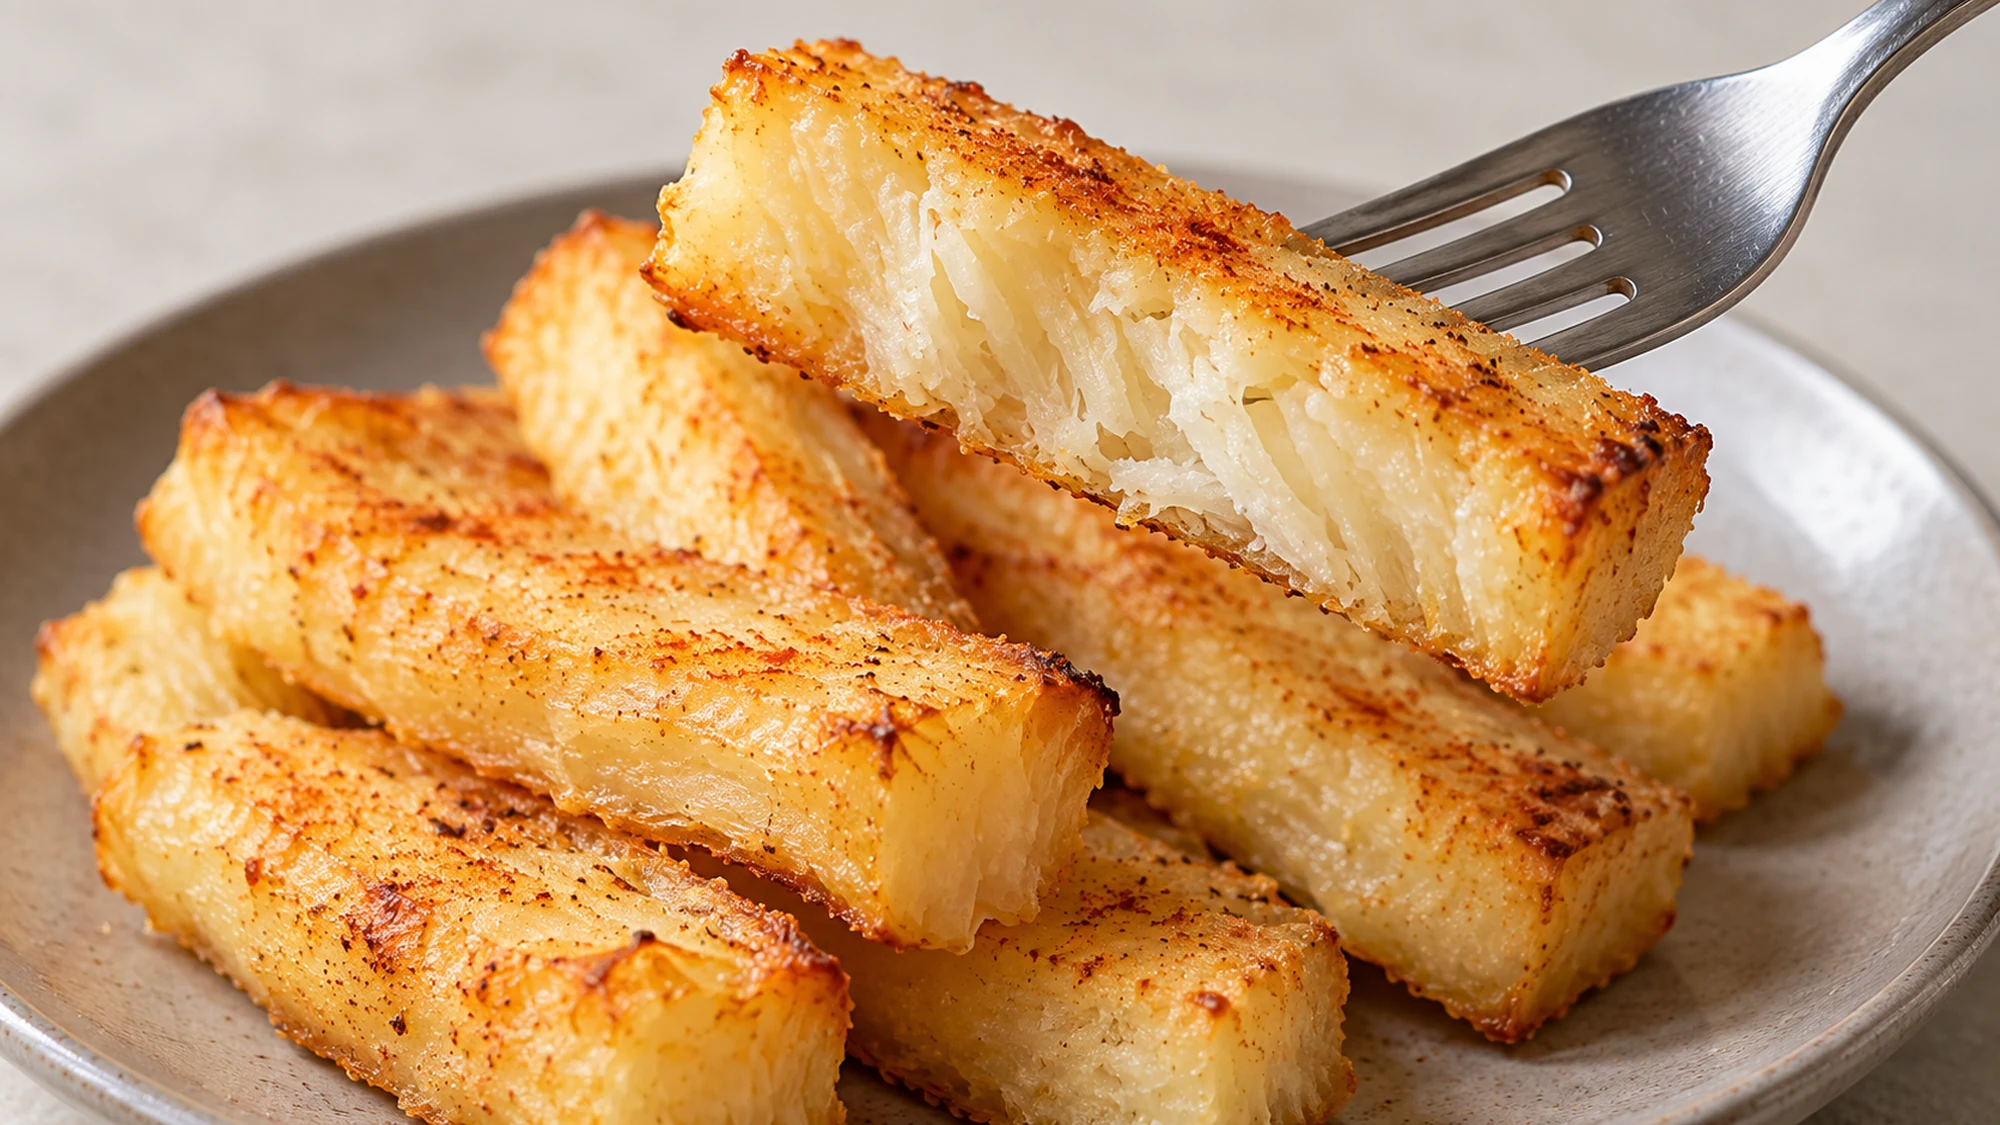
A fry with a golden edge and a fluffy middle has a way of making the dipping sauce feel almost optional. Yuca fries bring that contrast with a mild, starchy flavor and a more substantial bite than a thin potato fry. The useful trick comes before the oven: fully cook the yuca in water, then drain it well so the surface can brown.
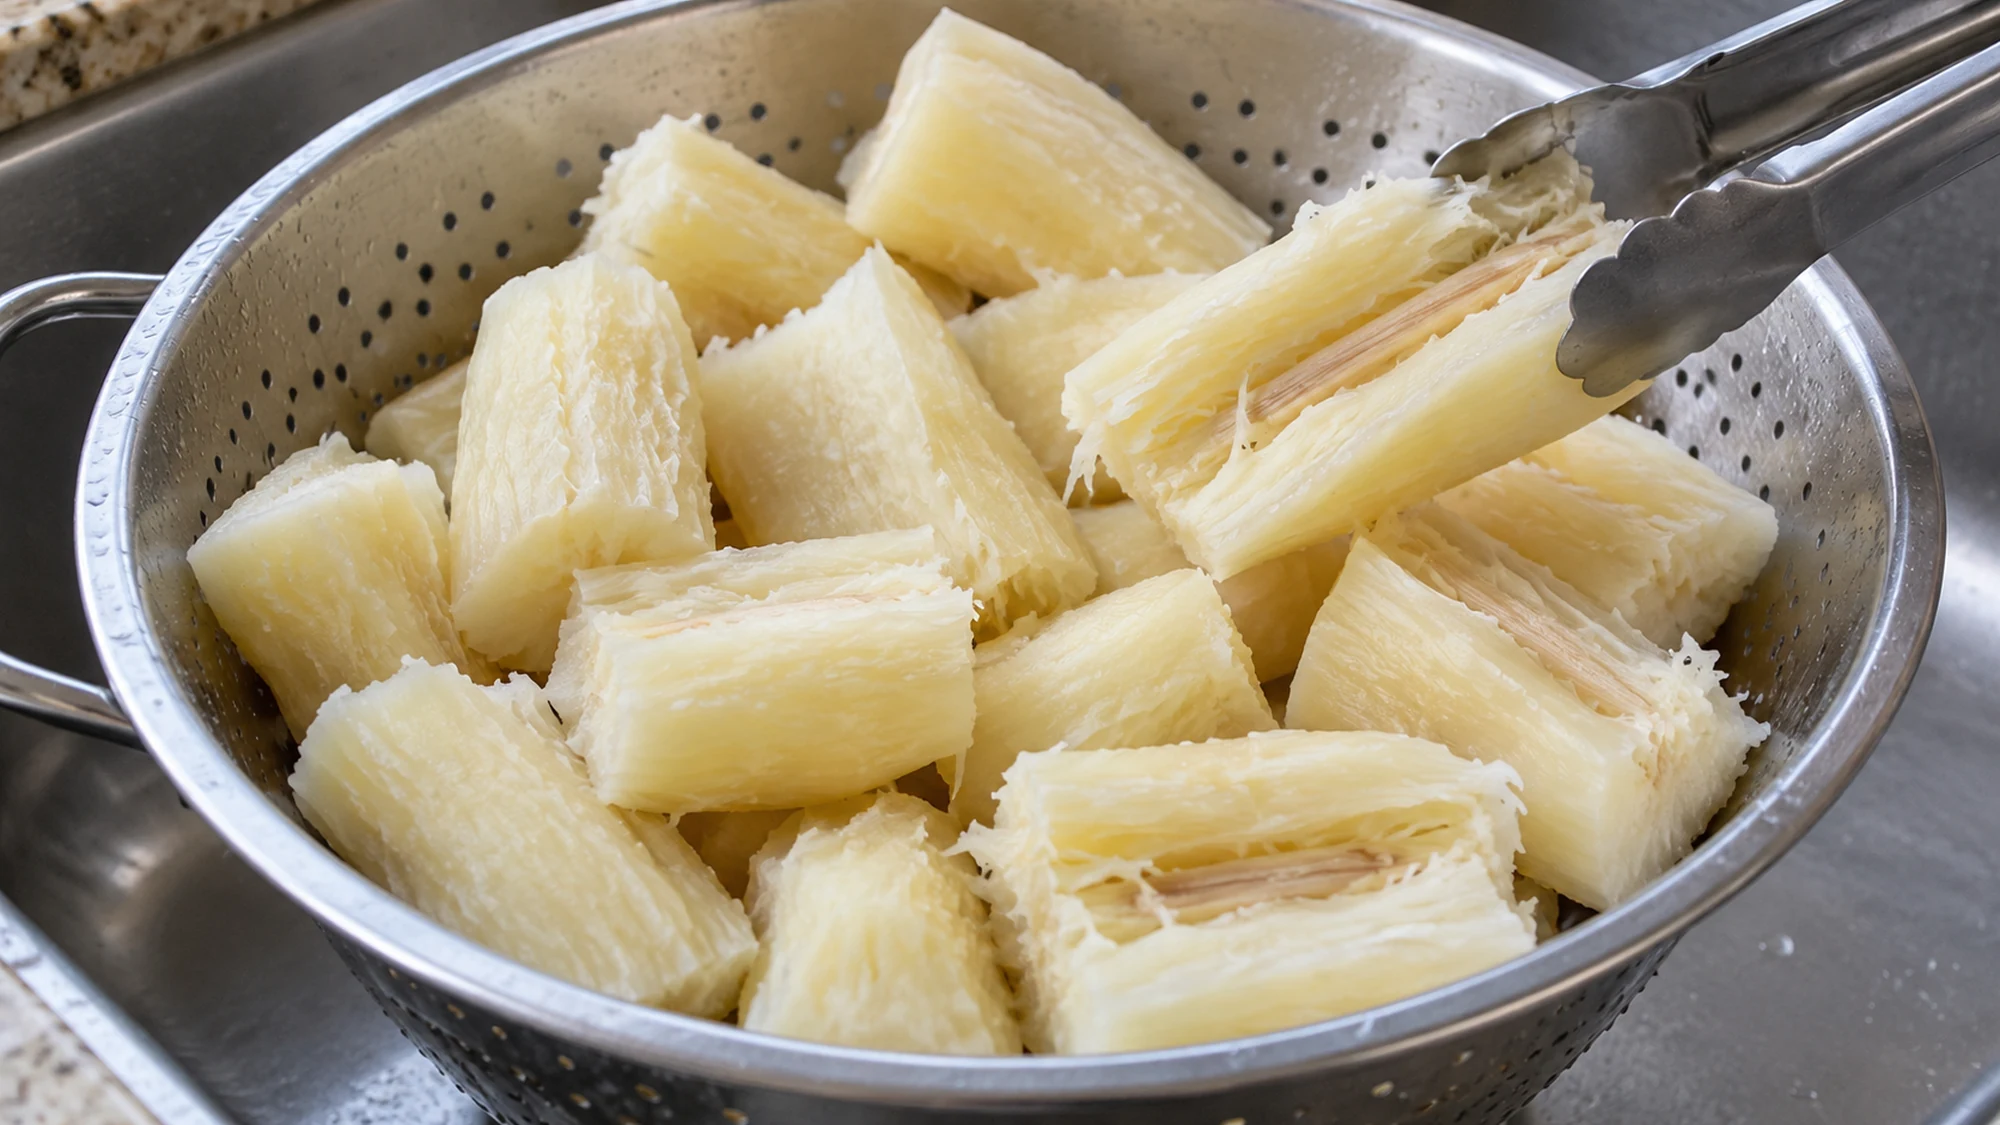
For these yuca fries, use commercially packaged frozen peeled yuca, follow its cooking directions and boil until fully tender. Discard the water, remove the woody center and bake the seasoned pieces in a single layer.
I prefer the convenience of packaged peeled yuca here because preparing an unfamiliar whole root adds work and uncertainty. Look for a food-grade product with clear instructions, rather than an unidentified root. Frozen yuca is sold in several package sizes; choose the amount specified in the card and read your own label before cooking.
Serving Suggestions for Yuca Fries
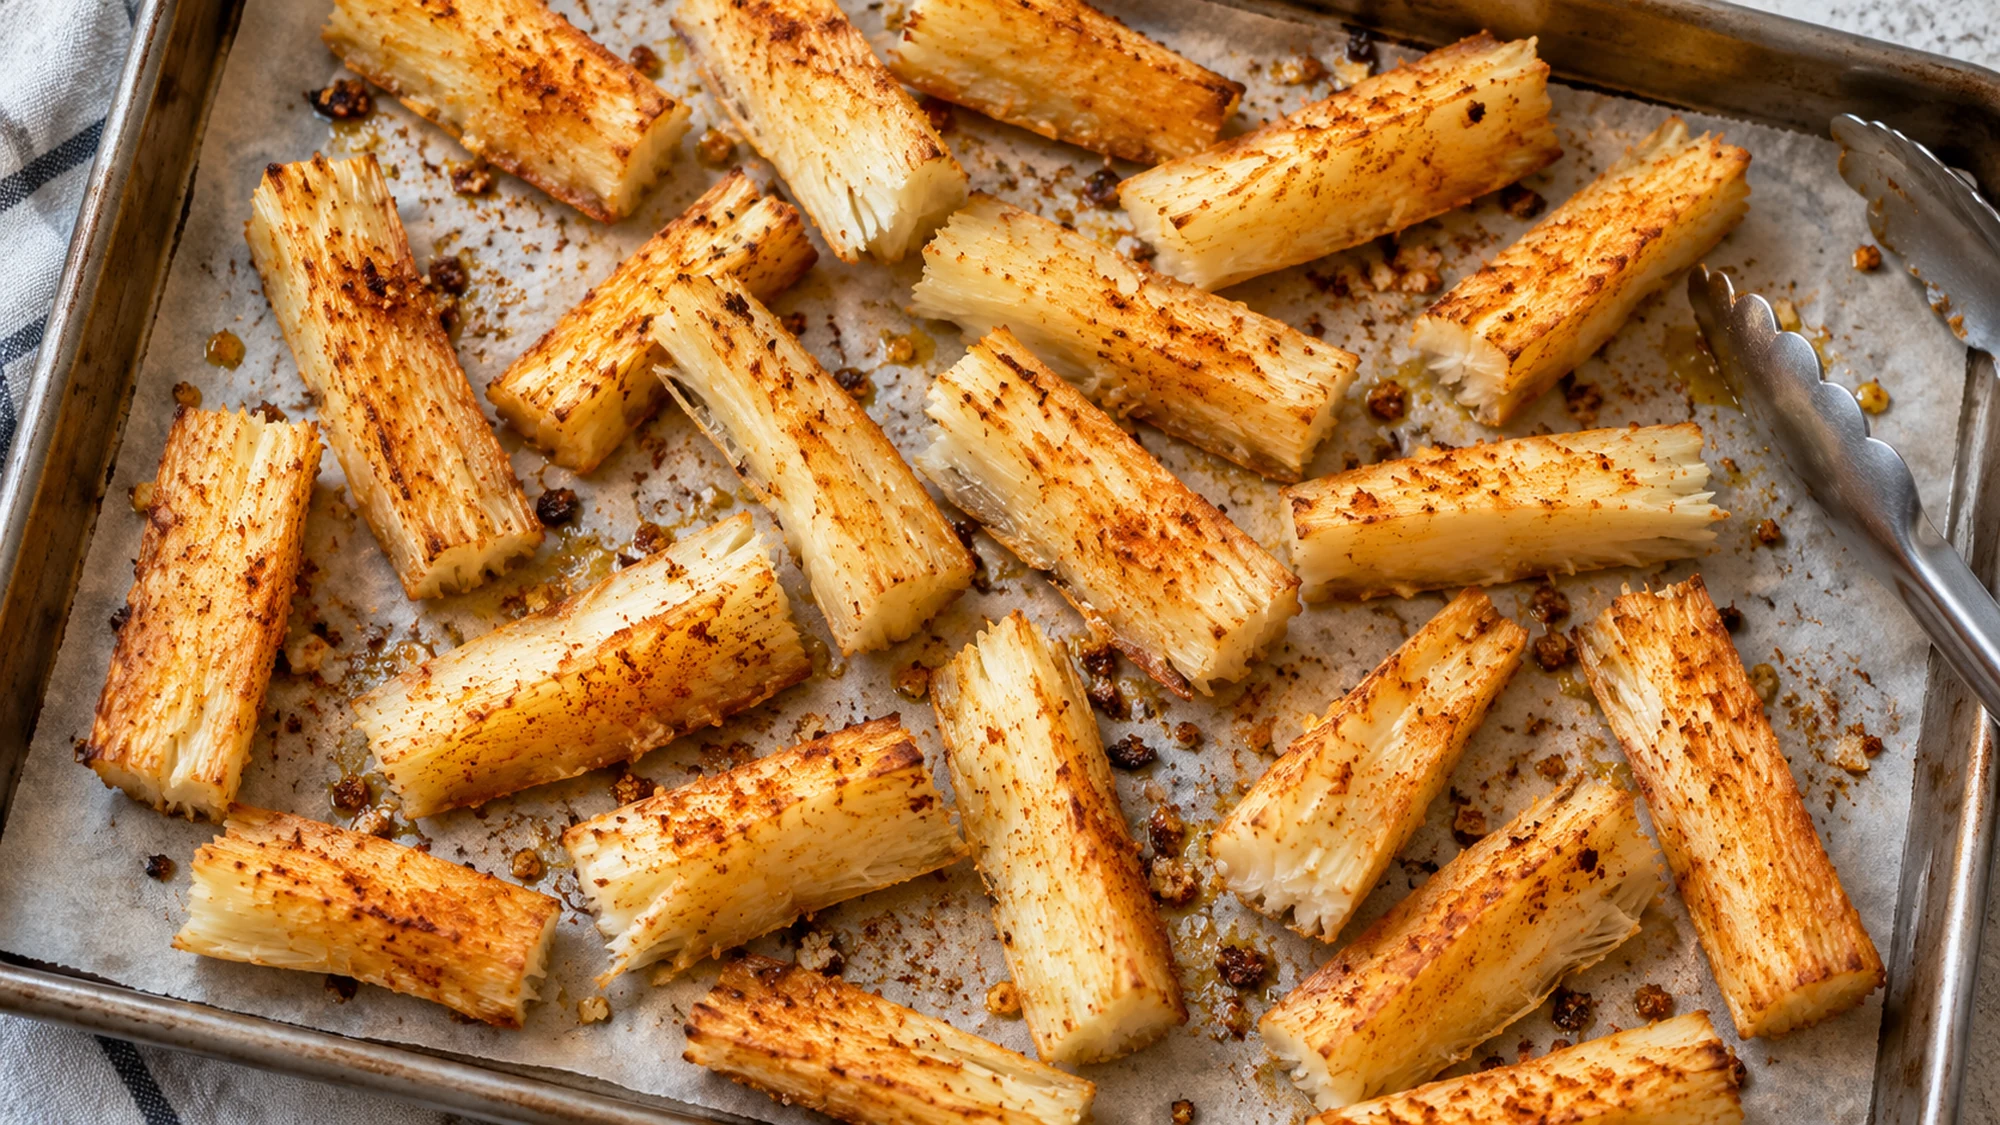
Bring the fries to the table while the edges are dry and golden. Their gentle flavor works beside roasted vegetables, a bean dish or a simply cooked protein. A fresh salad is especially welcome against the warm, starchy centers. Keep any dipping sauce in its own little bowl so the fries do not sit in liquid.
I’d put out a tangy sauce rather than adding more oil to the finished pan. A squeeze of citrus at the table is another option, although wet finishes soften the surface. If you are comparing different starchy sides, Spoonvale’s jacket potato with crisp skin offers a different texture and serving style.
- For dinner: treat the fries as the starchy side and add vegetables plus your chosen protein.
- For sharing: spread them on a shallow platter instead of piling them into a deep bowl.
- For dipping: offer small portions of sauce alongside; sauces are separate from the recipe estimate.
Serve promptly and keep sauces beside the fries so the browned edges stay exposed.
Variations for Yuca Fries
The garlic and paprika give the fries a savory, earthy coating without covering their mild flavor. Keep the seasoning simple at first, then change one thing at a time. My vote is for smoked paprika when dinner needs a smoky note; it changes the aroma without requiring a sticky glaze.
Texture depends on preparation as much as seasoning. Fully tender yuca should yield easily to a fork before baking. After draining, let visible steam escape and cut pieces to a similar thickness. Small fragments brown before thick pieces, so move them to the cooler part of the pan or remove them sooner.
| Choice | Result | When to add |
|---|---|---|
| Smoked paprika | A smoky aroma | With the oil |
| Chili flakes | Small bursts of heat | After baking |
| Lime juice | A tangy finish | At the table |
| Thicker cuts | More soft center | Allow extra browning time |
- Keep space: an uncrowded pan lets moisture escape.
- Turn gently: tender pieces can break if handled roughly.
- Watch the edges: oven strength and pan color affect browning.
Change the flavor freely, but keep the thorough boil, dry surface and roomy pan.
Health Benefits and Careful Preparation
Yuca is a starchy root that supplies carbohydrate. It is a side dish with its own texture and flavor, rather than a nutritional replacement for every other vegetable on the plate. The measured oil contributes to both browning and the recipe’s energy estimate. Portion size and the rest of the meal still matter.
Preparation deserves particular care. The Canadian Food Inspection Agency explains cassava’s natural toxins and the difference between sweet and bitter types. This recipe is for commercially packaged food-grade peeled yuca; it is not a method for processing bitter or unidentified cassava. Never taste it raw, and follow all package safety directions.
- Cooking: complete the package-directed boil before baking; discard the cooking water.
- Storage: follow safe leftover cooling and storage guidance and refrigerate promptly.
- Reheating: heat leftovers to 165°F (74°C); their texture will differ from freshly baked fries.
Choose an identified food-grade product, cook it thoroughly as directed and keep the preparation water out of the finished dish.
Bottom Line
Yuca fries reward a little attention before they reach the baking sheet. Start with a suitable packaged product, boil it fully, remove the woody center and give the drained pieces room to brown. Garlic and paprika keep the flavor straightforward, while a sauce at the table lets everyone choose the finish. Serve them warm for the clearest contrast between golden edges and a soft, starchy center.
Yuca Fries Recipe

Ingredients
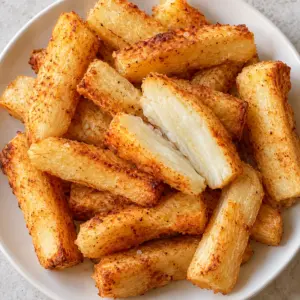
- 1 24-ounce package commercial frozen peeled yuca 680 g; food-grade, with clear cooking directions; not unidentified or bitter cassava
- 2 tablespoons olive oil 30 ml
- 1 teaspoon garlic powder about 3 g
- 1/2 teaspoon paprika about 1.15 g
- 1/2 teaspoon fine salt about 3 g
- water enough to cover yuca for boiling; discard after cooking
Equipment
- 1 Large pot at least 4 quarts, with room to cover the yuca with water
- 1 Colander
- 1 Fork for checking tenderness
- 1 Cutting board and chef’s knife
- 1 large rimmed baking sheet about 18 by 13 inches
- Parchment paper oven safe at 425°F
- 1 Mixing bowl
- 1 Spatula
- Measuring spoons
Instructions
- Read your commercial yuca package and follow all its cooking and safety directions. Fill a large pot with enough water to cover the pieces and bring to a boil. Add the frozen yuca, return to a boil, then reduce to a steady simmer and cook until completely fork-tender, typically 20–30 minutes; the package directions take priority. Never taste yuca raw.
- Drain in a colander and discard all cooking water. Let the yuca cool for about 5 minutes, until safe to handle. Split the pieces lengthwise and pull out the tough woody center. Cut into fries about 3 inches long and 1/2 inch thick, handling them gently.
- Heat the oven to 425°F (220°C) and line a large rimmed baking sheet with oven-safe parchment. Let visible steam escape from the yuca. Gently toss the pieces with the oil, garlic powder, paprika and salt.
- Spread on the baking sheet in one layer with space between pieces. Bake for 25–30 minutes, turning carefully halfway through, until the surfaces are dry and the edges are golden. Remove smaller pieces earlier if needed.
- Serve warm, with any dipping sauce alongside. Makes four side servings; sauces and other accompaniments are separate.
Nutrition
Video
Notes
Tried this recipe?
Let us know how it turned out!Emily is Spoonvale’s recipe-writing persona, bringing a warm, practical voice to everyday cooking. Her focus is simple: approachable meals, comforting flavors, and clear instructions that help make time in the kitchen more enjoyable.