
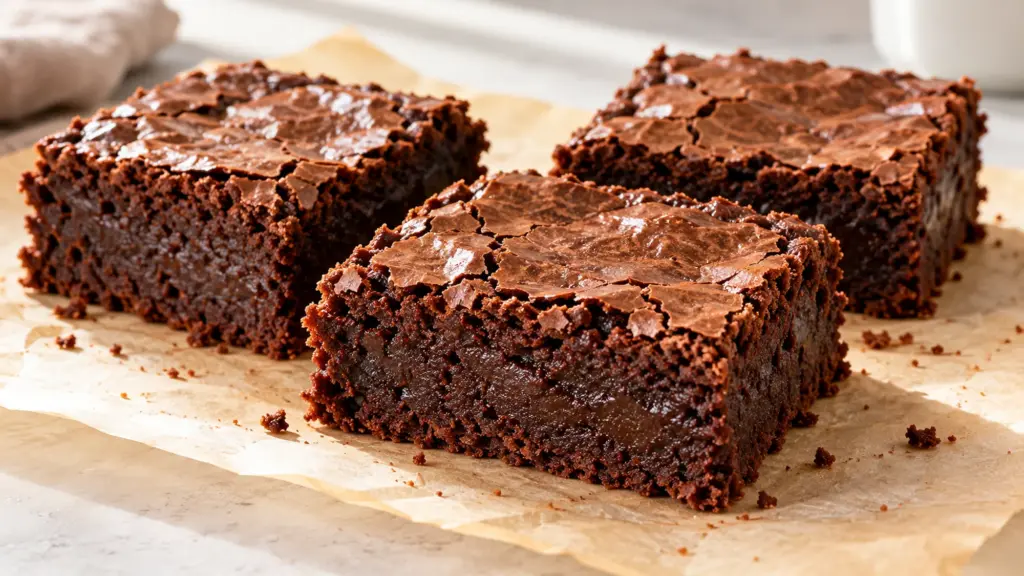
A brownie can be firm at the edges while the middle still needs attention. That little gap is where a useful recipe earns its place: enough baking to set the center, enough restraint to keep the crumb dense. This cocoa version uses a short ingredient list and an ordinary square metal pan.
For a fudgy brownie, use melted butter, measure the flour carefully, and stop folding when the dry streaks disappear. Bake until the center is set and a tester has moist crumbs rather than liquid batter, then let the pan cool before cutting.
I’d rather wait for a clean square than rush a warm slab. Cooling gives the soft middle time to firm. The recipe below makes sixteen small squares from an eight-inch pan, without melted chocolate, frosting, or a bag of chocolate chips doing the work.
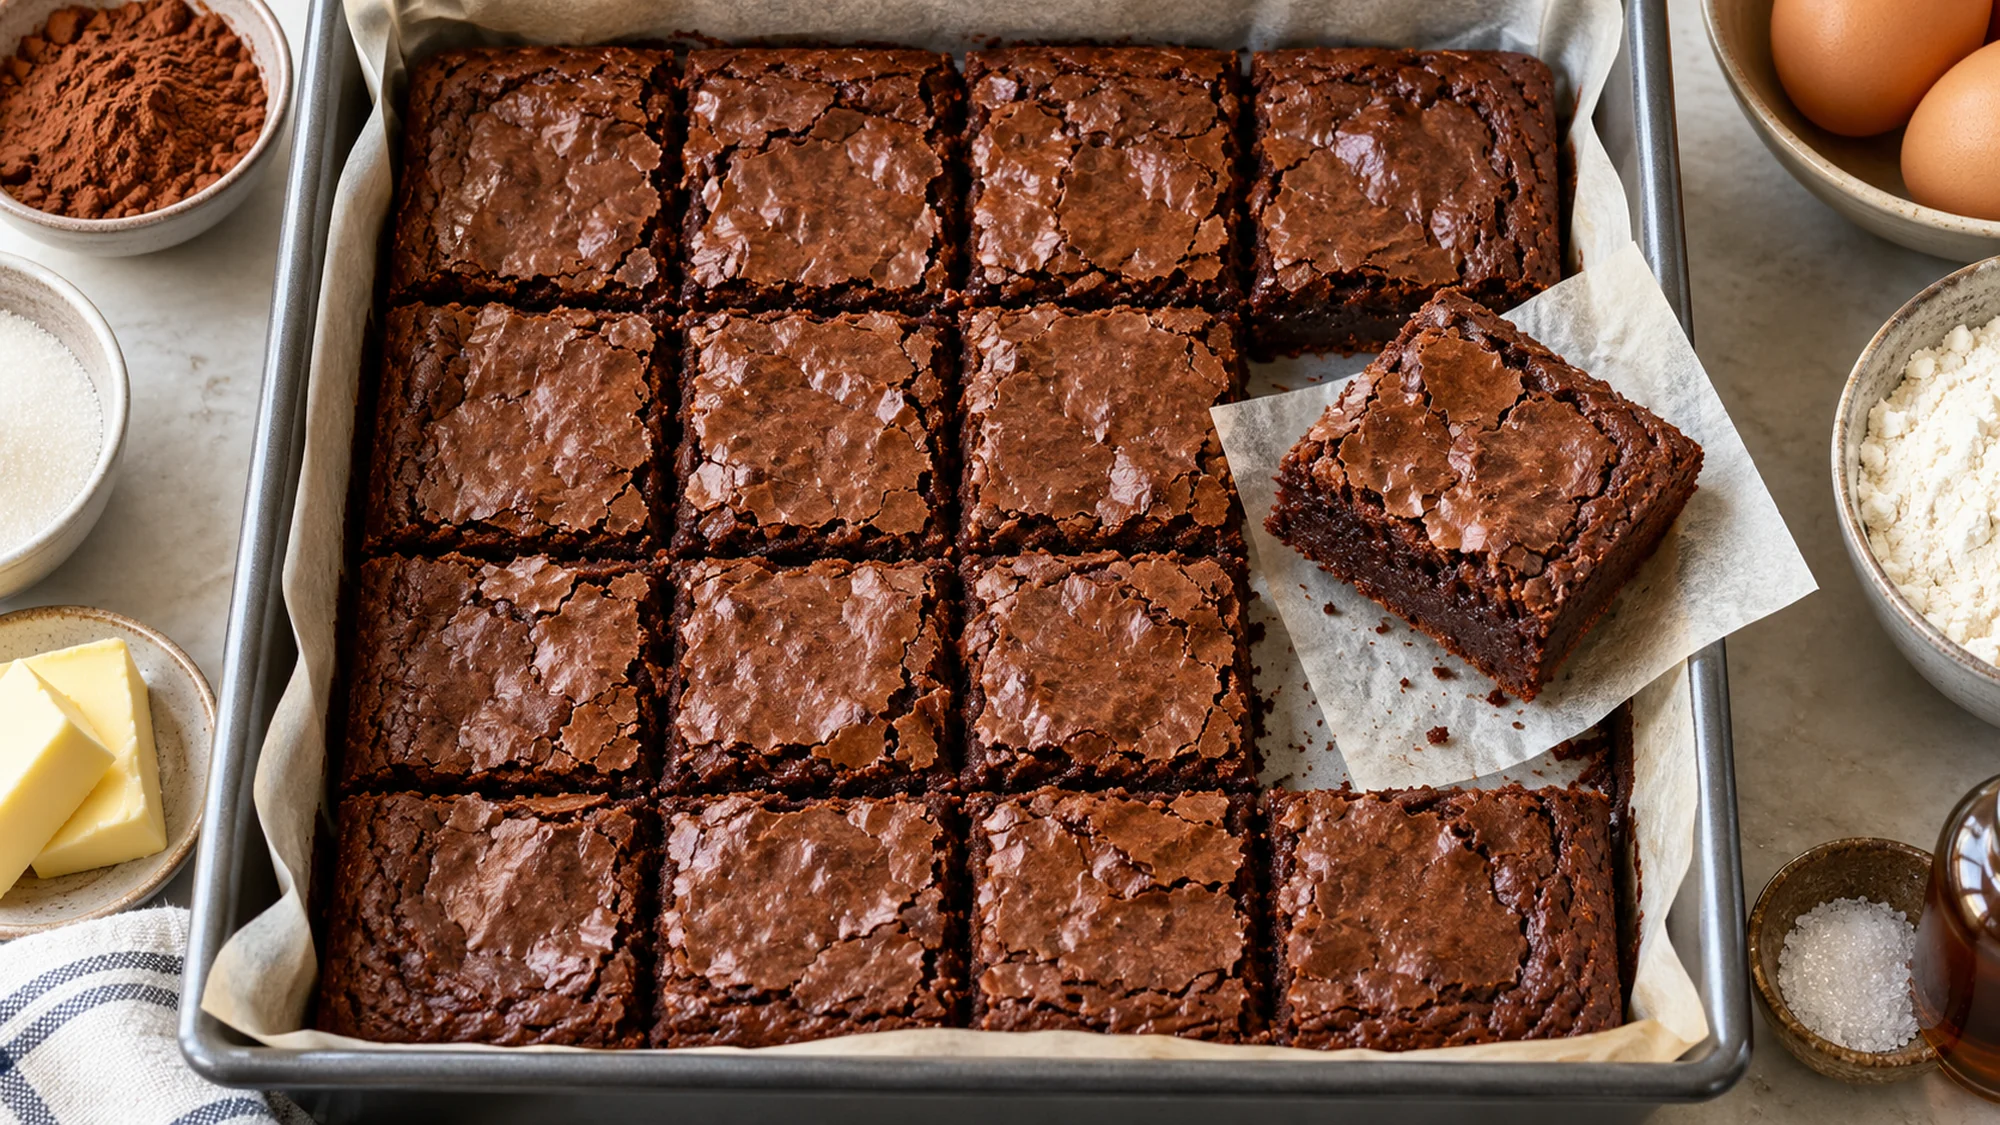
Serving a brownie in clean, small squares
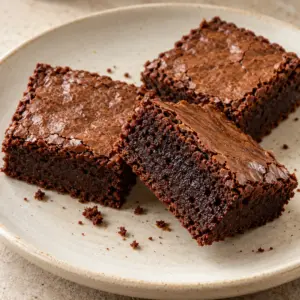
A plain brownie gives you the clearest contrast between its thin top, soft center, and firmer edge. Lift the cooled slab with the parchment, set it on a board, and wipe the knife between cuts. For sixteen similar portions, divide it into four rows and four columns.
Serve the squares on their own, or offer fresh berries and coffee alongside. If you add ice cream or a sauce, put it on just before eating so the surface does not sit soaking. I prefer a modest square first: the cocoa flavor is concentrated, and a second helping remains an available decision.
- For a softer serving, let a chilled square stand briefly at room temperature rather than reheating the entire pan.
- Store cooled pieces airtight for 3–4 days at room temperature; wrap and freeze portions for longer storage.
- Keep raw batter off the tasting spoon; flour and eggs need cooking before eating.
Let the slab cool, use a clean knife, and keep any wet topping separate until the plate reaches the table.
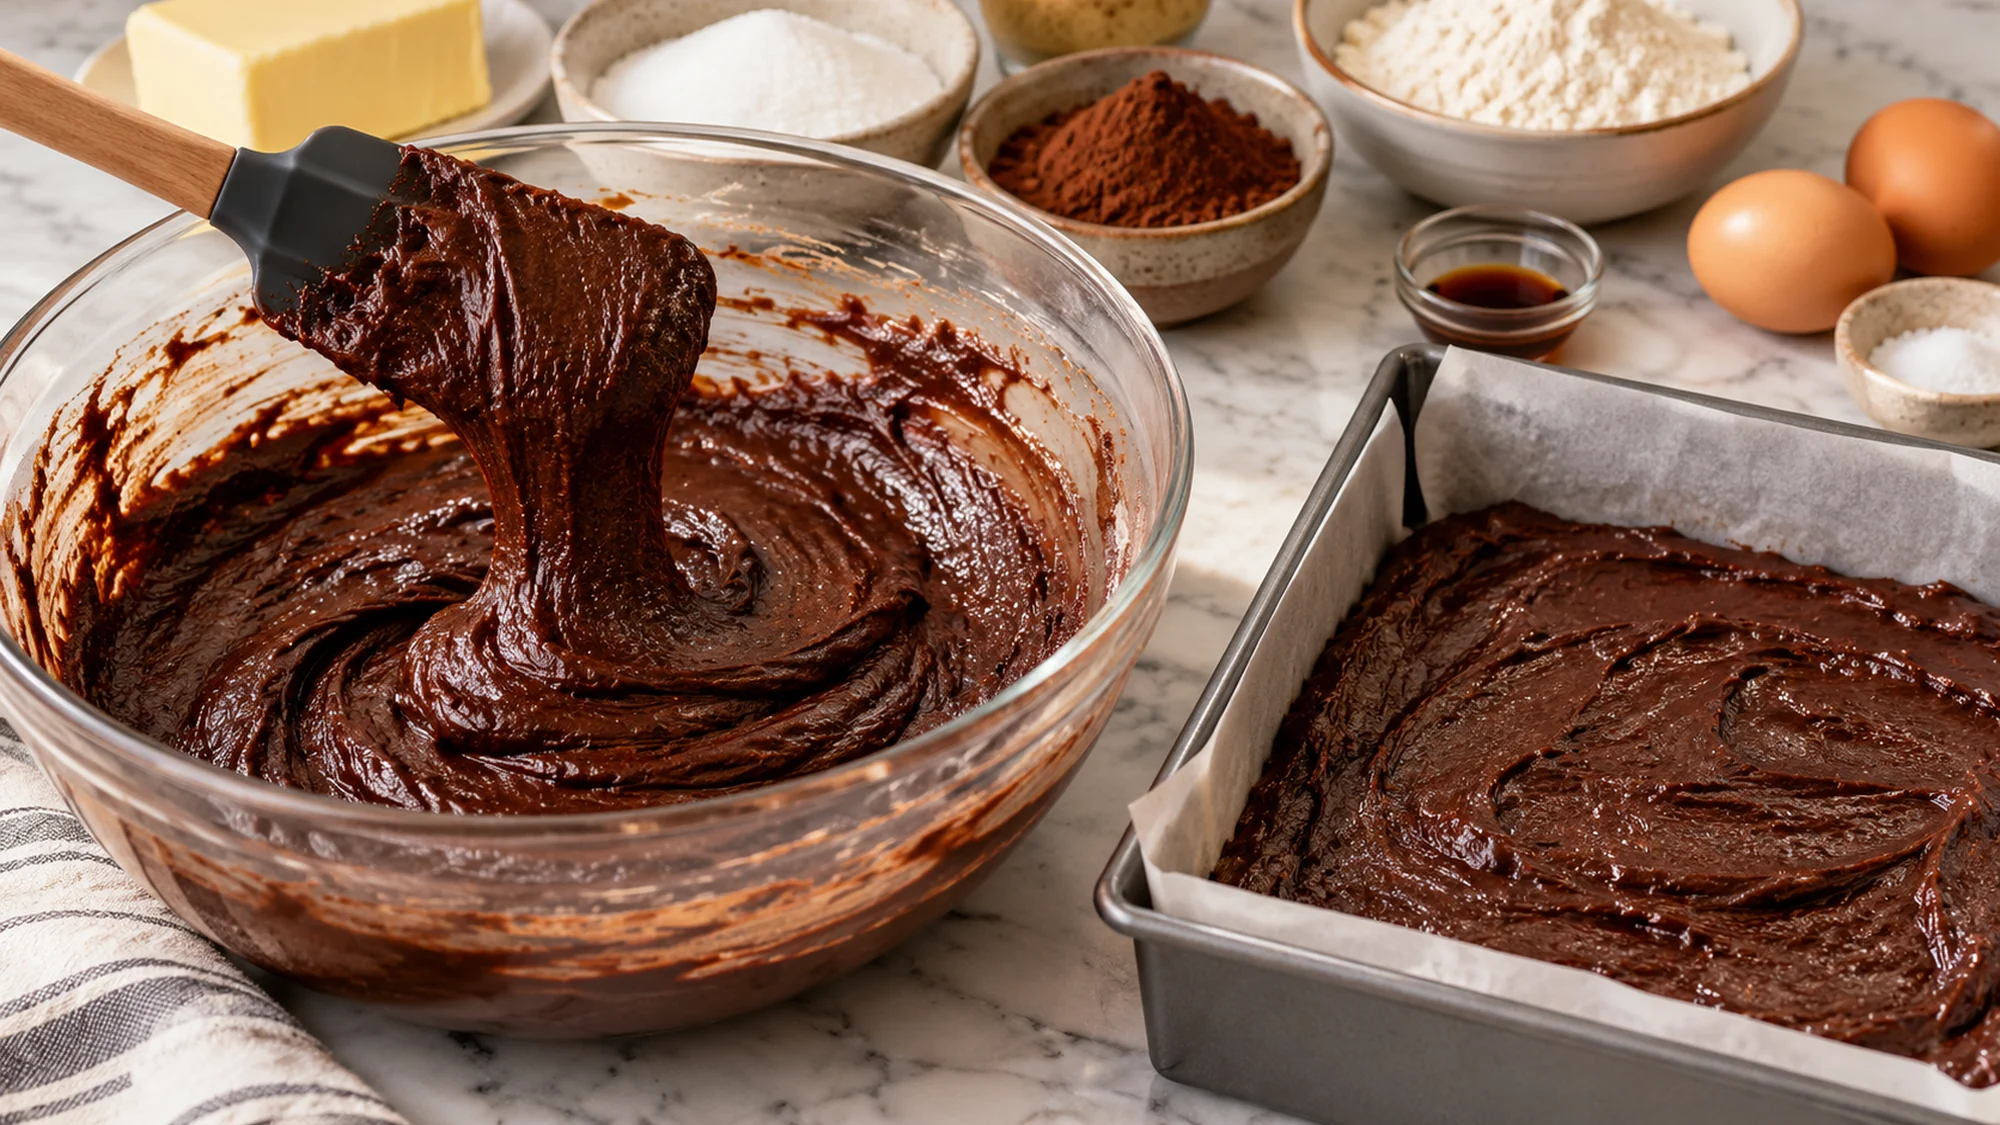
How pan and cocoa choices change a brownie
The pan is part of the recipe, not just a container. An eight-inch metal pan keeps this quantity at the intended thickness. A larger pan spreads the batter more thinly, while glass changes how heat reaches the center; neither deserves the same timing without attention.
| Change | What it changes | Useful adjustment |
|---|---|---|
| Chopped walnuts | Add crunch and a nut allergen | Fold in ½ cup if desired; baking may vary. |
| Dutch-process cocoa | Darker color and different flavor | Use the same measured cocoa weight. |
| A larger metal pan | Thinner brownie layer | Begin checking earlier; edges can dry faster. |
| Less sugar | Changes sweetness and texture | Avoid a large unplanned reduction. |
Cocoa choice changes the flavor, too. Natural cocoa works here, and Dutch-process cocoa gives a darker color and a different chocolate profile. Because this batter has no baking soda or powder, there is no leavener to rebalance for that particular change. Still measure the cocoa instead of adding extra spoonfuls for a stronger taste.
Choose one purposeful change, keep the pan and measurements in view, and judge the center rather than borrowing another batch’s timer.
Health benefits and portions for a brownie
This is a chocolate dessert with butter and sugar, and there is no need to dress it up as a wellness shortcut. Cocoa contributes some fiber and minerals, but a small brownie is not a substitute for the variety of foods that make up everyday meals. The useful choices here are portion size and enjoyment.
The card’s nutrition estimate divides the measured batter into sixteen pieces. It includes all the butter and excludes serving toppings; a larger cut changes the portion. This version contains wheat, eggs, and milk. A flour swap alone does not make a dessert safe for every allergy, and toppings can introduce additional allergens.
- Avoid tasting raw batter; flour can carry harmful bacteria before cooking.
- Use the balance of flour, fat, and sugar to understand texture rather than adding more flour to a soft batter.
Enjoy the chocolate flavor in a portion that suits you, and treat the nutrition estimate as context for the actual size of the square.
Bottom Line
A good brownie needs a little precision before it needs another topping. Weigh the flour and cocoa if possible, avoid beating the batter after the flour goes in, and check the center near the end of baking. The oven clock is a guide; a puddle of raw batter on the tester means more baking is needed.
Give the finished pan time to cool and the result has a chance to hold together: a thin top, a dense center, and a crisp edge in the same small square. That is plenty of reason to keep this brownie simple.
Brownie Recipe
Ingredients
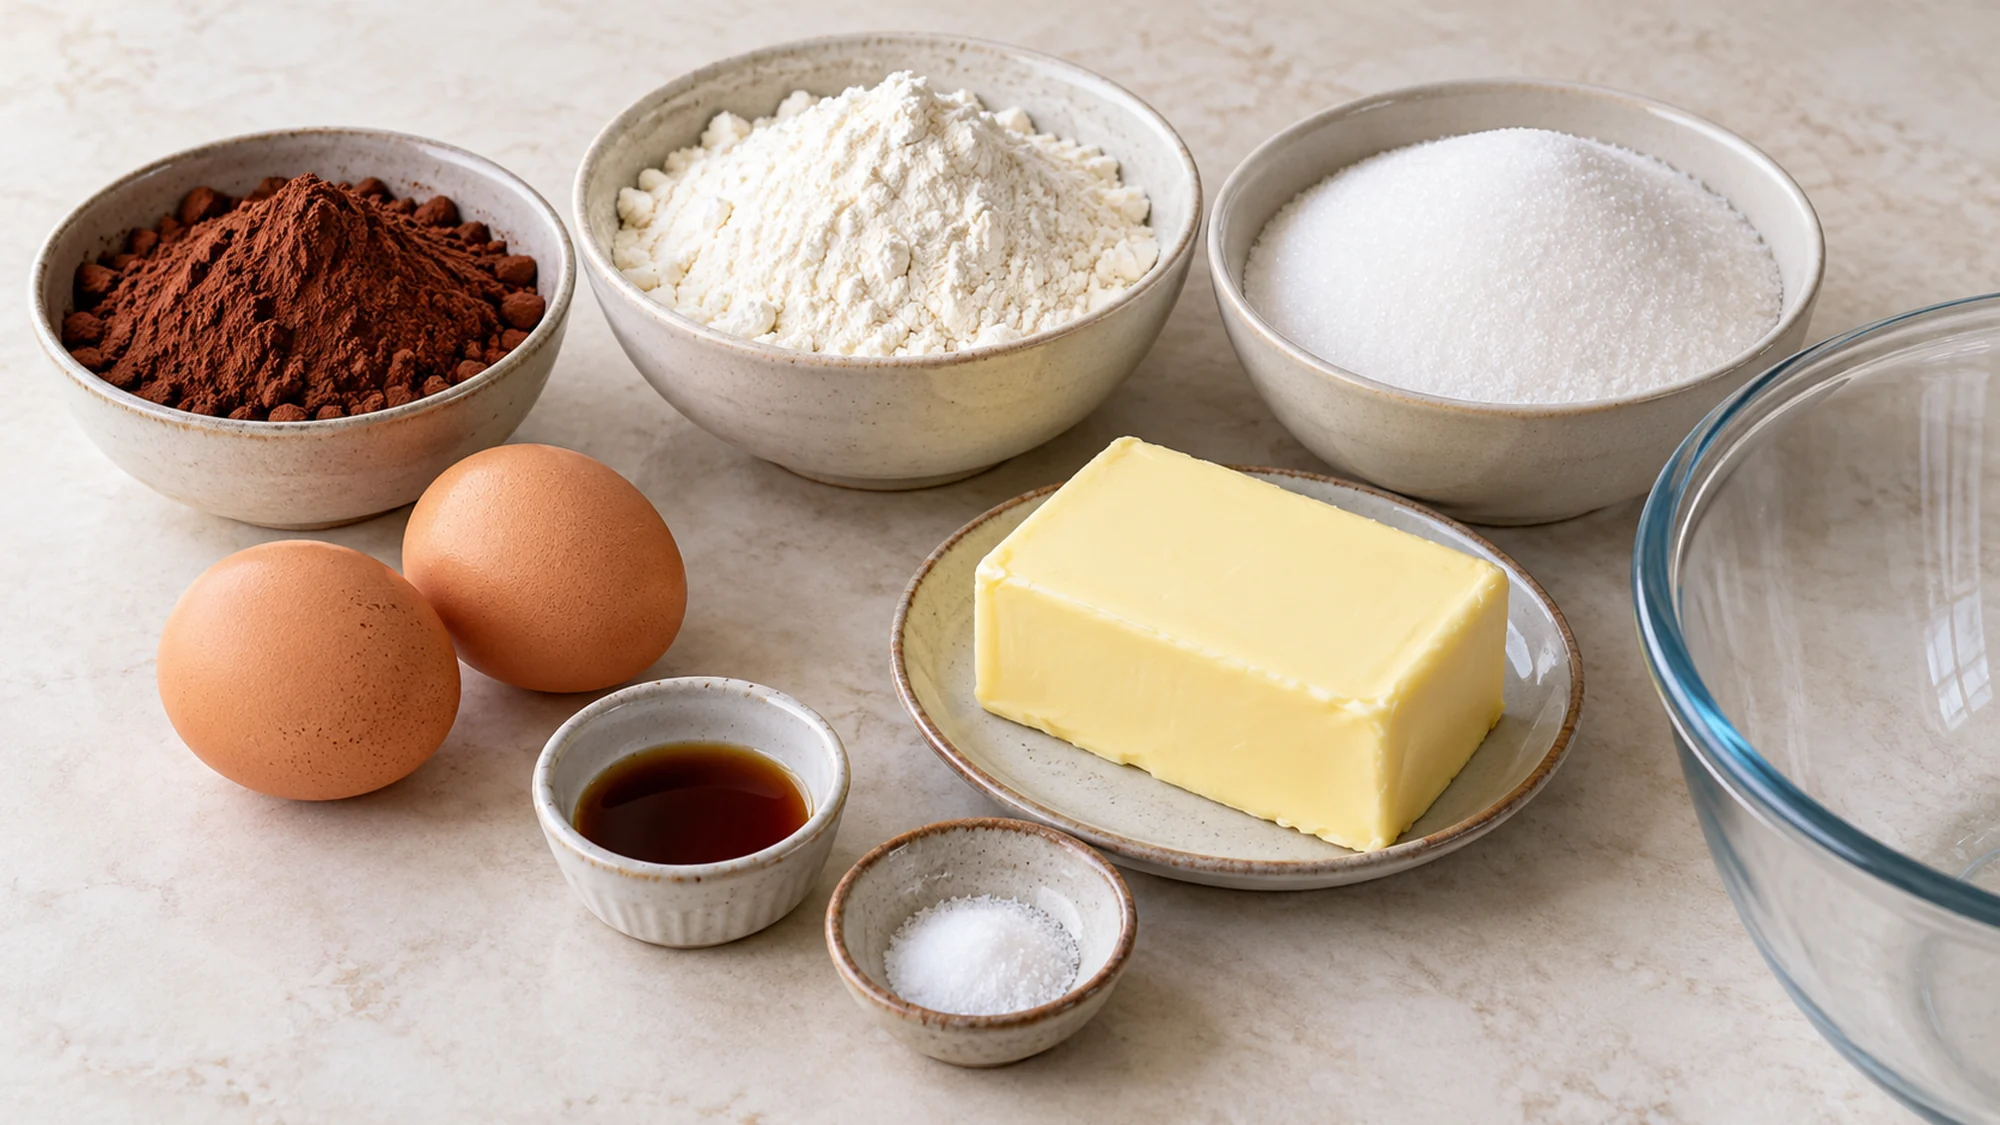
- 170 g unsalted butter 3/4 cup, cut into pieces
- 250 g granulated sugar 1 1/4 cups
- 60 g unsweetened cocoa powder about 2/3 cup; weight is preferred
- 2 large eggs 100 g without shells
- 1 tsp vanilla extract
- 0.5 tsp fine salt 3 g
- 100 g all-purpose flour about 3/4 cup plus 1 tbsp; weight is preferred
Equipment
- 1 8-inch square metal baking pan 20 cm, lined with parchment
- 1 Large microwave-safe mixing bowl
- 1 Whisk
- 1 Silicone spatula
- Kitchen scale and measuring spoons
- 1 Microwave for melting butter
- 1 Oven
- 1 Cooling rack
- 1 Toothpick or thin skewer for checking the center
Instructions
- Heat the oven to 350°F (175°C). Line an 8-inch (20 cm) square metal pan with parchment, leaving an overhang on two sides for lifting the cooled brownie slab.
- Melt the butter in the large microwave-safe bowl in 20-second intervals, stirring between intervals, until just melted. Whisk in the sugar and cocoa for about 30 seconds. If the mixture is hot, let it cool until warm before adding eggs.
- Whisk in the eggs one at a time, then the vanilla and salt, until evenly combined. Add the flour and fold with a spatula just until no dry streaks remain. Scrape the bowl’s bottom and sides without beating air into the batter.
- Spread the batter evenly in the lined pan. Bake for about 28–33 minutes, checking near 28 minutes. The edges should be set and a toothpick inserted in the center should carry moist crumbs, with no liquid raw batter. If needed, continue baking in short intervals until set.
- Set the pan on a rack and cool completely, allowing about 1 hour or longer if the center is still warm. Lift out using the parchment and cut into 16 squares, wiping the knife between cuts.
Nutrition
Video
Notes
Tried this recipe?
Let us know how it turned out!Emily is Spoonvale’s recipe-writing persona, bringing a warm, practical voice to everyday cooking. Her focus is simple: approachable meals, comforting flavors, and clear instructions that help make time in the kitchen more enjoyable.