
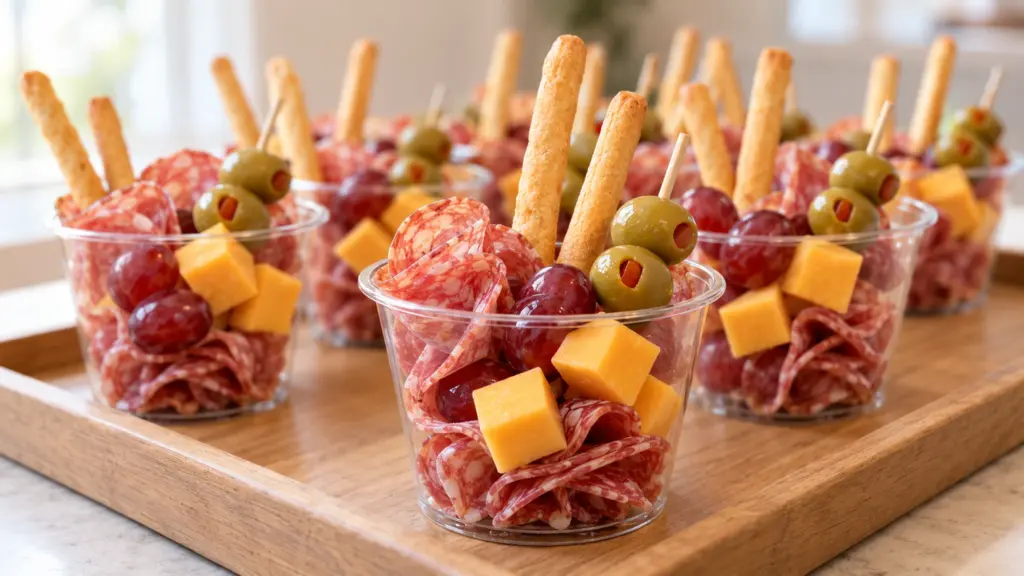
A snack table can turn into a balancing act: a plate in one hand, a drink in the other, and nowhere convenient to put either. Charcuterie cups gather the familiar cheese-board flavors into a small serving you can carry. The useful detail is timing the breadsticks so they stay crisp instead of becoming soft little flagpoles.

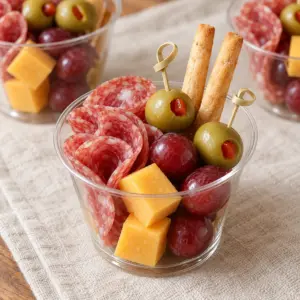
These charcuterie cups combine salami, sharp cheddar, red grapes, green olives, and mini breadsticks. Assemble the chilled ingredients first, then add the breadsticks immediately before serving. Two short picks in each cup keep the cheese, meat, and olives easy to reach.
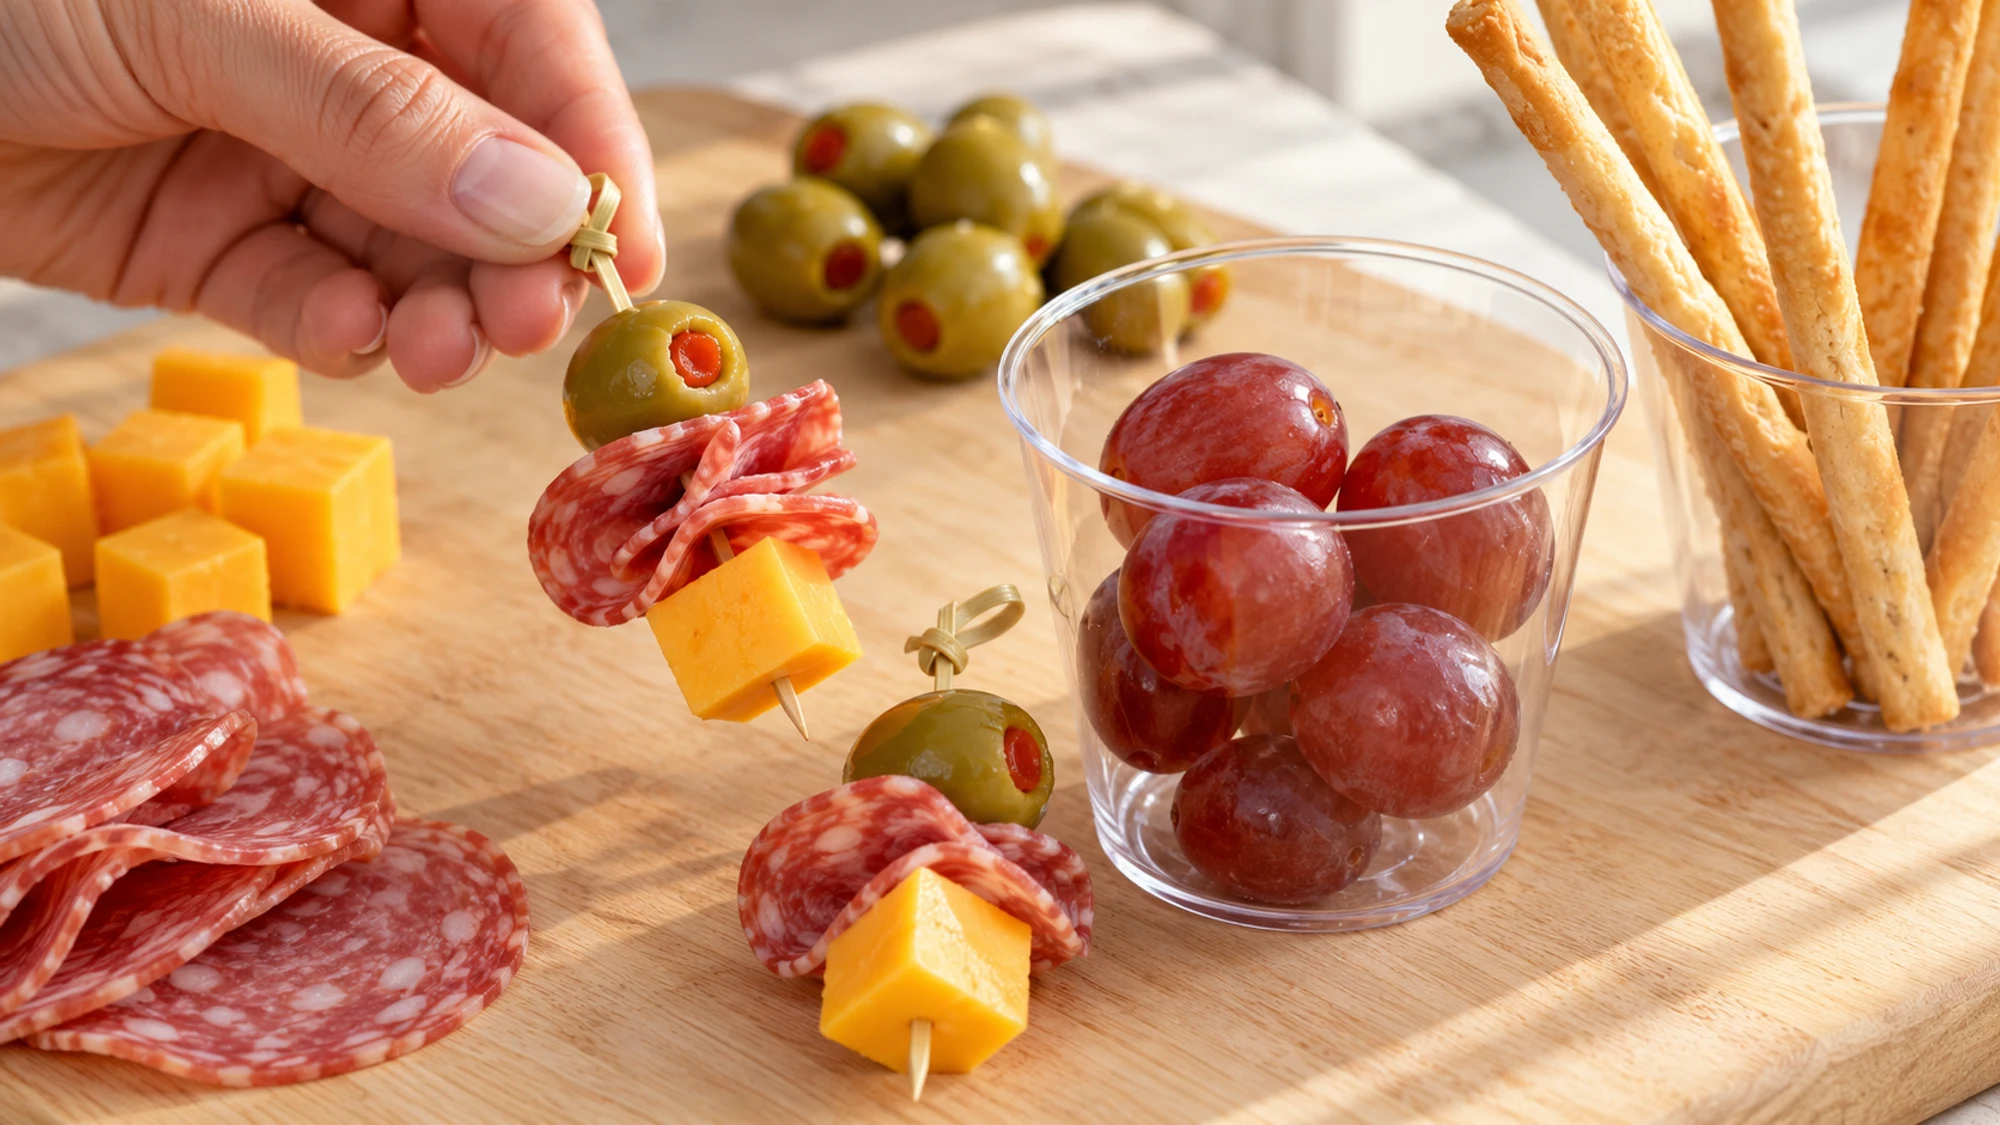
There is no cooking here, and the arrangement should feel manageable rather than architectural. I prefer loose folds of salami over elaborate flowers because they are easier to portion and thread. Grapes settle into the base, cheddar gives the picks structure, and olives supply a briny contrast. A short, wide cup is more stable and accessible than a tall, narrow one.
Serving Suggestions for Charcuterie Cups
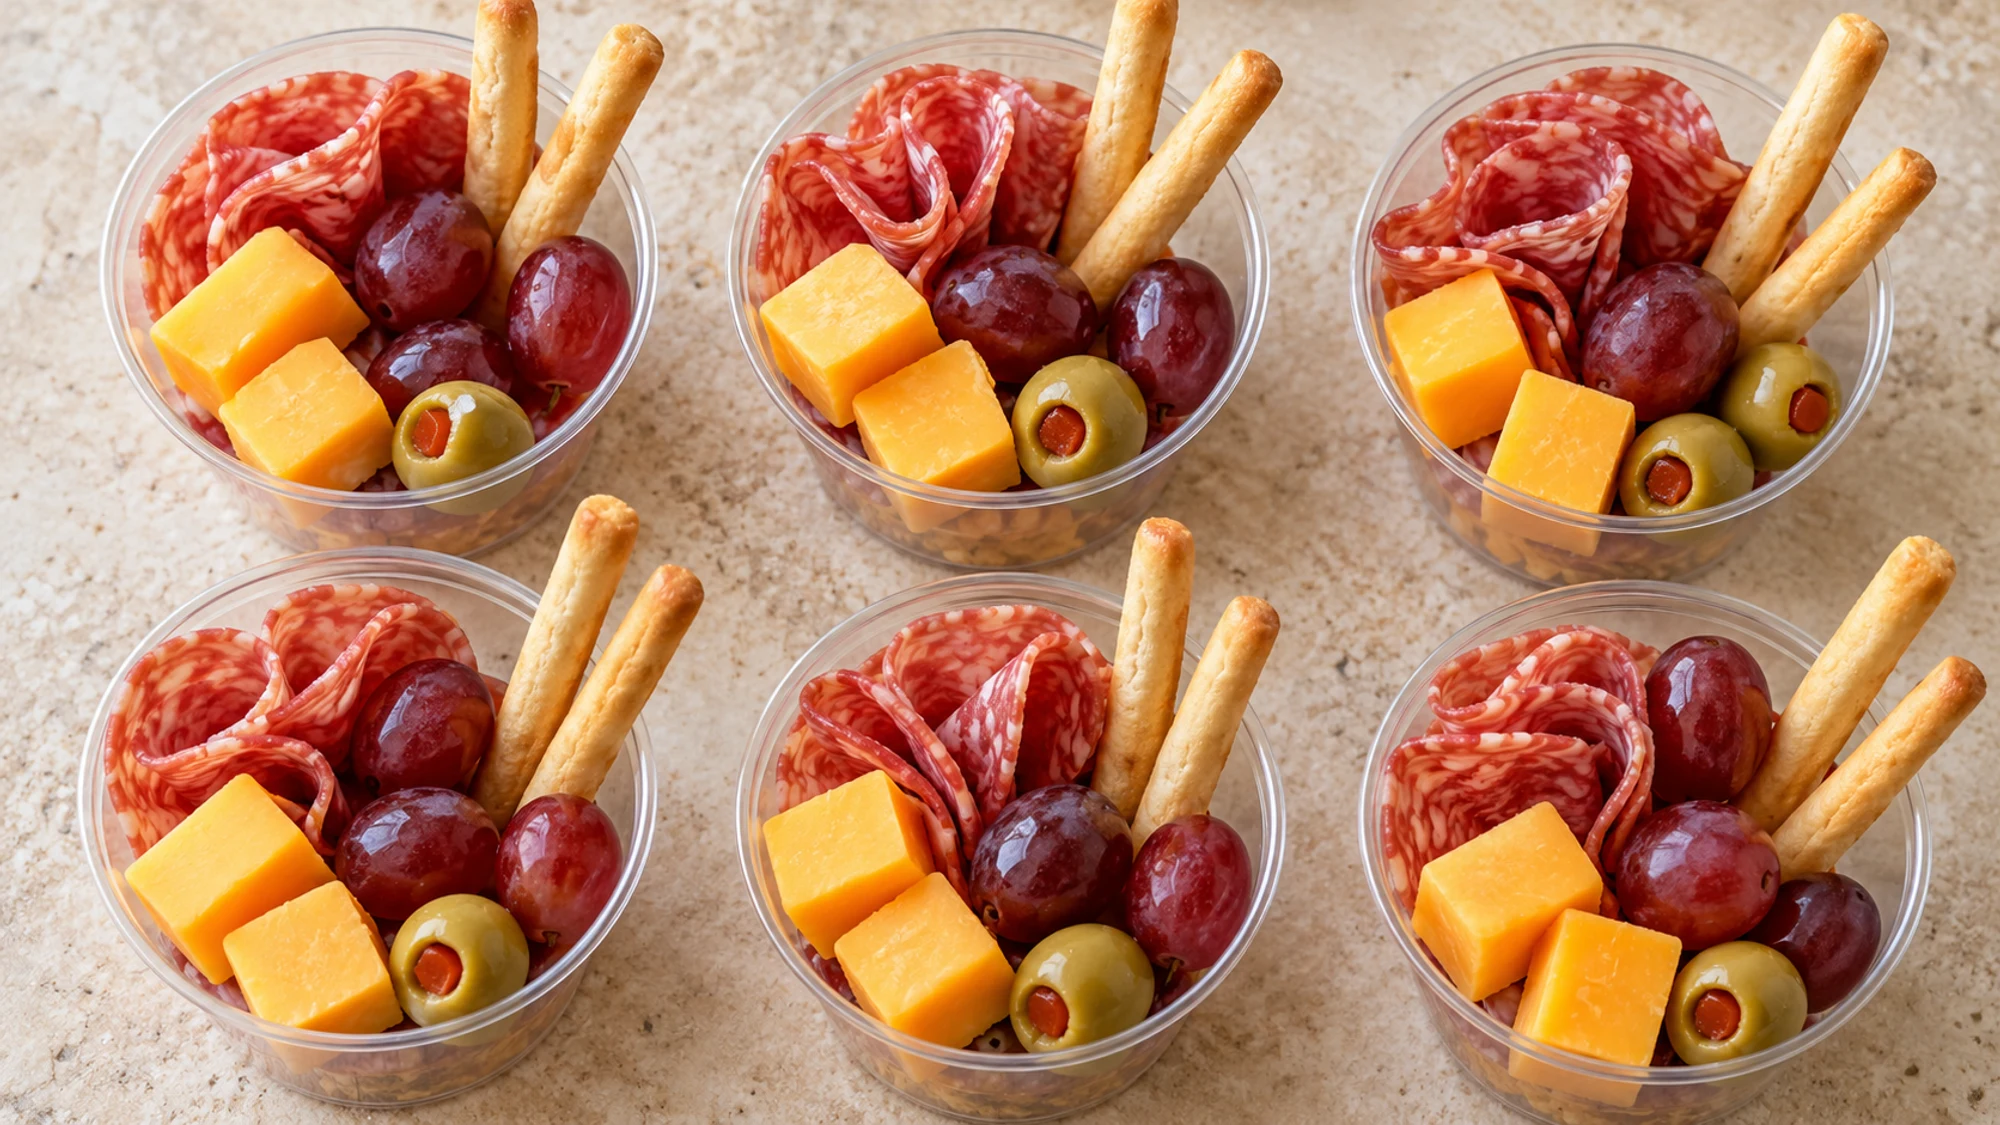
Treat one cup as a party appetizer rather than a complete lunch. The recipe makes twelve, which gives you a straightforward starting point for a small gathering. Set out a modest tray and keep the rest refrigerated; replace the tray as needed instead of adding fresh cups among servings that have already been sitting out.
The FDA’s buffet guidance recommends keeping cold food at 40°F or below and limiting perishable food at room temperature to two hours, or one hour above 90°F. Count preparation and serving time together. A chilled tray helps with presentation, but it does not replace proper temperature control.
- Keep crunch separate: carry breadsticks in an airtight container and add them when the cups reach the table.
- Make the cups accessible: leave pick handles visible, avoid packing ingredients tightly, and provide a place for used picks.
- Round out the spread: offer fresh vegetables or sliced baguette alongside, with separate utensils for shared accompaniments.
Build the serving plan around small chilled batches. Dry ingredients carefully, leave room to reach the picks, and let the breadsticks make their entrance at the last moment.
Charcuterie Cups Variations That Still Fit
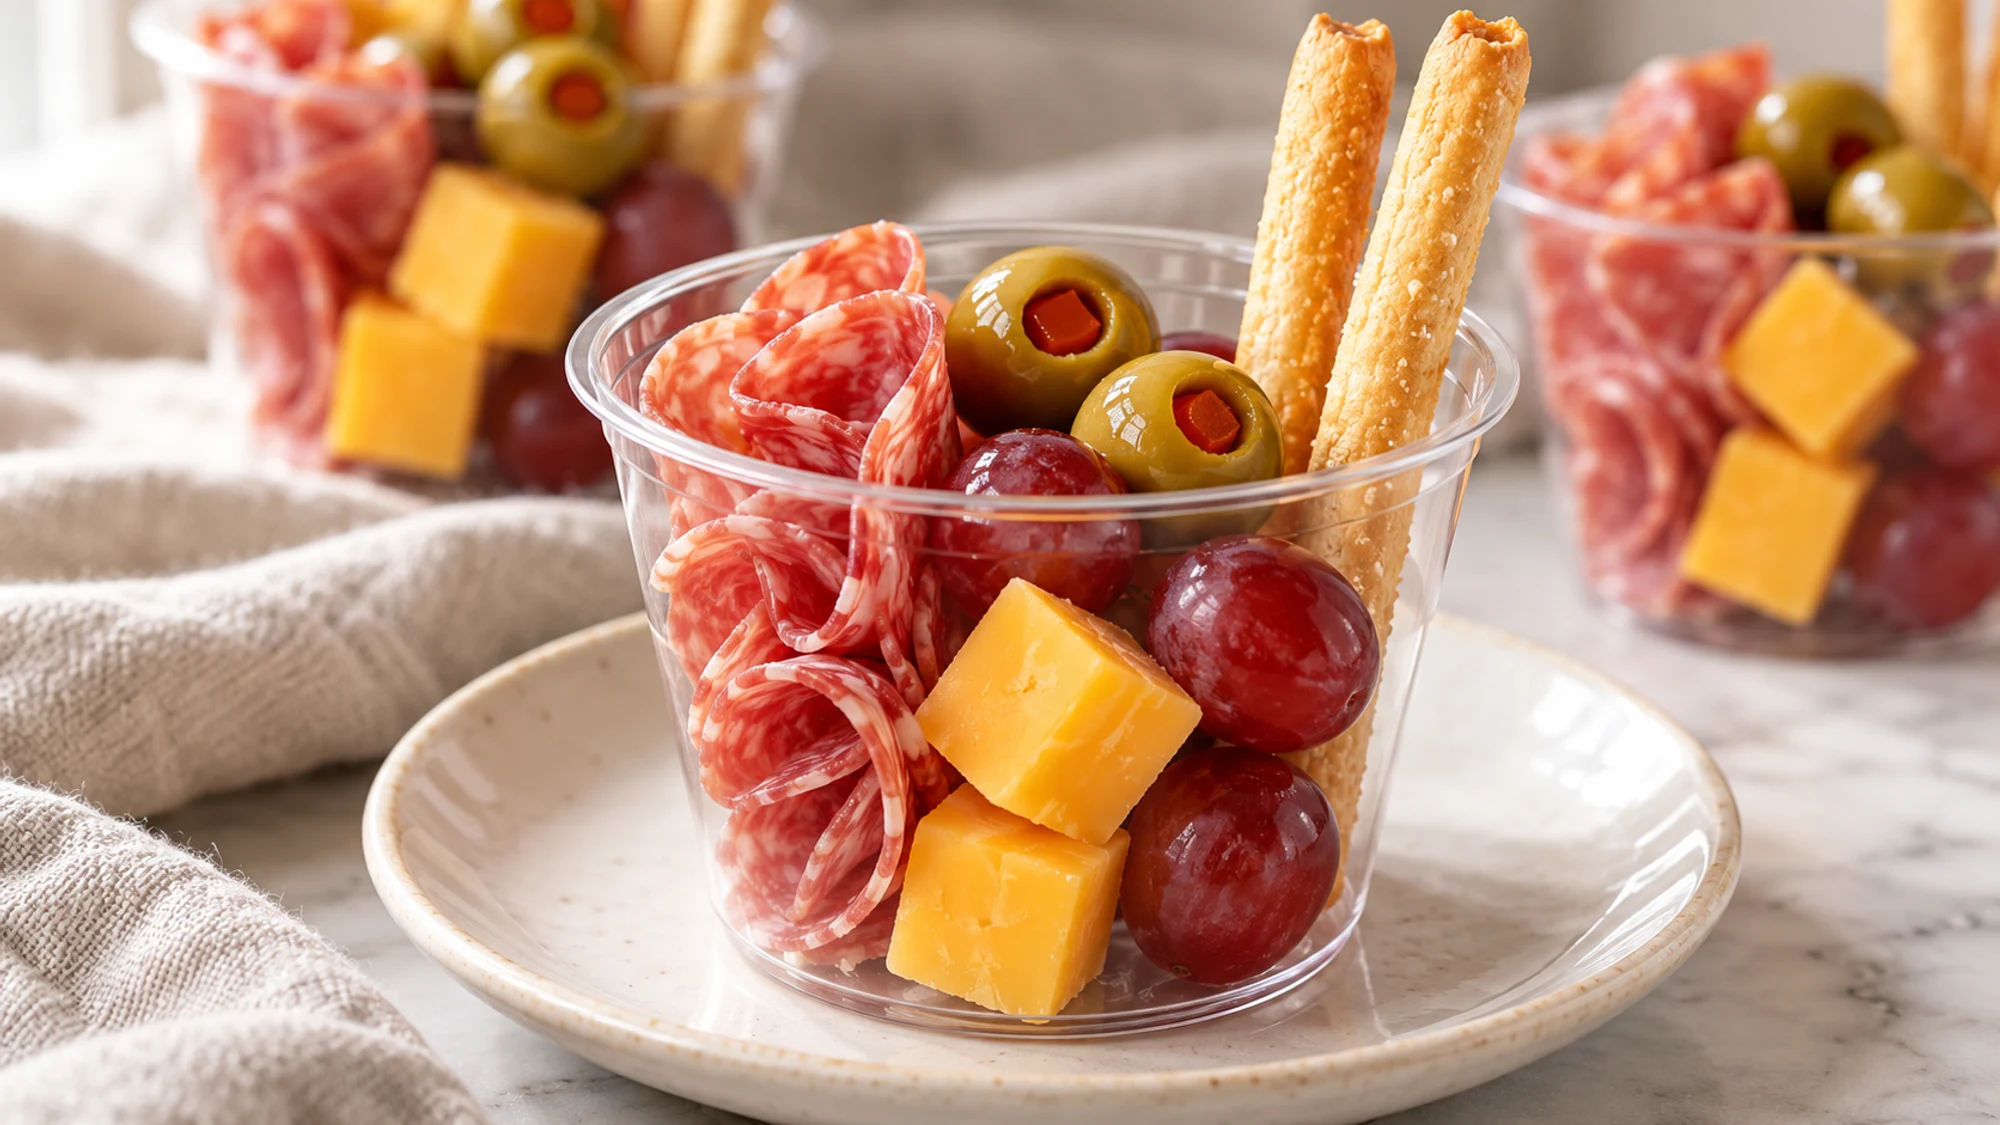
A useful swap preserves the job of the original ingredient. Cheese should hold its shape, fruit should be easy to eat, and the crunchy component should stand above the moist ingredients. NDSU Extension’s charcuterie guide offers a helpful framework for mixing meats, cheeses, produce, and bread without making every serving identical.
| Swap | What changes | Useful adjustment |
|---|---|---|
| Gouda for cheddar | Milder, rounder flavor | Use a firm block that holds on a pick |
| Pepper strips for salami | A meat-free version with more crunch | Choose vegetarian cheese if needed |
| Pretzel rods for grissini | More toasted flavor and salt | Choose lengths that fit the cups |
| Cucumber for some grapes | A less sweet, crisp base | Pat cut surfaces dry before assembling |
I would choose one planned variation for a tray rather than putting a different surprise in every cup. That makes it easier to label ingredients and accommodate preferences. Keep separate tools and preparation areas when an allergy requires avoiding cross-contact; changing one ingredient alone does not establish that a serving is safe for everyone.
Change flavor without losing the simple structure: a dry base, sturdy bite-size pieces, reachable picks, and a crunchy finish. Check package labels whenever you make a substitution.
Health Benefits and Practical Trade-Offs
The variety is useful, but a cup is not a nutrition guarantee. Cheese supplies protein and calcium; the MyPlate dairy guide also encourages attention to saturated fat when choosing dairy foods. Salami, cheese, and olives can all contribute sodium, so their combined portion matters more than a wholesome-looking arrangement.
- Compare sodium on salami and olive labels rather than assuming similar products are interchangeable.
- Keep the grapes and other produce in the picture; a colorful cup need not become entirely meat and cheese.
- For a larger meal, add a vegetable-rich side and consider what else is on the table rather than simply doubling the cup.
Enjoy the contrast of sweet fruit, creamy cheese, salty bites, and crisp bread. A clear portion and a varied menu offer more useful guidance than labeling the whole cup healthy or unhealthy.
Bottom Line
Charcuterie cups work best when they solve a serving problem without creating an assembly project. Keep the five ingredients recognizable, the chilled components cold, and the breadsticks dry until serving. I would spend the extra attention on that final texture detail rather than on intricate decorations. The result is a portable appetizer with accessible bites and a practical plan for replenishing the tray.
Charcuterie Cups Recipe

Ingredients
- 8 oz thinly sliced salami divided into 24 loosely folded portions
- 8 oz sharp cheddar cut into 24 equal cubes
- 12 oz seedless red grapes stems removed
- 24 pimiento-stuffed green olives about 3 oz drained
- 24 mini grissini breadsticks about 3 oz; keep dry until serving
Equipment
- 12 short, wide 8-ounce food-safe cups
- 24 short cocktail picks
- kitchen scale
- Cutting board
- Small knife
- Colander
- Clean towel
- Rimmed tray that fits in the refrigerator
Instructions
- Rinse the grapes under cool running water, remove the stems and dry thoroughly with a clean towel. Drain the olives and blot them dry.
- Cut the cheddar into 24 equal cubes. Divide the salami into 24 loosely folded portions.
- Set twelve short, wide 8-ounce food-safe cups on a rimmed tray that fits in the refrigerator. Divide the grapes among the cups.
- Thread one cheddar cube, one folded salami portion and one olive onto each of 24 short cocktail picks. Add two picks to each cup with the handles accessible.
- Cover the cups and refrigerate at 40°F (4°C) or below. Keep the breadsticks in an airtight container separately.
- Just before serving, add two breadsticks to each cup, keeping them away from any pooled liquid. Serve on small trays and replenish with chilled cups from the refrigerator.
Video
Notes
Tried this recipe?
Let us know how it turned out!Emily is Spoonvale’s recipe-writing persona, bringing a warm, practical voice to everyday cooking. Her focus is simple: approachable meals, comforting flavors, and clear instructions that help make time in the kitchen more enjoyable.