
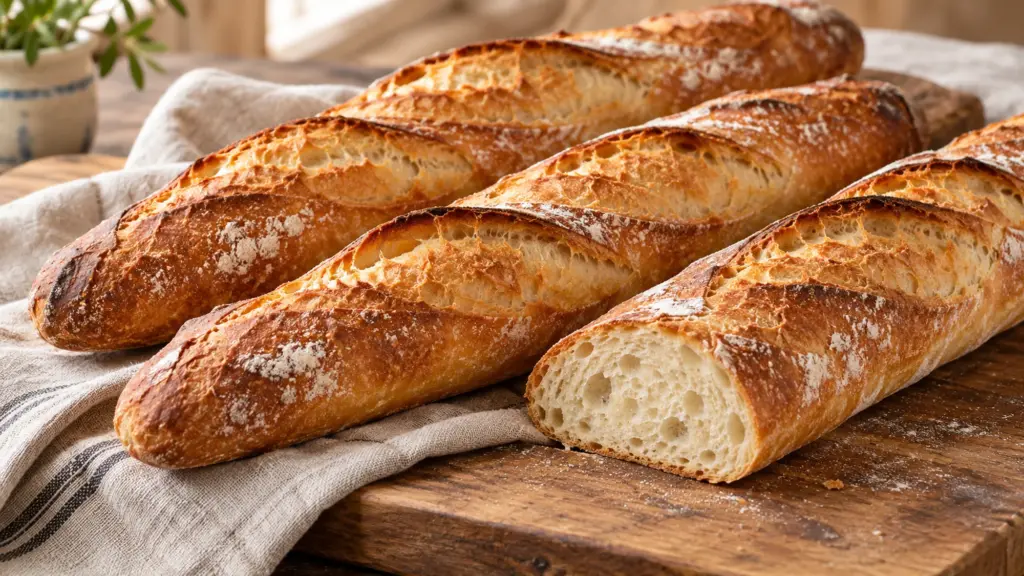
A good baguette asks you to notice a few things: a crust that crackles, a soft center, and enough flavor to make a plain slice worth eating. Getting there at home takes patience more than a cupboard full of ingredients. This version makes three shorter loaves that fit a standard half-sheet pan.
This baguette uses a same-day dough of flour, water, yeast, and salt. Gentle handling, a relaxed dough, and steam during the first part of baking help build its crisp crust. Allow about five hours overall, with most of that time spent resting, rising, and cooling.
I’d rather have an evenly baked, slightly crooked loaf than a beautiful one with a damp center. Watch the dough and the crust as well as the clock: a cool kitchen slows fermentation, and ovens brown bread differently. The loaves are ready when their surfaces are deeply golden and their sides feel firm, not merely when the tops have changed color.
Serving Suggestions for Your Baguette
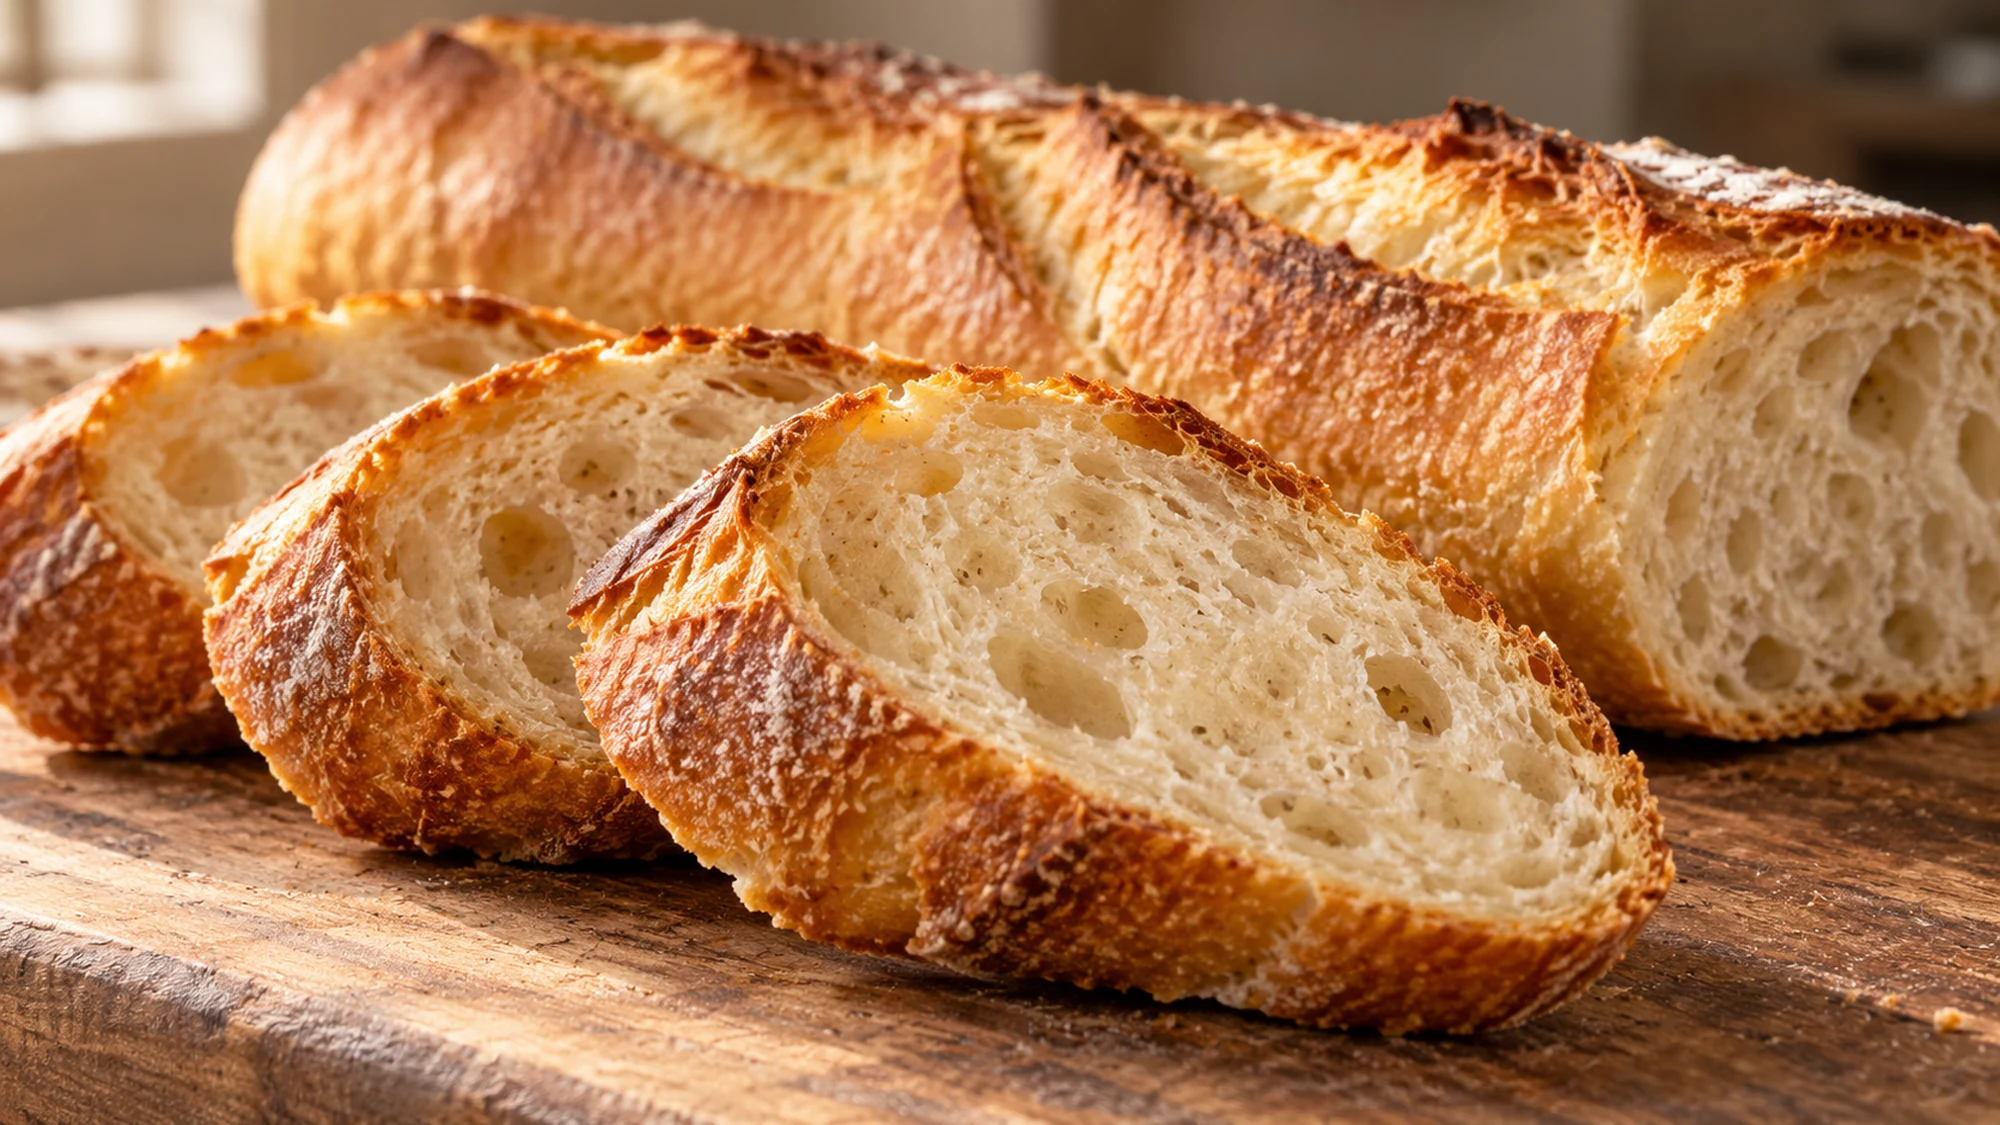
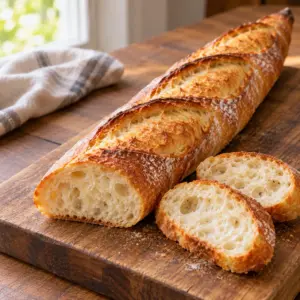
Let the bread cool on a rack before slicing. It is tempting to cut it immediately, especially when the kitchen smells like toasted flour, but the crumb needs time to settle. A serrated knife keeps the crust from being crushed as you saw gently through the loaf.
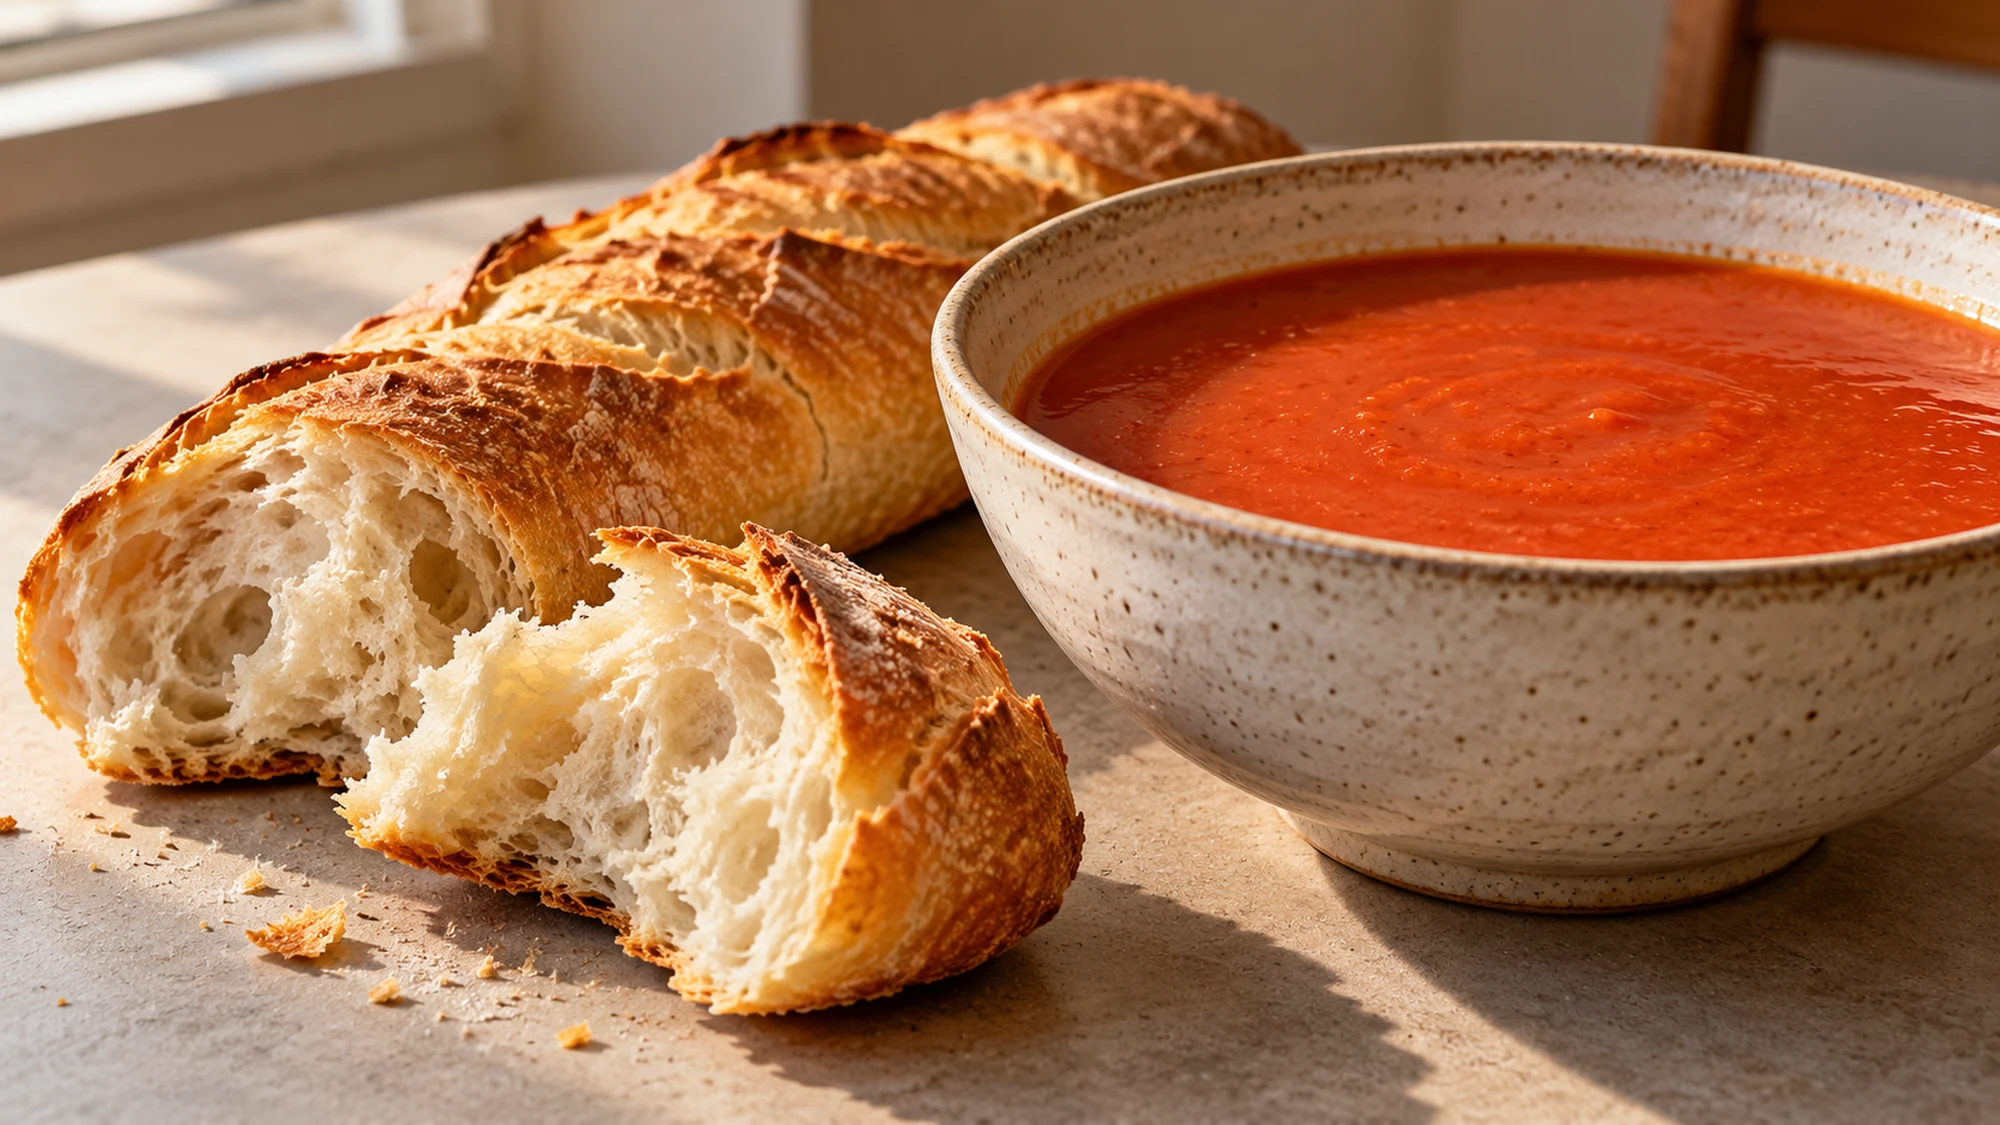
- Set thick slices beside tomato soup or apricot chicken with Dijon glaze. The bread can soak up the last spoonful without needing a separate topping.
- For a sandwich, split a short section lengthwise and keep wet fillings modest. Tomatoes and dressings can soften the center quickly, so assemble near serving time.
- For toast, cut even slices and watch their edges closely. Thin pieces brown much faster than thick ones; a golden edge is a better cue than someone else’s toaster setting.
- Enjoy the best crust on baking day. Once cool, freeze bread you will not use soon in well-wrapped portions. Thaw before refreshing in the oven, and avoid wrapping warm loaves, which traps moisture.
Cool first, cut with a serrated knife, and match the portion to the meal. A fresh loaf needs very little fuss.
Baguette Variations and Dough Choices
Flour and shaping change the loaf’s character without adding anything to the dough. Use this small comparison when deciding what to try next. The main recipe stays with unbleached all-purpose flour; the other choices change handling and should be treated as variations.
| Choice | Likely change | Useful adjustment |
|---|---|---|
| All-purpose flour | Softer bite | Use the recipe’s starting water |
| Bread flour | Chewier texture | Expect a firmer dough |
| Shorter loaves | More ends per batch | Check browning earlier |
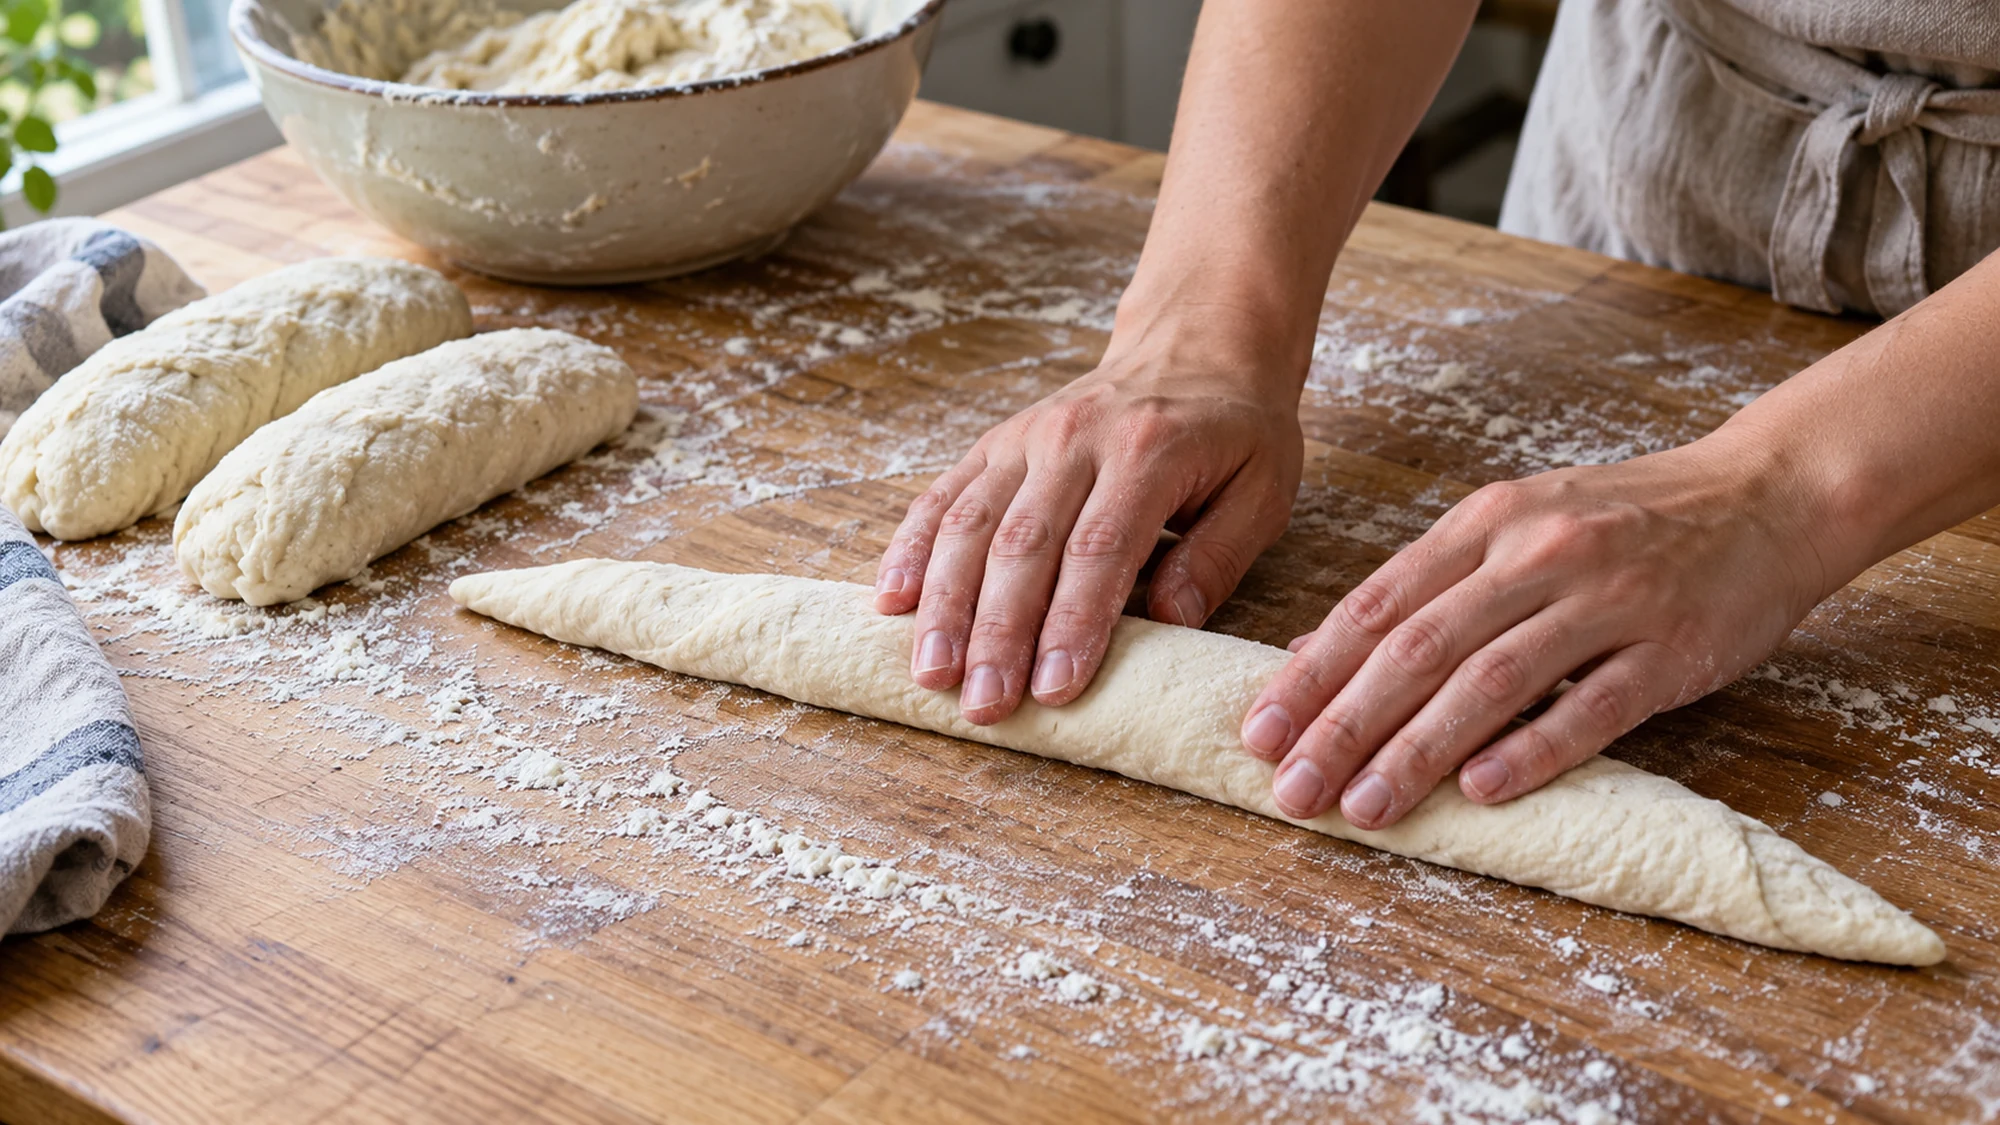
Baguette shaping is partly about knowing when to stop. If a dough piece keeps shrinking back, let it relax under its cover rather than stretching harder. I prefer a light dusting of flour and a dough scraper to burying the counter in flour; excess flour makes it harder to seal the seam.
- Keep this first batch plain. Butter, cheese, garlic, or herbs are easier to add at the table, where they do not change the dough’s hydration or fermentation.
- For smaller sandwich loaves, divide more evenly sized pieces and shorten the bake as needed. Preserve space between them so their sides can brown.
- Do not replace the flour with a gluten-free blend as a direct swap. This dough depends on wheat gluten for structure and needs a different formula for that change.
Make one useful change at a time, and judge the dough by how it stretches and holds its shape rather than its neatness.
Health Benefits and Everyday Portions
This is a white-flour bread, so it supplies carbohydrate and some protein but should not be mistaken for a whole-grain loaf. There is no added sugar or oil in the dough. That describes the ingredients rather than promising a special health benefit; the meal and serving size still matter.
- For a more varied plate, serve a bread portion with vegetables and a protein food, such as beans, eggs, fish, or chicken.
- This recipe contains wheat. Check ingredient labels and kitchen handling when cooking for someone with an allergy.
Enjoy the crust and crumb as part of a varied meal, and include whole grains elsewhere in the day.
Bottom Line
A baguette is a useful lesson in giving a simple dough enough time. Keep the dough slightly tacky, let it relax between shaping stages, and use the steam method carefully. Bake to a full golden color, then cool the loaves before slicing. The result belongs beside dinner just as comfortably as it does under a sandwich filling.
Baguette Recipe

Ingredients
- 500 g unbleached all-purpose flour about 4 cups plus 2 tablespoons; gram weight is preferred
- 340 g water room temperature, about 1 1/2 cups
- 3 g instant yeast about 1 teaspoon
- 10 g fine salt about 1 2/3 teaspoons; use weight because crystal sizes vary
- 15 g all-purpose flour up to 2 tablespoons, for dusting
- 250 g boiling water about 1 cup, for the steam pan only; not mixed into the dough; omit if your oven does not permit steam
Equipment
- 1 large mixing bowl and spoon with a cover
- 1 kitchen scale preferably with 1 g precision
- 1 dough scraper
- 1 18-by-13-inch rimmed baking sheet with parchment rated for 450°F
- 1 bread lame or very sharp knife
- 1 cast-iron skillet and heatproof pouring jug only if your oven manufacturer permits the steam method
- 1 pair of long oven mitts
- 1 Wire cooling rack
Instructions
- Mix 500 g flour, 340 g room-temperature water, 3 g instant yeast and 10 g fine salt in a large bowl until no dry flour remains. Cover and rest for 20 minutes.
- Knead the dough for about 5 minutes until smoother and elastic, using damp hands or a scraper if it sticks. Keep it slightly tacky rather than adding lots of flour. Return it to the bowl and cover.
- Let rise for about 2 hours at a comfortable room temperature, around 75°F (24°C), until noticeably expanded and aerated. At 30 and 60 minutes, lift one edge and fold it over the center; repeat around the bowl. Use the dough’s expansion as the main cue and allow longer in a cool room.
- Lightly dust the counter with some of the 15 g extra flour. Divide the dough into 3 equal pieces. Gently form short logs, cover, and rest for 20 minutes to relax.
- Pat one piece into a short rectangle. Fold a long edge into the center and seal gently; repeat from the other side. Fold in half lengthwise and seal the seam. Roll gently from the center outward into a tapered 14-inch (35 cm) loaf. Repeat with the remaining dough. If a piece resists stretching, cover and rest it a few minutes before continuing.
- Place the loaves seam-side down, with space between them, on an 18-by-13-inch rimmed baking sheet lined with parchment rated for 450°F. Cover loosely and proof for about 45 minutes, or until puffy and a light fingertip dent springs back slowly. The loaves need not double.
- During the final rise, heat the oven to 450°F (230°C). If your oven manufacturer permits steam, place an empty cast-iron skillet on the lowest rack, below the bread position; never on the oven floor. Bring 250 g water to a boil. With a lame or very sharp knife, make 3 overlapping diagonal slashes about 1/4 inch deep on each loaf.
- Put the bread on the middle rack. Wearing long oven mitts and keeping your face and arms away from rising steam, carefully pour the boiling water into the cast-iron skillet and close the door. Do not pour water onto glass, the oven floor or heating elements. If steam is not permitted for your oven, omit the pan and water; the crust may differ.
- Bake for 20 minutes. Open the door carefully to release steam; remove the skillet only if it is safe to handle. Continue baking for about 5 minutes, until the loaves are deeply golden with firm sides. If they are still pale, give them a few more minutes. Transfer to a rack and cool for at least 30 minutes before slicing.
Nutrition
Video
Notes
Tried this recipe?
Let us know how it turned out!Emily is Spoonvale’s recipe-writing persona, bringing a warm, practical voice to everyday cooking. Her focus is simple: approachable meals, comforting flavors, and clear instructions that help make time in the kitchen more enjoyable.