
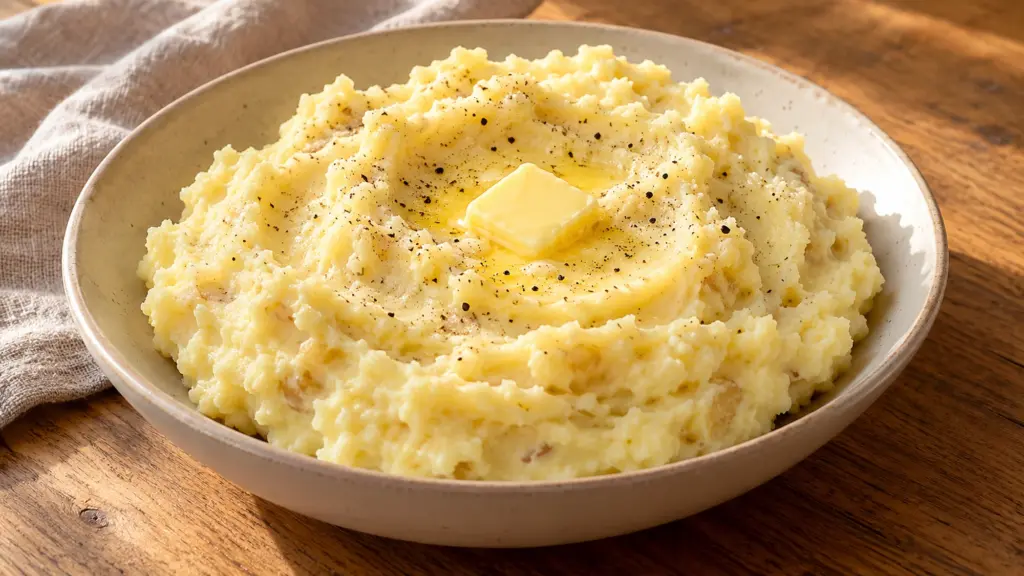
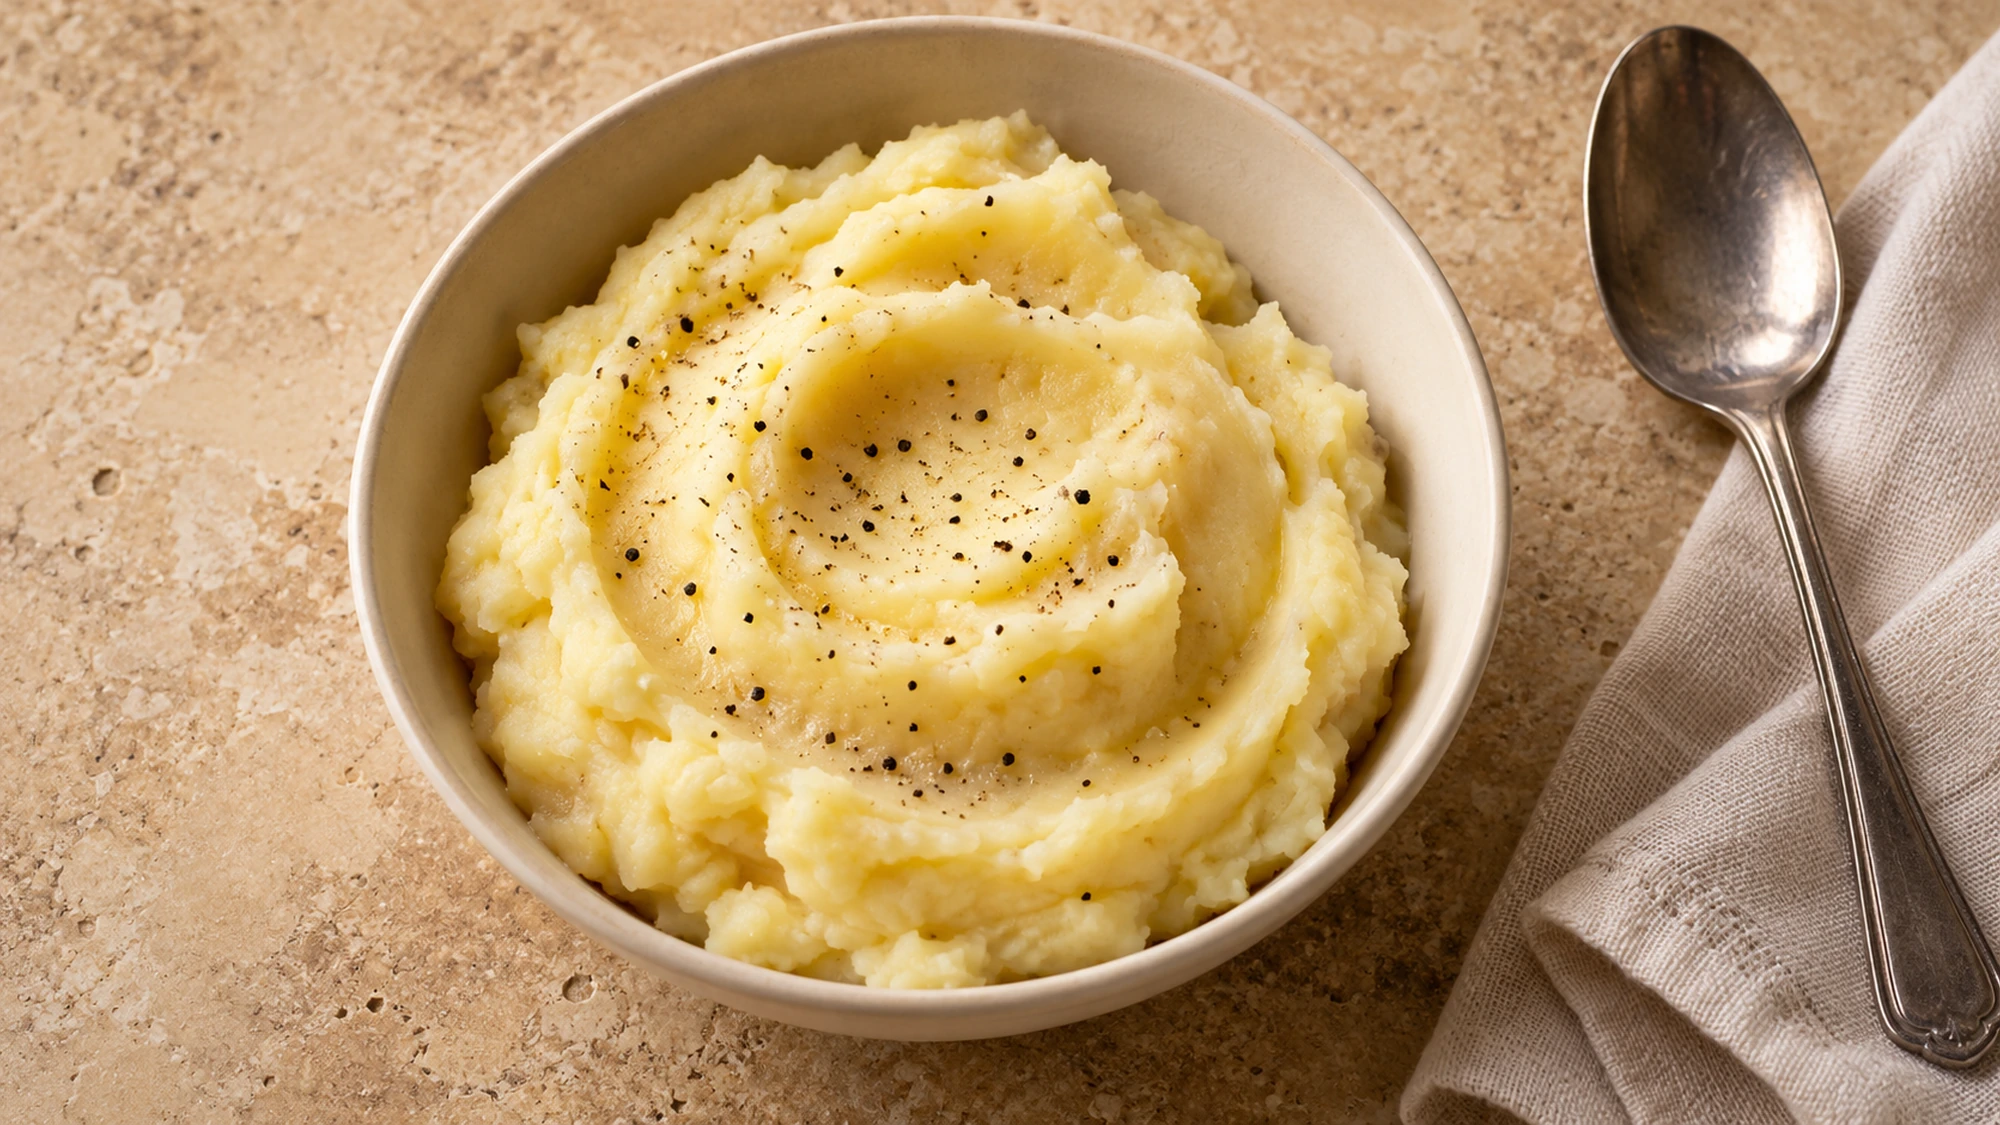
A smooth bowl of potatoes can become sticky surprisingly quickly when the mixer keeps running. If you want to know how to make mashed potatoes with a creamy rather than gluey finish, start with evenly cut pieces, cook them until genuinely tender, and keep the final mixing gentle.
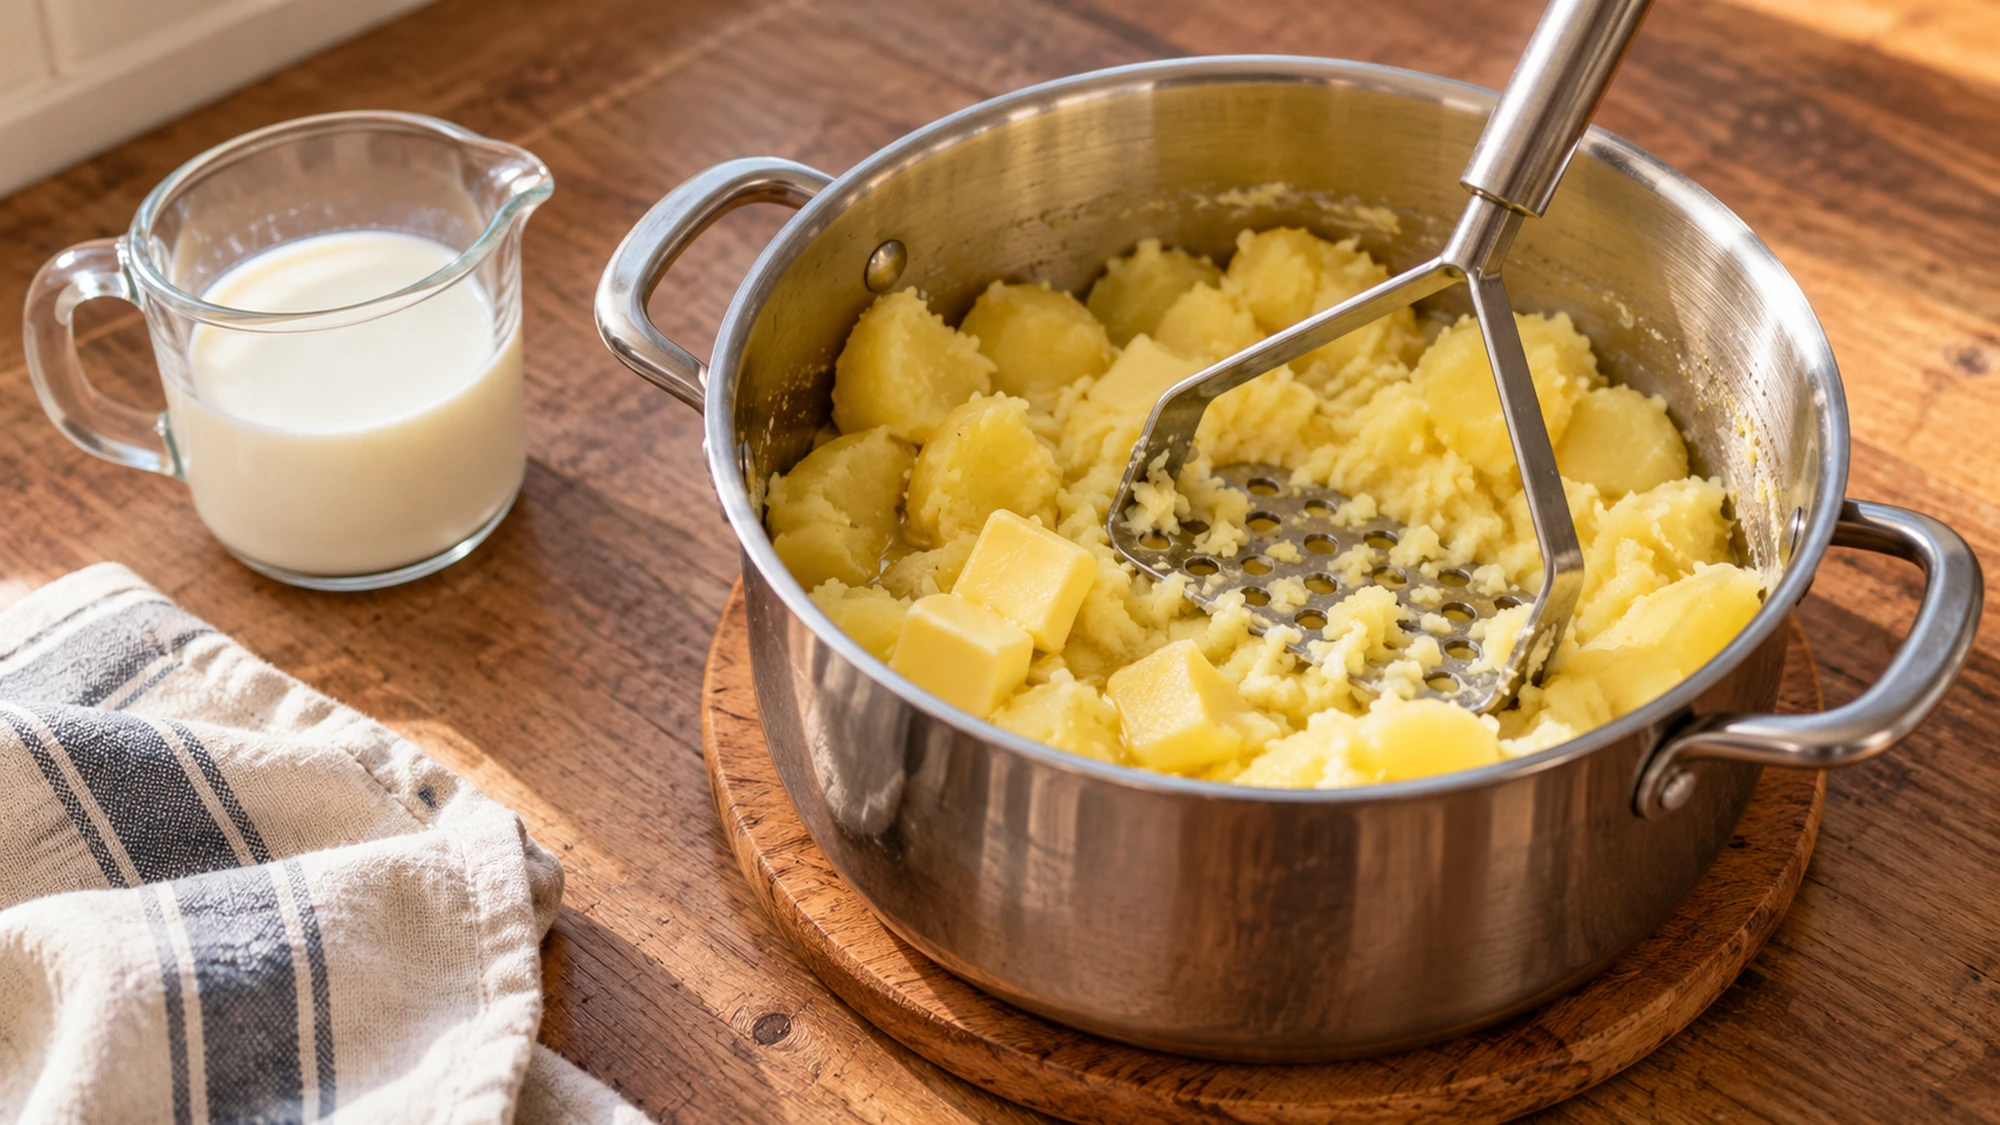
Drain the cooked potatoes well, let excess moisture steam away briefly, and mash them by hand. Fold in butter and warm milk just until combined. A few soft flecks are preferable to working the potatoes endlessly in pursuit of a perfectly polished surface.
I’d choose Yukon Gold potatoes for their naturally creamy texture and yellow flesh. A hand masher keeps this recipe straightforward; you do not need a blender or food processor. The goal is a spoonable side dish that holds a soft mound, not a stiff paste.
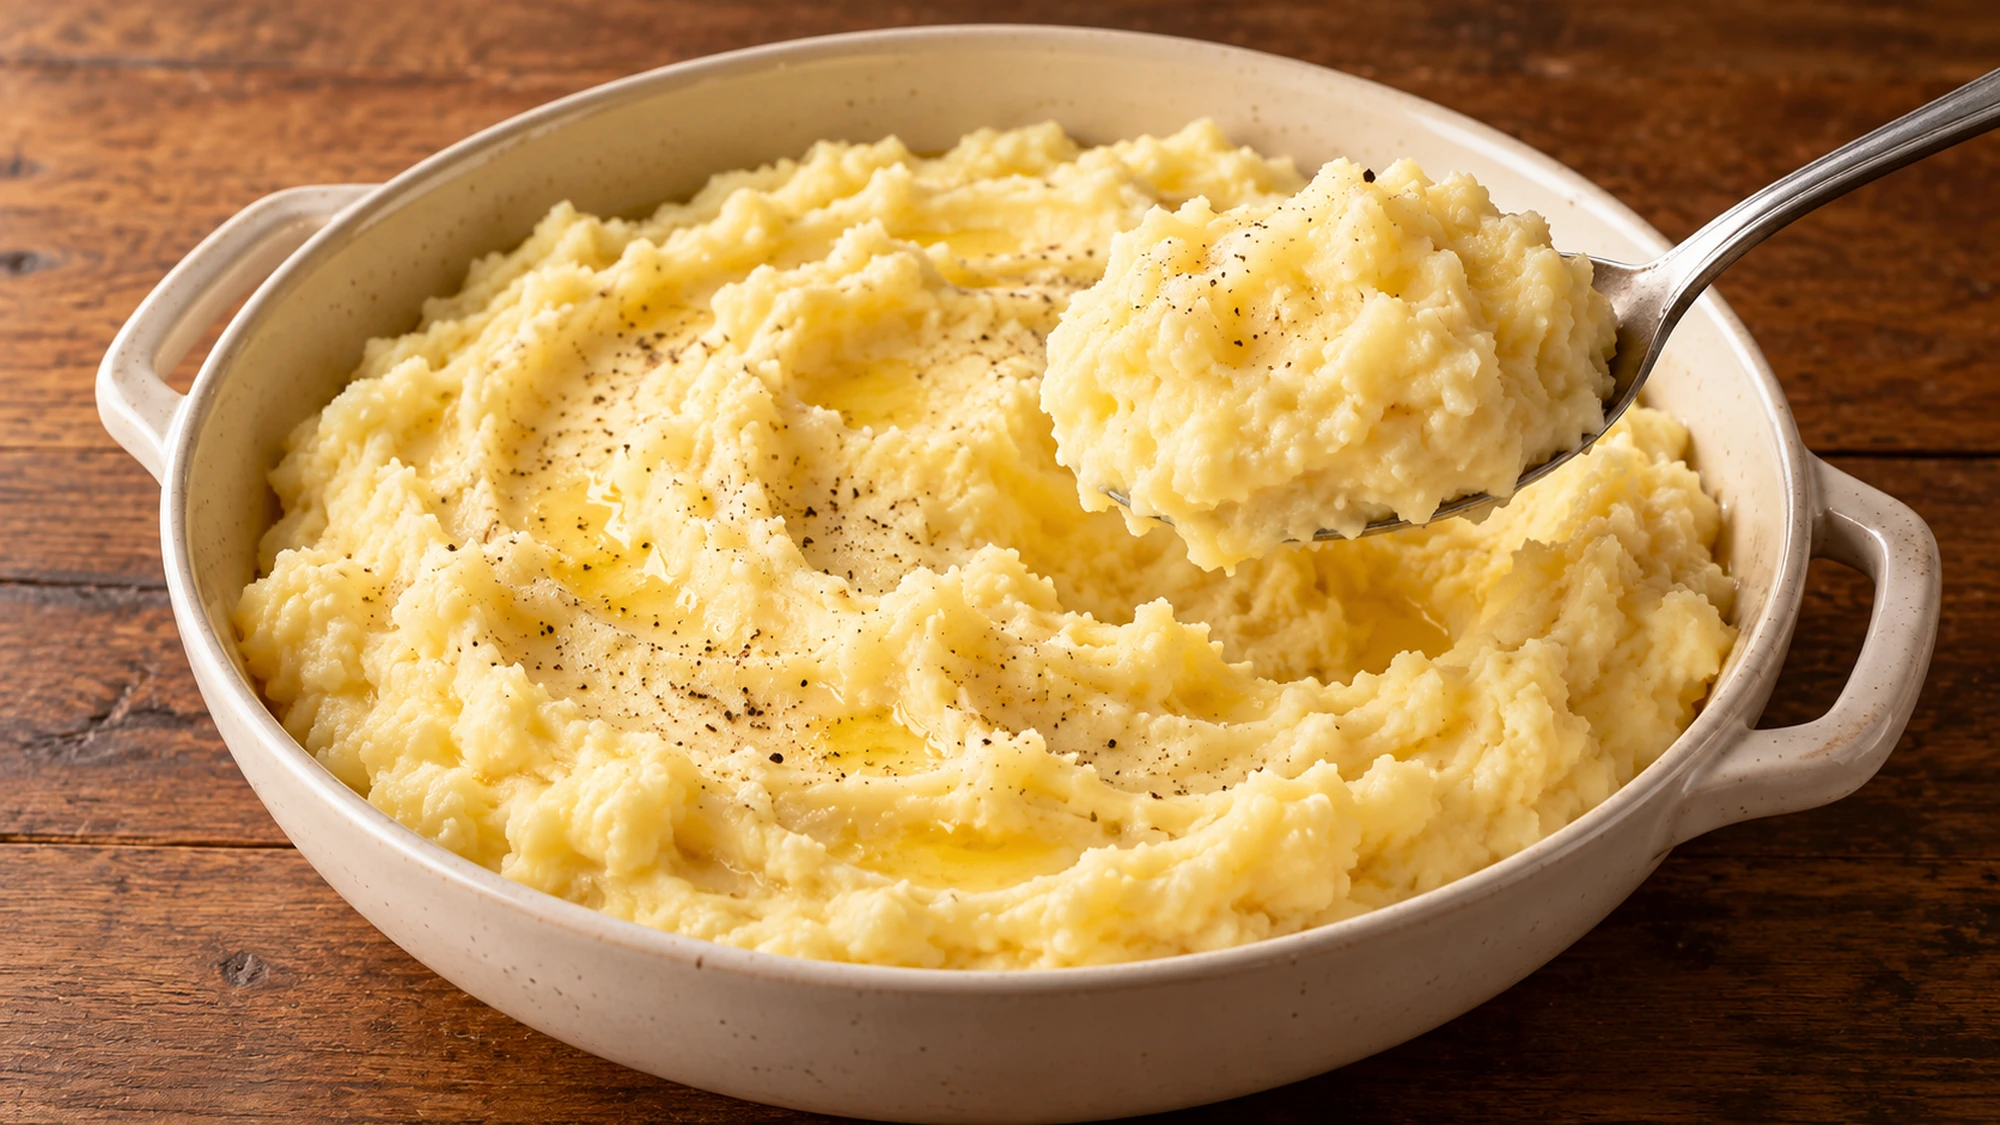
Serving Suggestions for Creamy Mashed Potatoes
Bring the potatoes to the table while they are warm and supple. A shallow serving bowl makes it easier to spoon portions without repeatedly digging through the middle. If they tighten as they stand, gently fold in a small splash of warm milk rather than beating them again.
These potatoes work beside a roast, vegetables, or grilled salmon. For a plate with more texture, add a crisp salad or tender green vegetables. I like a contrast beside mash: something fresh or crunchy keeps the meal from feeling like one long soft bite.
- Taste before adding gravy or another salty topping. Seasoning the potatoes and the sauce separately gives you more control.
- Keep a little extra warm milk available only if you need to loosen the texture; add it gradually.
- Serve with a spoon rather than packing the potatoes tightly into the bowl.
- If dinner is delayed, do not leave the pan sitting at room temperature indefinitely. Refrigerate leftovers promptly.
Make the mash the soft, comforting part of the plate, then add contrast through the food served alongside it.
Variations: How to Make Mashed Potatoes Your Way
The potato and the tool both affect the result. Yukon Golds make a creamy mash; russets can give a fluffier texture but still need gentle handling. The recipe’s timing is only a guide: a piece should yield easily when pierced, with no firm center hiding inside.
A ricer is an option if you want a more uniform finish, but it is not a reason to keep stirring afterward. For a different potato side entirely, try a jacket potato with crisp skin. It offers that useful crisp-and-soft contrast without any mashing.
| Choice | Result | Watch for |
|---|---|---|
| Hand masher | Creamy with small soft flecks | Stop when tender pieces break down |
| Potato ricer | More uniform texture | Fold in dairy gently afterward |
| Skin left on | More rustic texture | Scrub well and remove damaged areas |
| Unsweetened dairy alternative | Different flavor and richness | Choose one without vanilla or sugar |
- Avoid the food processor or blender for this method; excessive working can make the texture gummy.
- Warm the milk gently instead of boiling it down. You want warmth, not a concentrated milk sauce.
- Drain thoroughly before adding dairy. Extra cooking water makes it harder to judge the final consistency.
Tender potatoes need less force. Check doneness carefully, then let a gentle hand do the finishing.
Health Benefits in the Context of the Meal
Potatoes contribute carbohydrate, and the additions matter too. Butter and whole milk make this version richer; changing them changes both the flavor and nutrition. A smaller scoop alongside protein and vegetables can be more useful than trying to label the whole bowl simply good or bad.
Food safety belongs with the serving plan. Follow the USDA’s leftover handling guidance: refrigerate in shallow containers within two hours, or one hour in temperatures above 90°F, and reheat leftovers to 165°F (74°C).
- Keep refrigerated leftovers at 40°F (4°C) or below and use within three to four days; the FDA’s safe food handling guide explains temperature control.
- Reheat only the portion you need, stirring gently so it heats evenly.
- Check dairy labels when serving someone with an allergy; lactose-free milk is not milk-free.
- Salt can be adjusted to the rest of the meal, but do not assume every broth or dairy substitute is low in sodium.
Enjoy the potatoes as one part of a varied meal, and give leftovers the same care as the freshly cooked batch.
Bottom Line
How to make mashed potatoes comes down to a few visible cues: evenly sized pieces, fork-tender centers, a well-drained pan, and a gentle finish. Warm dairy helps everything come together without aggressive mixing. I’d happily accept a few soft potato flecks in exchange for a bowl that stays light on the spoon.
Cook until tender, drain well, and stop mixing as soon as the mash comes together.
How to Make Mashed Potatoes Recipe

Ingredients
- 2 lb Yukon Gold potatoes about 907 g whole before peeling
- 1/2 cup whole milk 120 mL, warmed gently
- 4 tablespoons unsalted butter 56 g, cut into small pieces
- 1/2 teaspoon fine salt about 3 g, then adjust to taste
- 1/4 teaspoon ground black pepper
Equipment
- Vegetable peeler; knife and cutting board
- 4-quart pot
- Colander
- Hand potato masher
- Small saucepan or microwave-safe jug
- Measuring cups and spoons
- Instant-read thermometer for reheating
Instructions
- Scrub the potatoes under running water, peel, and remove damaged areas. Cut into evenly sized pieces about 1 1/2 inches across.
- Place the pieces in the pot and cover with cold water by about 1 inch. Bring to a gentle boil, then lower the heat to maintain a steady simmer.
- Simmer for about 15–20 minutes, checking the largest piece with a fork. It should yield easily all the way to the center. Give firm pieces longer rather than trying to mash them hard.
- Drain thoroughly in the colander. Return the potatoes to the warm pot over low heat for about 1 minute, gently moving them as excess moisture steams away. Do not let them brown.
- Remove the pot from the heat. Mash by hand until the pieces break down, then fold in the butter. Add the warm milk gradually with the measured salt and pepper, folding only until combined. Stop before the potatoes become sticky; do not use a blender or food processor.
- Taste and adjust seasoning, then serve warm. Refrigerate leftovers in shallow covered containers within 2 hours, or within 1 hour above 90°F. Keep at 40°F or below and use within 3–4 days. Reheat to 165°F, stirring gently; add a little warm milk only if needed.
Nutrition
Video
Notes
Tried this recipe?
Let us know how it turned out!Emily is Spoonvale’s recipe-writing persona, bringing a warm, practical voice to everyday cooking. Her focus is simple: approachable meals, comforting flavors, and clear instructions that help make time in the kitchen more enjoyable.