
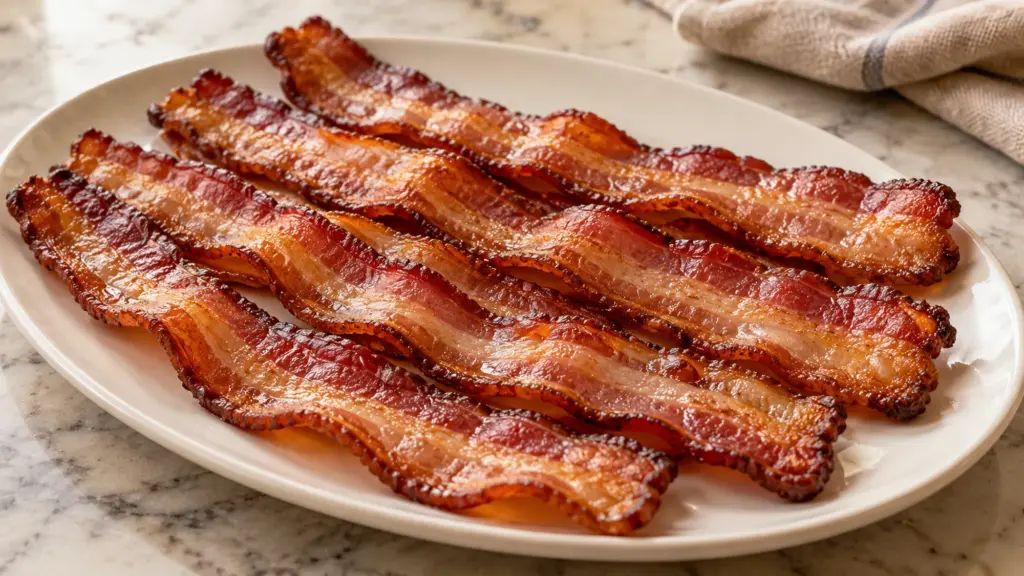
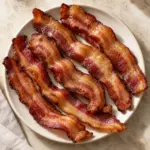
Thick bacon can be browned at the edges while the middle still feels soft and fatty. Give it room on an oven-safe rack and a little more time to render. The reward is a substantial strip with crisp edges, a smoky aroma and enough structure to hold its own in a sandwich.
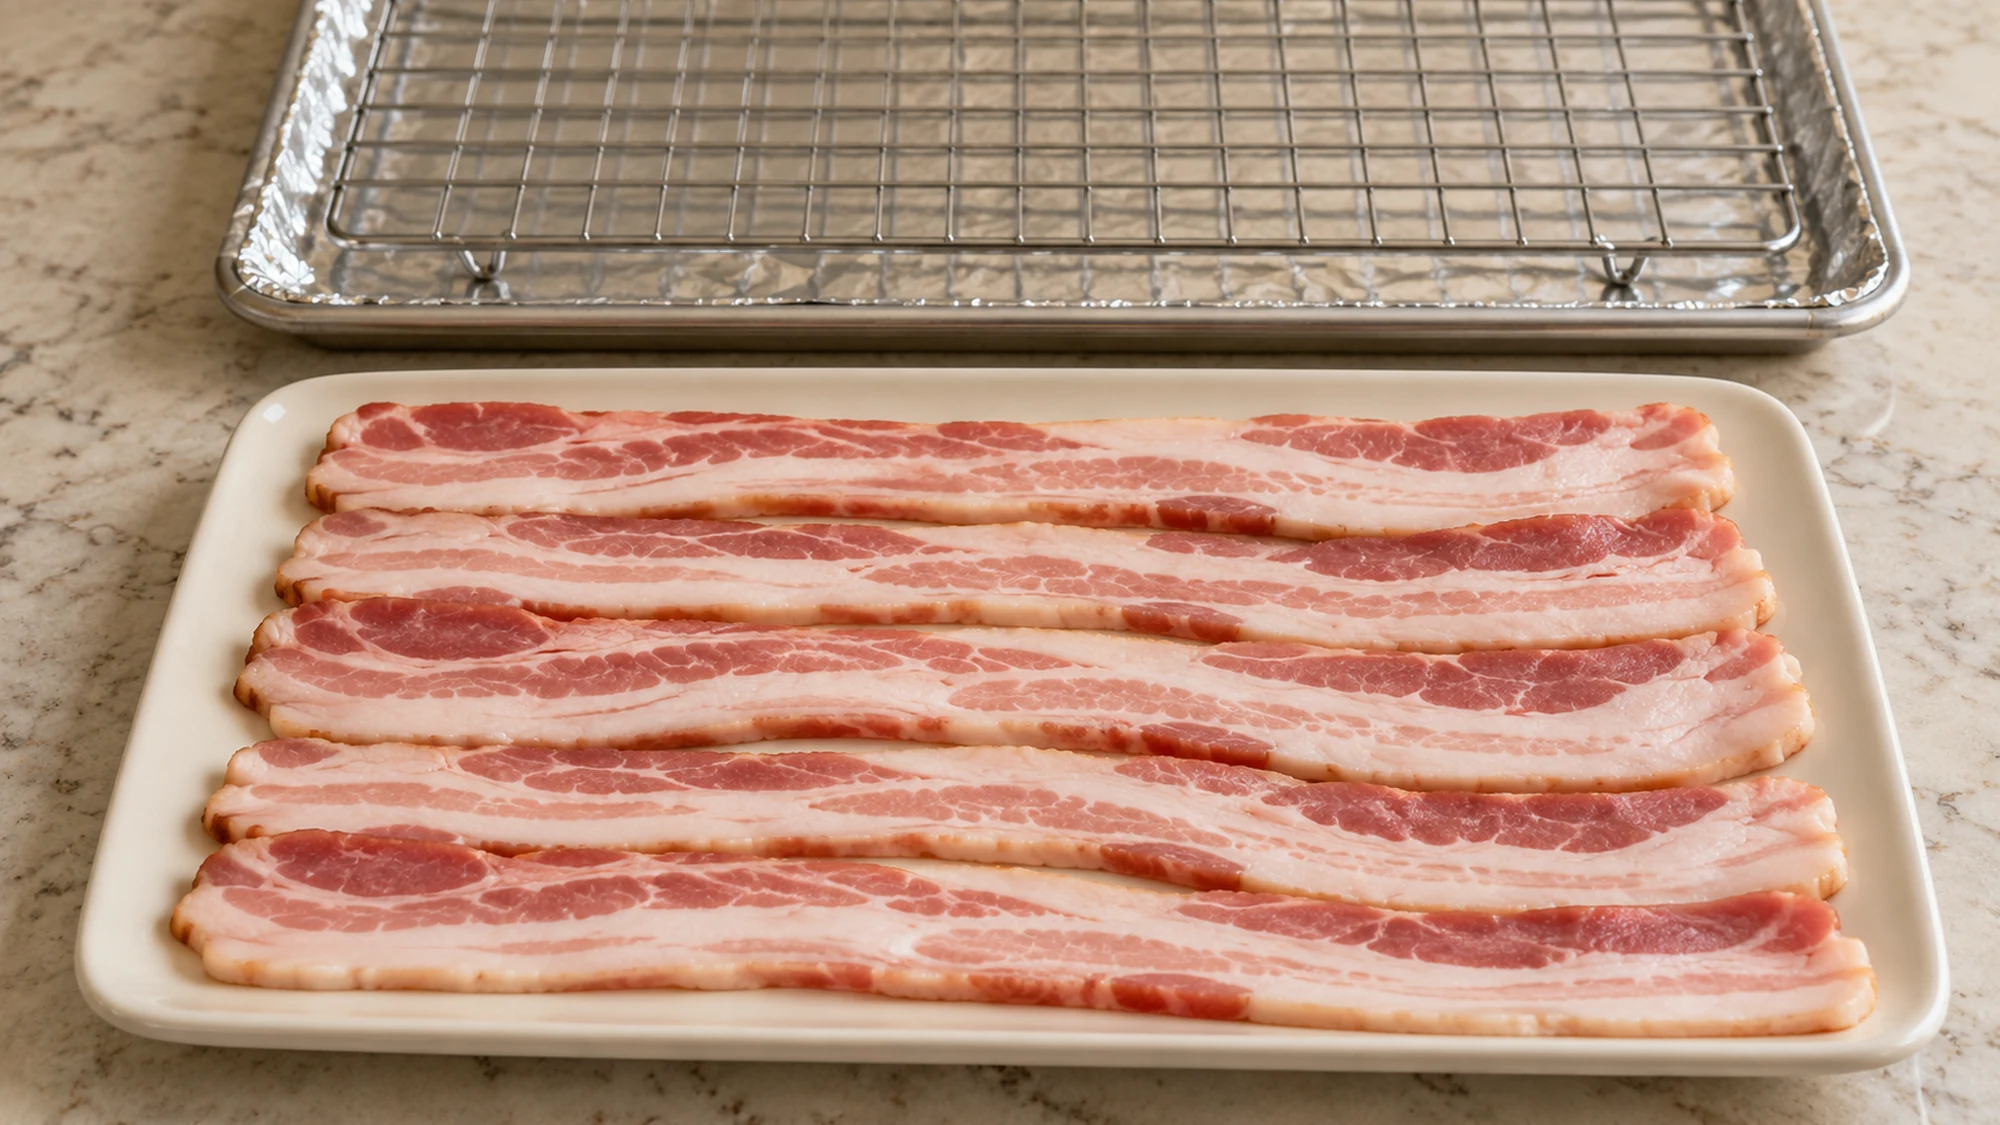
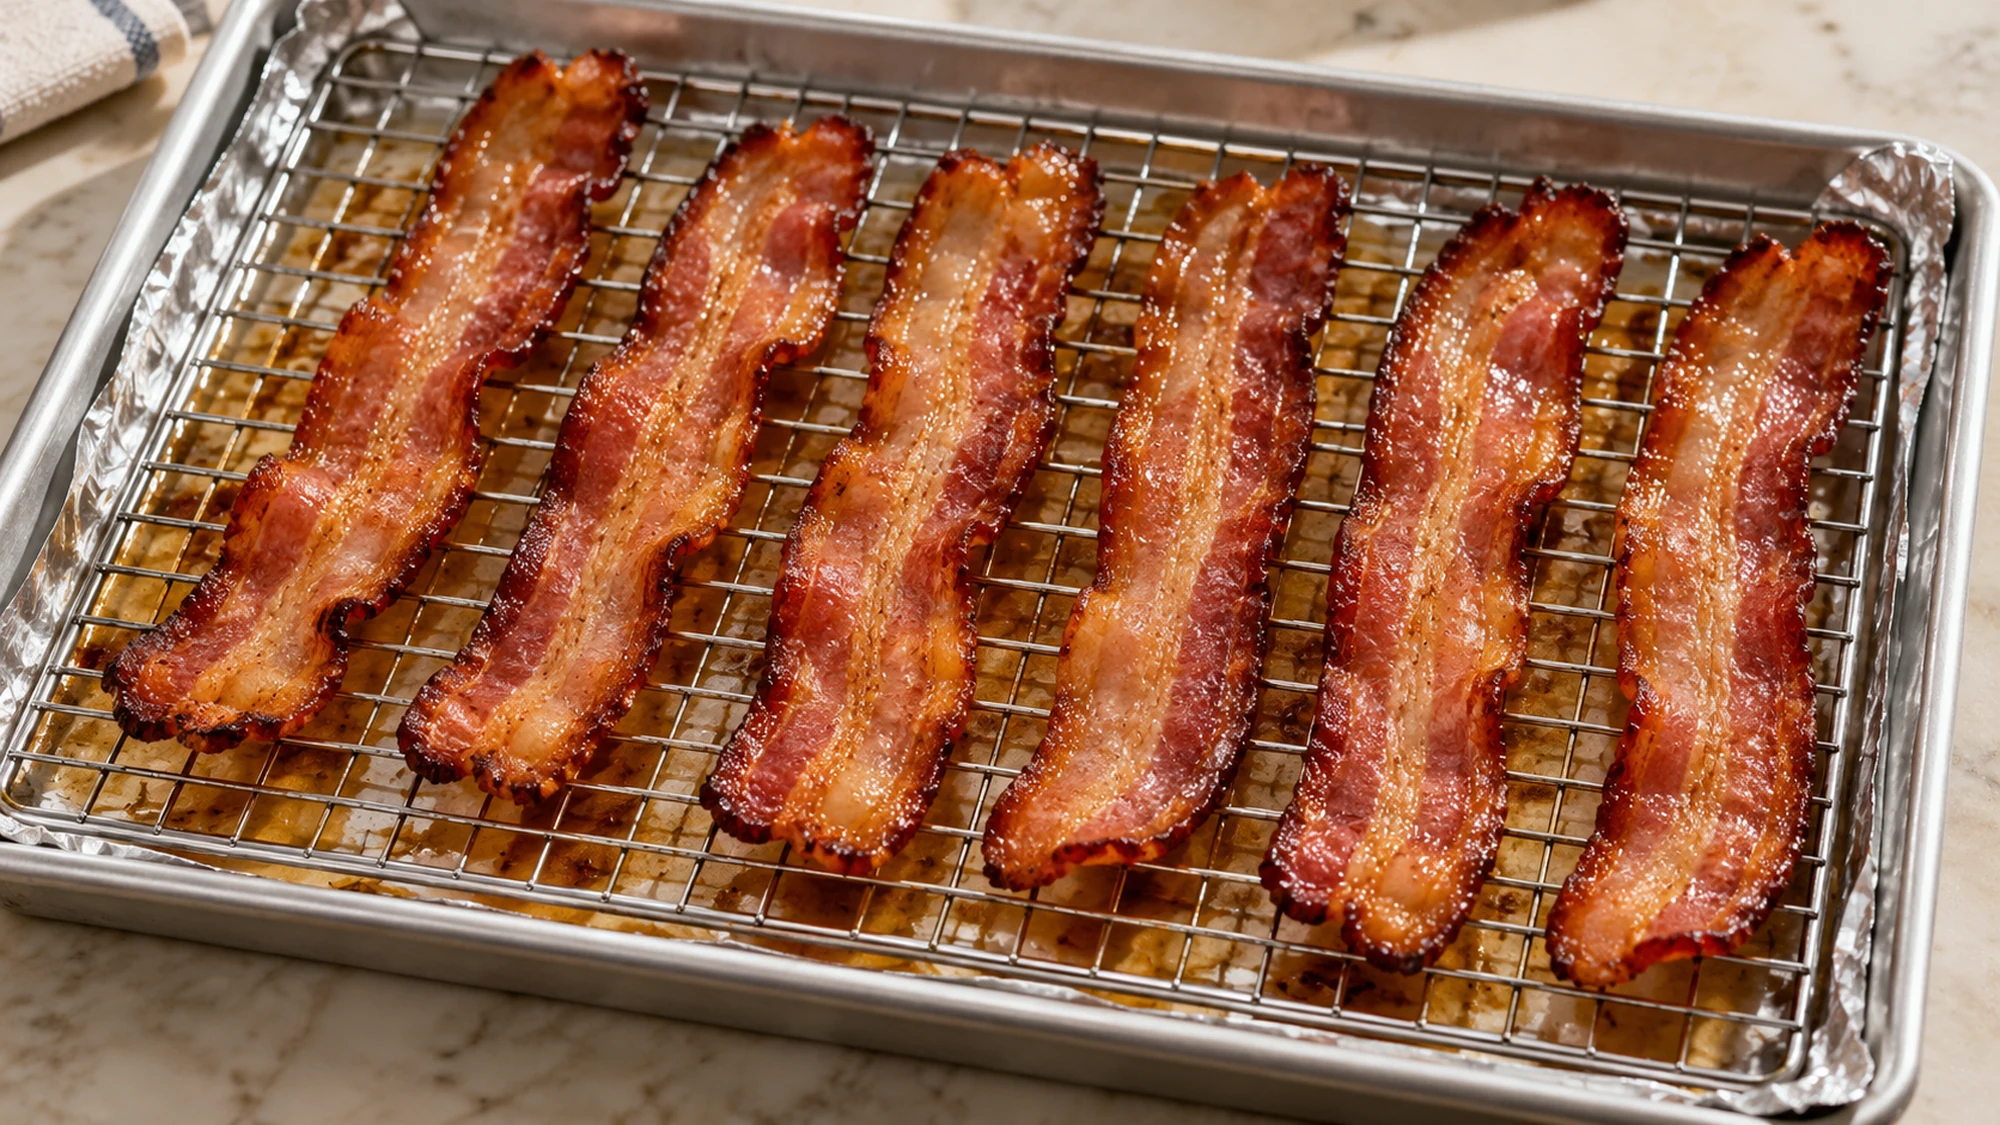
Bake thick-cut bacon in a single layer on a wire rack over a rimmed pan at 375°F (190°C). Start checking before the estimated time is up, and cook until the strips are crisp. A rack lets the rendered fat collect underneath rather than around the bacon.
I’d choose a small batch for the first round, especially with an unfamiliar brand. Thickness varies, and a package description cannot tell you exactly when every slice will finish. This recipe uses half a pound, leaving enough space to see what is happening instead of squeezing in the whole package.
Bacon Thick Cut: Serving Ideas
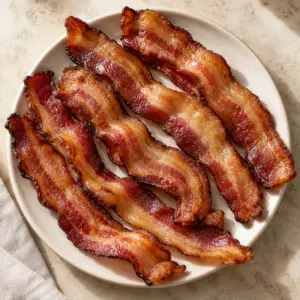
Drain the cooked strips briefly on a paper-towel-lined plate, then serve while the edges are crisp. The bacon firms as it cools, but leaving it in a stack can trap steam. Keep the slices separate for those first few minutes rather than burying the bottom ones beneath the rest.
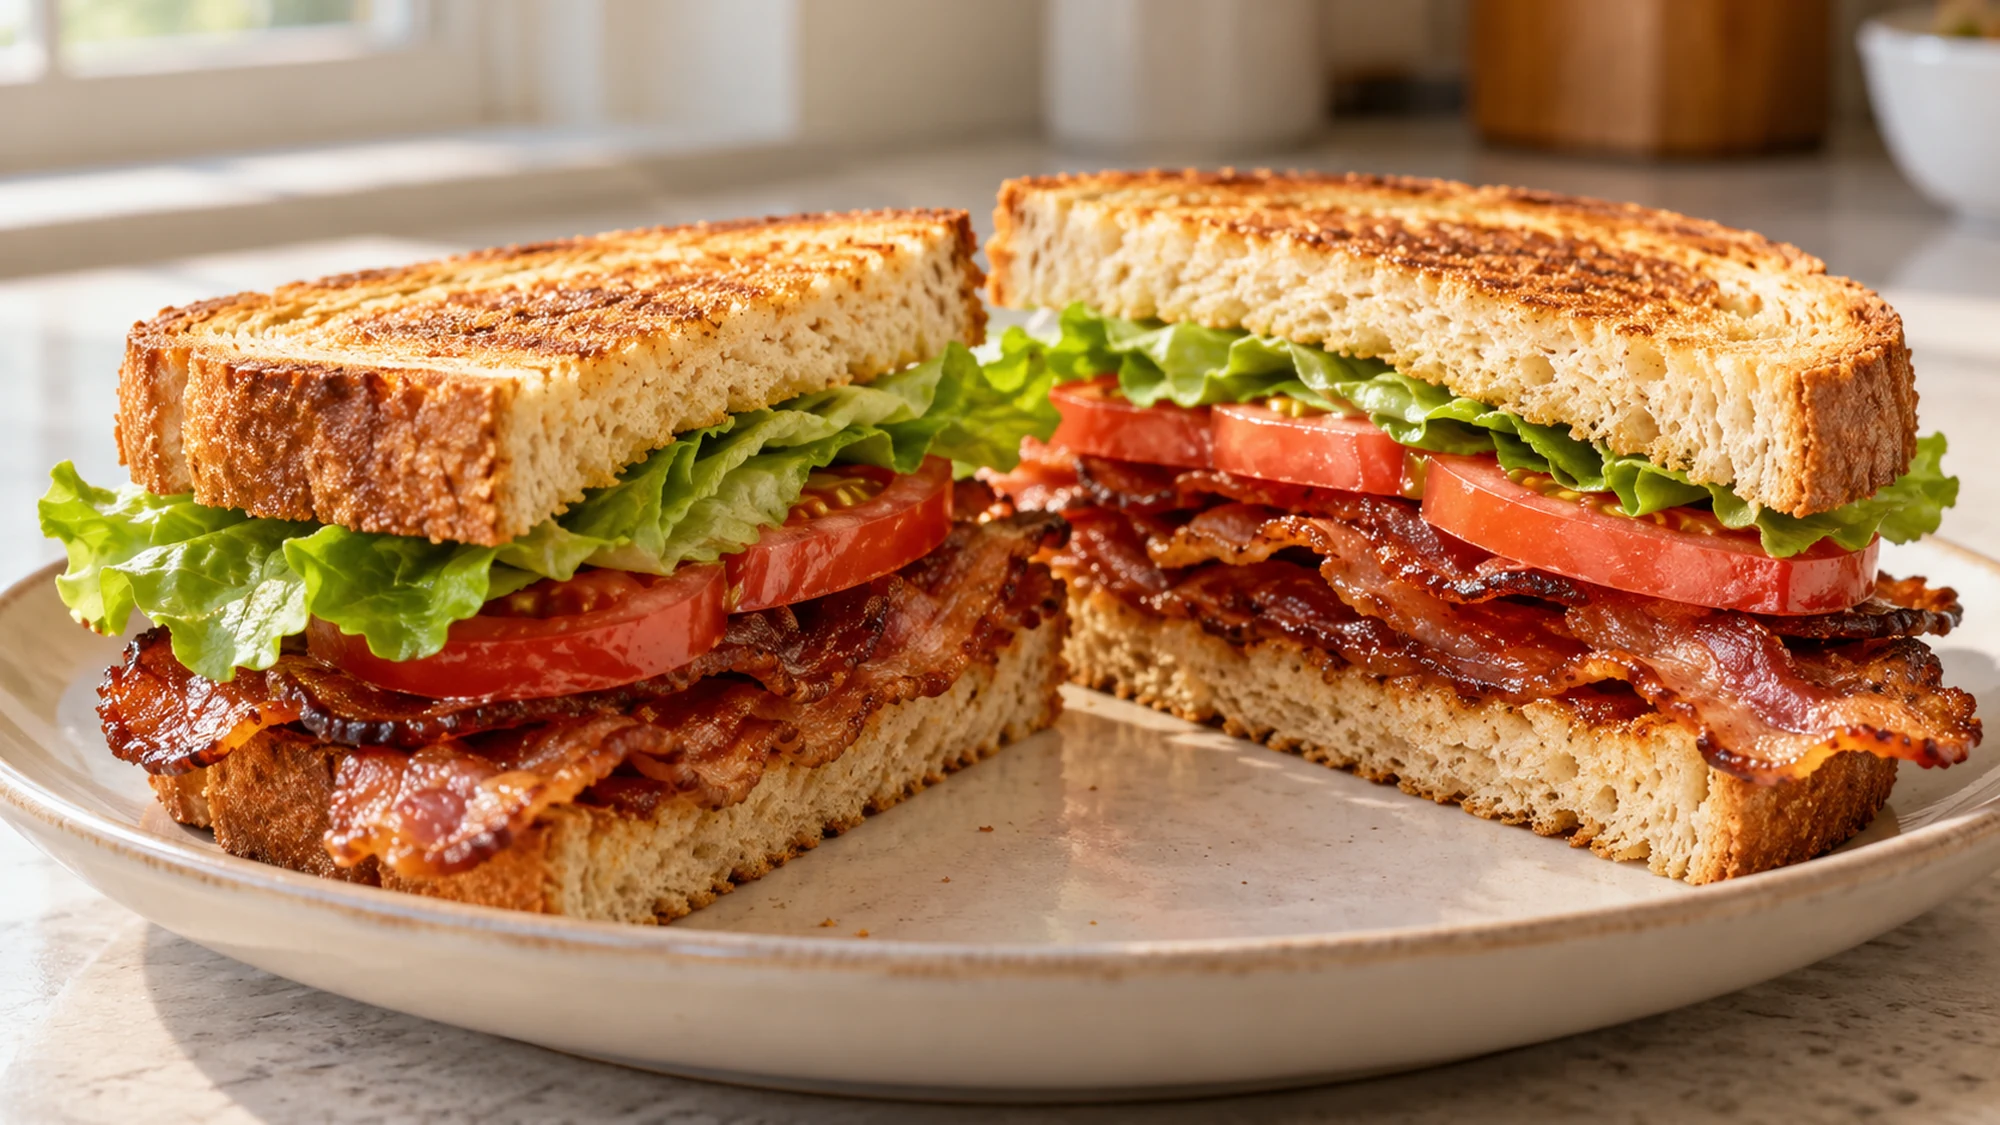
This amount makes three modest side portions, roughly two slices each when your half-pound batch contains six strips. For breakfast, add eggs, whole-grain toast and fruit. For lunch, I prefer crisp lettuce and a thick tomato slice with the bacon; the fresh ingredients balance its rich, salty bite.
- Break a cooked strip over a jacket potato just before serving.
- Add small pieces to a vegetable salad instead of making bacon the whole topping.
- Let bacon cool enough to handle before cutting it for sandwiches.
Choose a simple serving plan and keep the bacon separate until the last moment. Crisp edges are worth preserving.
Variations and Doneness Cues
The plain method needs no extra oil, salt or sweet glaze. Start with a bacon you enjoy, whether its smoke flavor is hickory, applewood or something milder. I’d leave sugary coatings for a recipe designed around them; here they would make the browning harder to judge.
Use the table as a checking guide, not a promise that every brand will cook identically. Thin strips finish sooner than thick ones, and an especially thick slice may need longer than the suggested window. Keep the heat moderate and check closely near the end rather than switching to the broiler.
| What you see | What to do | Why it helps |
|---|---|---|
| One strip browns first | Remove that fully crisp strip with clean tongs | The remaining strips can keep cooking. |
| Centers remain soft and fatty | Continue in short intervals and check again | Thick slices need time to render. |
| One end darkens faster | Rotate the pan carefully | A hot spot can brown one area sooner. |
Keep the same rack method and change the checking time to suit the slices. Aim for crisp bacon with browned edges, without blackened patches.
Health Benefits and Portion Perspective
Bacon contributes protein, but it also brings sodium and saturated fat. An oven rack drains some rendered fat; it does not turn bacon into a different food or guarantee a particular calorie reduction. A smaller portion alongside vegetables, fruit or whole grains is a practical way to enjoy its flavor.
Compare the Nutrition Facts on your own package, including the serving size. The FDA explains how to use the label to compare foods and identify nutrients to get less of, including sodium and saturated fat. Thick-cut labels and cooked slice weights differ, so one brand’s numbers need not match another’s.
- Do not rinse raw bacon; clean hands, tools and surfaces after handling it.
- Cook the bacon completely. USDA advises against partially cooking it for later finishing.
- Cured bacon can stay pink after cooking, so color alone does not establish doneness.
Enjoy the savory flavor in a portion that suits the meal, and use the package label for the bacon you actually buy.
Bottom Line
A roomy rack, moderate oven heat and attentive checking make this a useful method for thick slices. Handle the pan level so the hot fat stays contained. Let that fat cool before disposal, and keep it out of the sink.
Follow USDA leftover guidance: refrigerate within two hours, or one hour above 90°F (32°C), in a covered shallow container at 40°F (4°C) or below. Use within three to four days and reheat to 165°F (74°C). Cook the batch fully before storing it.
Bacon Thick Cut Recipe

Ingredients
- 8 oz thick-cut smoked pork bacon 227 g, about 6 slices; choose ordinary raw, refrigerated bacon, not fully cooked bacon
Equipment
- 1 Rimmed half-sheet pan approximately 13 × 18 inches
- 1 Oven-safe uncoated wire rack fits securely inside the pan
- Aluminum foil to line the pan
- Oven mitts and tongs use clean tongs for the fully cooked bacon
- 1 Plate and paper towels for draining
Instructions
- Line a 13 × 18-inch rimmed sheet pan with foil, covering the base and sides without loose overhang. Set an oven-safe, uncoated wire rack securely inside the pan.
- Position an oven rack in the middle and heat the oven to 375°F (190°C), using the conventional bake setting.
- Lay the refrigerated bacon strips on the wire rack in a single layer without overlapping. Leave a little space between them. Do not rinse the bacon or add oil. Wash hands and clean raw-contact surfaces and utensils after arranging the strips.
- Once the oven is fully heated, bake for 15 minutes. Wearing oven mitts, remove the pan carefully and keep it level. Use tongs to turn the strips, rotate the pan and return it to the oven.
- Continue baking for about 10–20 minutes, checking closely in the final minutes. Total roasting time is usually 25–35 minutes, but thickness and ovens vary. Cook completely until crisp with rendered fat and browned edges, without blackened patches. Remove individual fully cooked strips earlier if needed, using clean tongs. Do not save partially cooked bacon for later finishing.
- Transfer the fully cooked bacon to a paper-towel-lined plate with clean tongs. Drain for about 3 minutes, keeping the strips separate, then divide into three side portions and serve. Set the hot pan somewhere secure and allow the collected fat to cool before disposal; do not pour it into the sink.
Nutrition
Video
Notes
Tried this recipe?
Let us know how it turned out!Emily is Spoonvale’s recipe-writing persona, bringing a warm, practical voice to everyday cooking. Her focus is simple: approachable meals, comforting flavors, and clear instructions that help make time in the kitchen more enjoyable.