
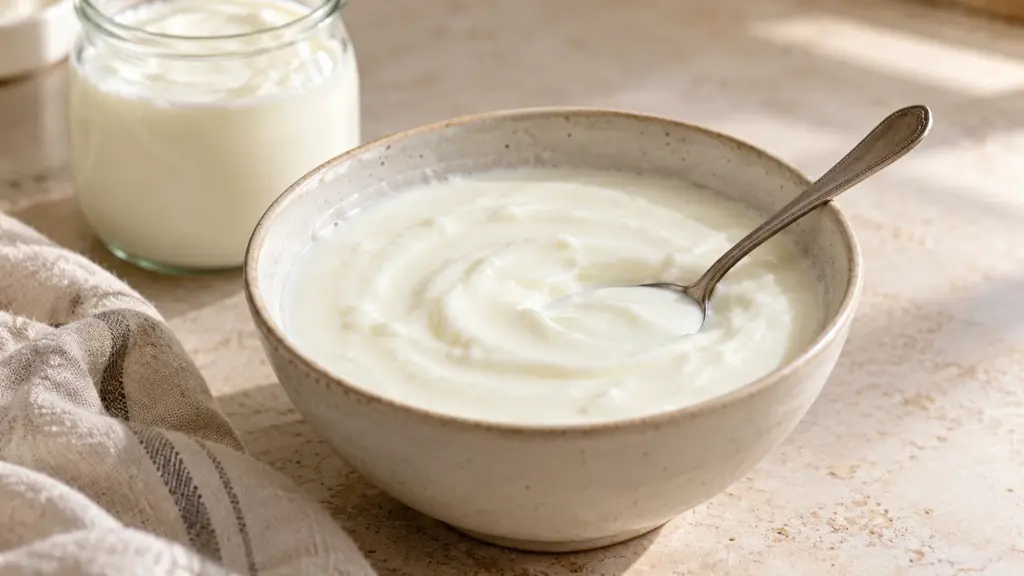
A carton of milk and a spoonful of yogurt look almost too ordinary to become a whole batch of breakfast. If you want to learn how to make yogurt at home, the trick is not a special machine: it is heating the milk, adding live cultures at the right temperature, and keeping that mixture steadily warm.
An insulated cooler can stand in for a yogurt maker. What matters is measured warmth, a fresh starter, and refrigeration as soon as the yogurt sets.
This version makes plain, unstrained whole-milk yogurt with a soft, spoonable set. I would choose a thermometer before buying another countertop appliance; “feels warm” leaves too much to guess. Plan around the waiting time rather than the stirring: fermentation takes several hours, followed by a thorough chill.
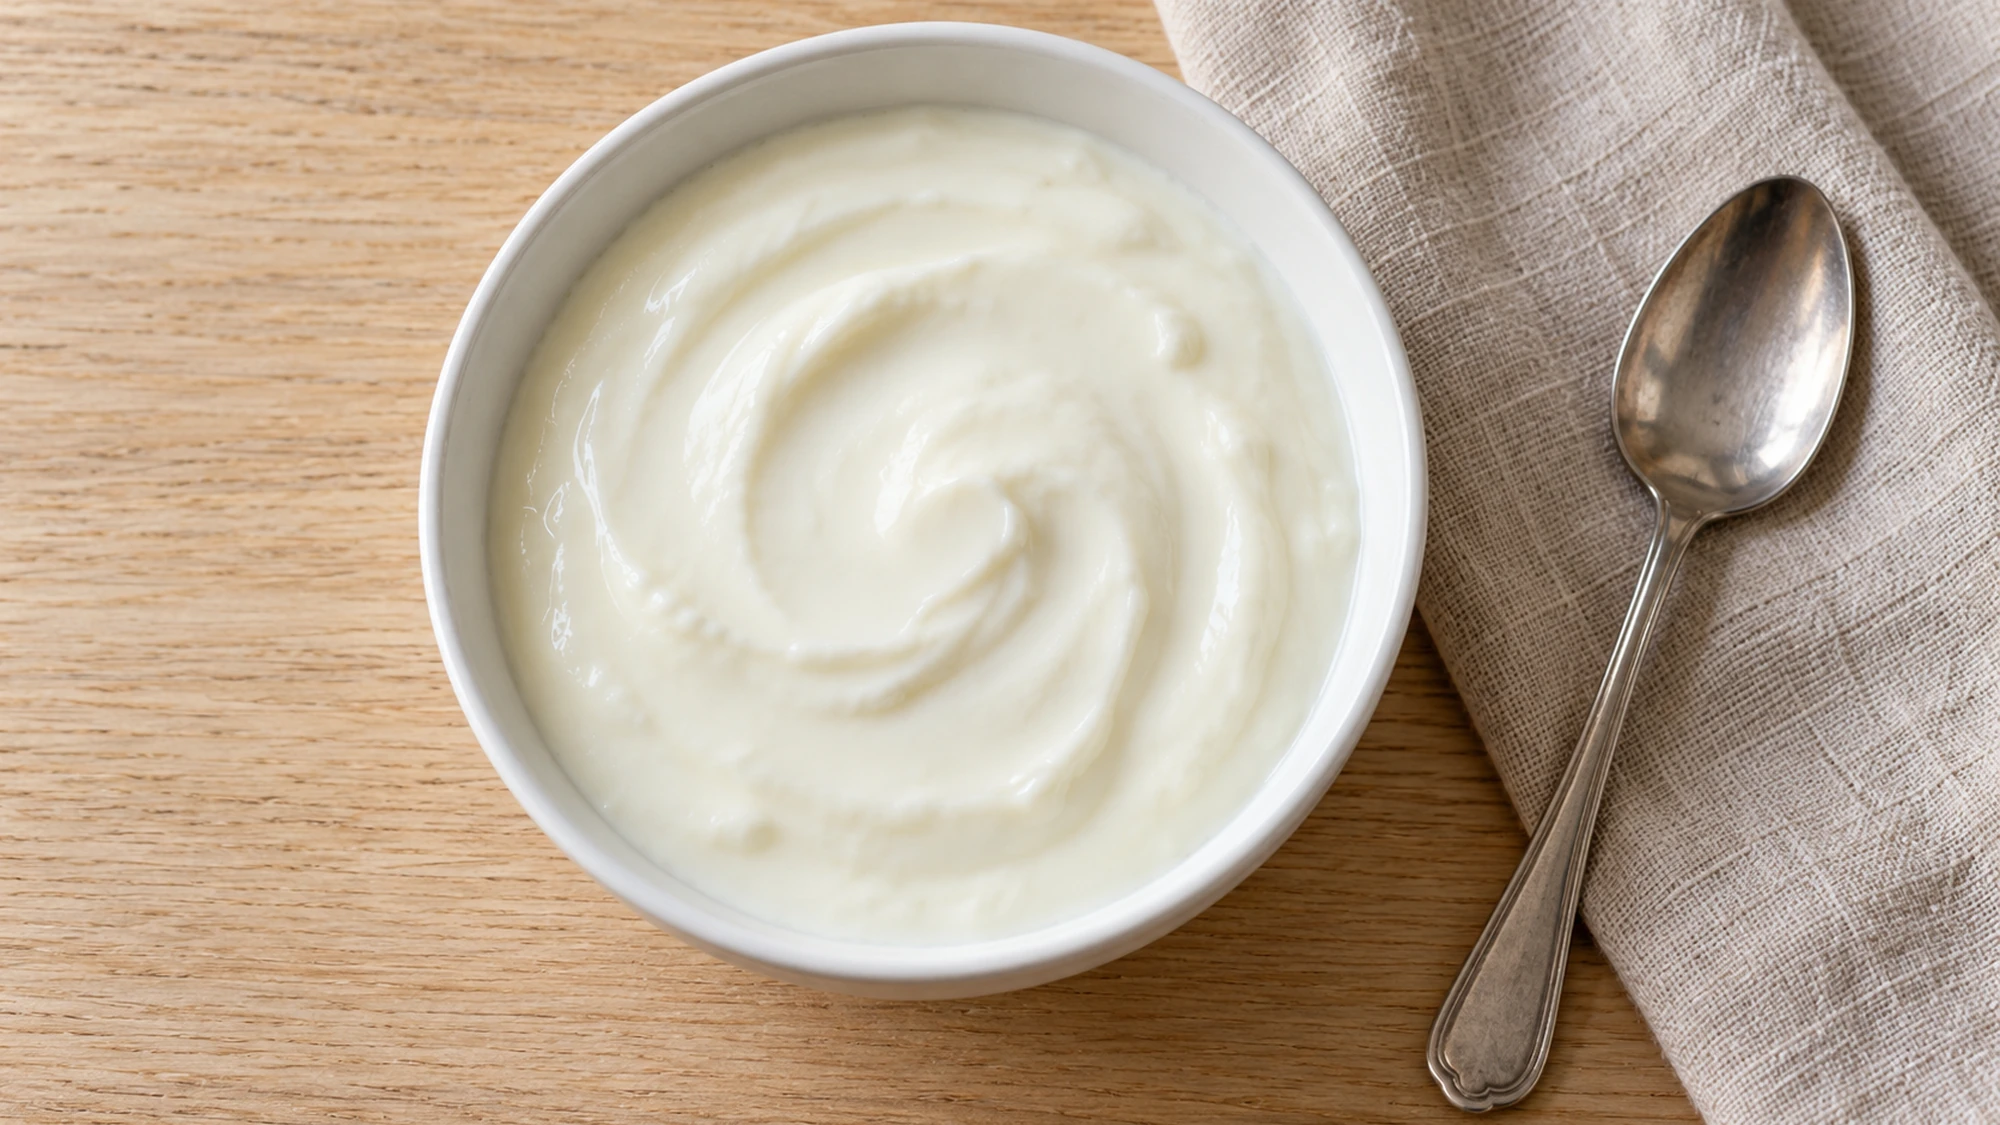
Serving Homemade Yogurt, Sweet or Savory
Keep the main batch plain and finish each bowl differently. Stir gently only when you are ready to serve; vigorous mixing breaks up the set and makes the yogurt looser.
- Breakfast bowl: Add sliced banana, berries, toasted oats, or chopped nuts after chilling. Sweeten individual portions to taste.
- Oat jars: Spoon it into overnight oats for a creamy component alongside the oats and milk. Follow the oat recipe’s proportions rather than replacing all its liquid.
- Savory topping: Stir an individual portion with chopped dill, grated cucumber, and a pinch of salt for roasted vegetables or baked potatoes. Squeeze excess moisture from the cucumber first.
- Quick dressing: Loosen a portion with a little water, then add lemon juice and herbs to taste. Start sparingly so the dairy tang stays balanced.
Flavor the bowl, not the whole batch, and plain yogurt becomes a useful ingredient rather than one more breakfast you have to eat the same way.
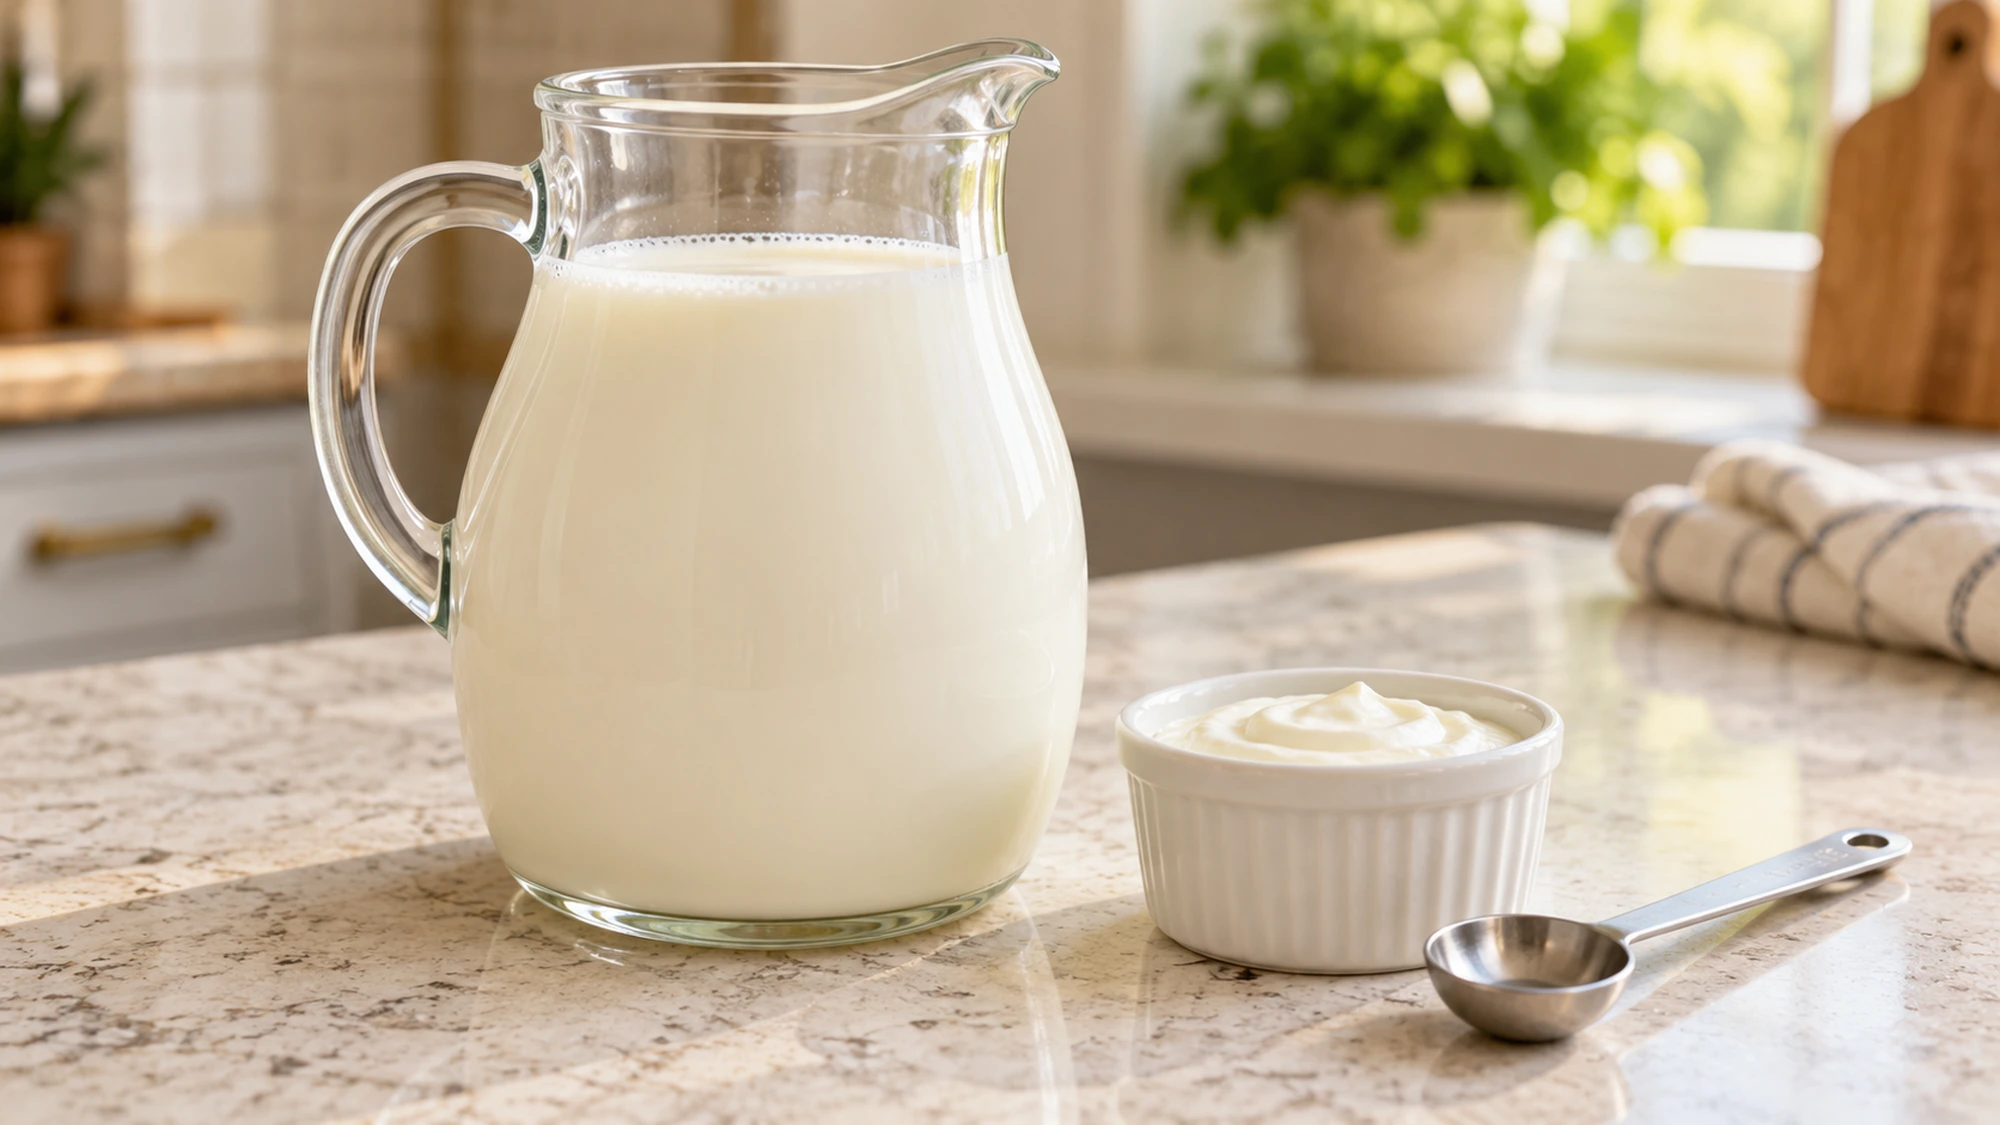
How to Make Yogurt at Home With the Texture You Like
Homemade yogurt need not imitate a firm supermarket pot. Milk choice, heating, and straining all affect the result. Washington State University Extension explains that heating changes milk proteins, while additional milk solids can give a firmer set. This two-ingredient version leaves powdered milk out.
| Option | What changes | Best use |
|---|---|---|
| Whole milk, unstrained | Creamier mouthfeel; a soft set | Bowls, oats, and dressings |
| Low-fat milk, unstrained | Less milk fat; texture may be less rich | A lighter-tasting everyday yogurt |
| Refrigerator-strained yogurt | Whey drains away; yield decreases | Thicker dips and spoonable toppings |
| Fruit added after chilling | Flavor changes without altering fermentation | Individual sweet servings |
- For thicker yogurt, drain a properly set, chilled batch in a clean cloth-lined strainer in the refrigerator. Stop when the texture suits you; the original yield and nutrition estimate no longer apply.
- Do not swap in almond, oat, or coconut beverages here. Their protein, carbohydrate, and thickening needs differ, so use a recipe developed for that beverage.
- A little pale whey on top can be normal. Stir it back in for a softer consistency, or pour it off; whey alone is not proof of spoilage.
I would make the first batch plain and unstrained. It gives you a clear starting point before changing the milk, adding flavors, or chasing a thicker texture.
Health Benefits and Safe Storage
Milk contributes protein and calcium, and leaving the yogurt unsweetened gives you control over added sugar. The estimated half-cup serving provides about 80 calories, 4 grams of protein, and 150 milligrams of calcium. These are ingredient-based estimates, not a laboratory analysis; fermentation, brands, and final yield affect the numbers.
Live cultures also need some perspective. The NIH explains that fermented foods do not automatically contain probiotics with proven health benefits. Our prebiotic-versus-probiotic guide explains that distinction. This dairy recipe still contains milk allergens and is not guaranteed lactose-free simply because it has fermented.
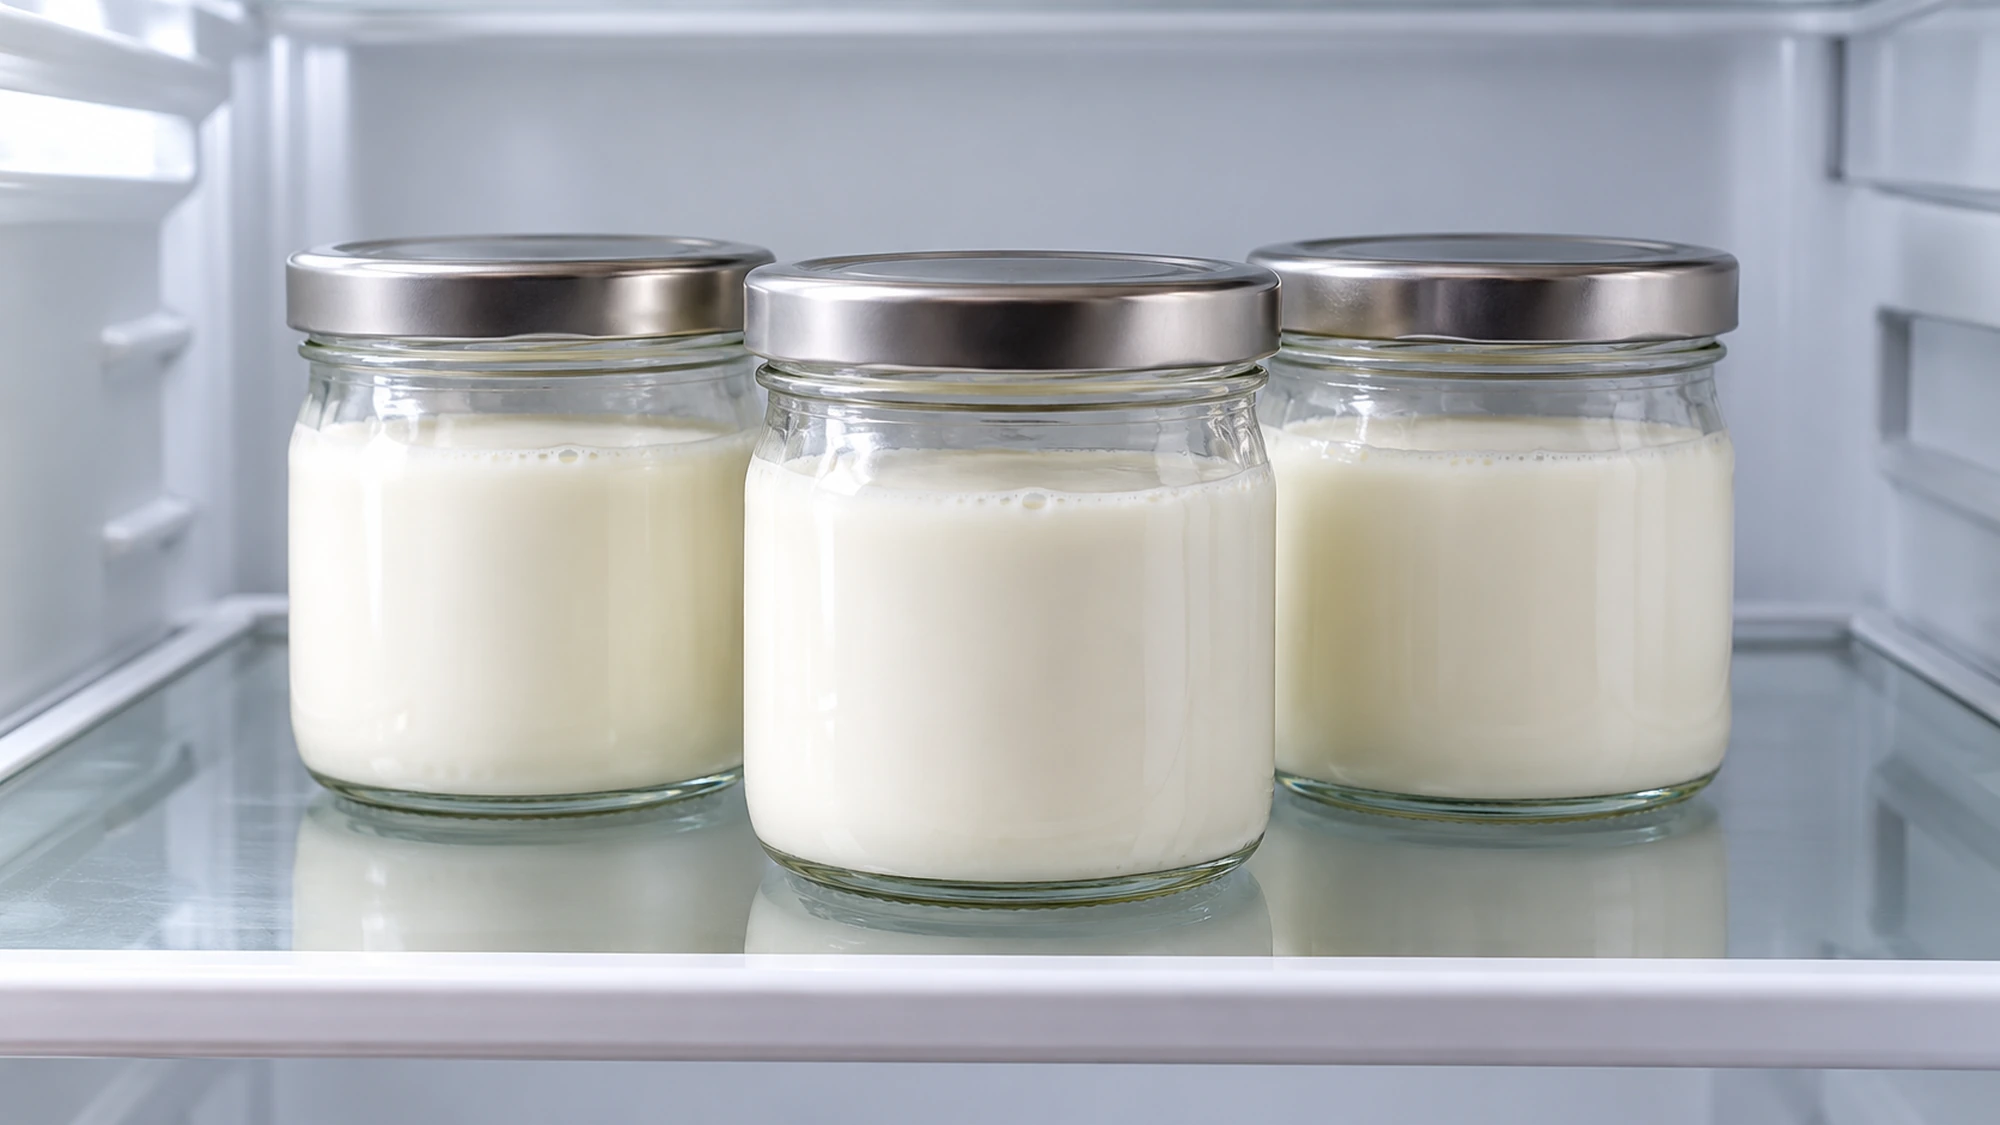
- Chill promptly once set, and keep the covered yogurt at 40°F (4°C) or colder. Use it within 7 days as a conservative household target, and add fruit only to portions you plan to eat.
- Use a clean spoon each time. Label the jars with the preparation date rather than trying to remember which batch is which.
- Discard yogurt with mold, unusual discoloration, or an off odor. Discard a batch that fails to set properly, rather than reheating it or adding fresh starter to rescue it.
Clean equipment, controlled incubation, and prompt chilling matter more than a perfect-looking set. A pleasant tang does not replace those safeguards.
Bottom Line
Homemade yogurt needs a short ingredient list and attention at the temperature changes. Give the culture a steady warm environment, let the yogurt set without stirring, then chill it well. Keep the first batch simple and enjoy that cool, creamy spoonful.
How to Make Yogurt at Home Recipe

Ingredients
- 4 cups pasteurized whole milk 1 US quart, approximately 946 mL
- 1/4 cup fresh plain whole-milk yogurt with live and active cultures approximately 57 g
Equipment
- Double boiler or heavy 2–3-quart saucepan
- Accurate food thermometer
- Clean mixing spoon and small bowl
- Three heat-safe pint jars with lids
- Small insulated cooler suitable for warm water
- Basin for a cooling-water bath
- Measuring cups
Instructions
- Wash hands, work surfaces, jars, and utensils. Sanitize heat-safe jars and tools using a dishwasher sanitizing cycle or boiling water for 10 minutes; air-dry. Follow the lid manufacturer’s instructions. Keep jars warm, not refrigerator-cold.
- Put the milk in the double boiler or saucepan. Heat gently to 185°F (85°C), stirring frequently, or constantly with a saucepan. Hold at approximately 185°F for 20 minutes without boiling. Reduce the heat as necessary to prevent scorching.
- Set the pan in a basin of cold water without letting water enter the milk. Stir gently until the milk reaches 112–115°F (44–46°C).
- Stir the starter yogurt into 1 cup of the cooled milk until smooth, then gently combine with the remaining milk. The mixture should be approximately 110–112°F (43–44°C).
- Prewarm the cooler with hot water within its manufacturer’s limits, then empty it. Divide the cultured milk among the warm jars and cover. Add approximately 110°F (43°C) water halfway up the jars, below their lids.
- Close the cooler and maintain approximately 110°F, within 105–115°F (41–46°C). Check the water temperature every 30–60 minutes and adjust the surrounding bath carefully without shaking the jars. Begin checking the set after 4 hours; allow up to 7 hours. Refrigerate as soon as the yogurt forms a cohesive, softly gelled set. Discard a batch that fails to set properly.
- Dry the jars and refrigerate promptly at 40°F (4°C) or colder for at least 4 hours. Do not leave them on the counter to cool. Stir gently, if desired, only after chilling.
Nutrition
Video
Notes
Tried this recipe?
Let us know how it turned out!Emily is Spoonvale’s recipe-writing persona, bringing a warm, practical voice to everyday cooking. Her focus is simple: approachable meals, comforting flavors, and clear instructions that help make time in the kitchen more enjoyable.